Administration Guide
To access and edit user account information:
From the navigation menu, select Settings.
Click the Users Tab.
The Users Administration page appears.
Click the name of the user account you want to edit.
The individual User Administration page appears.
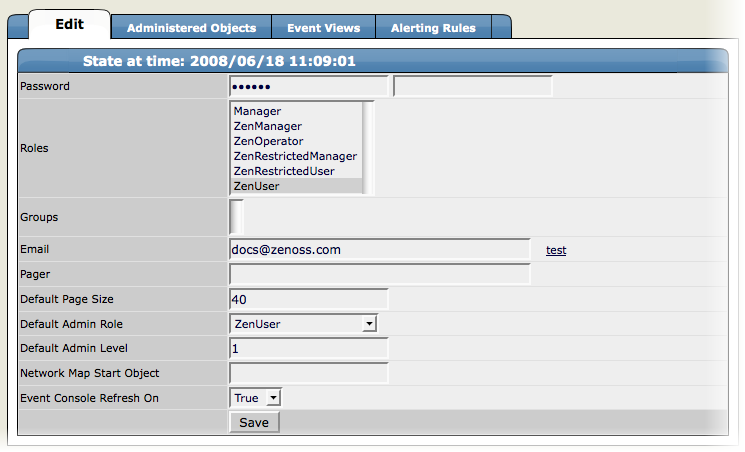
Make changes to one or more settings:
Password - Assign and confirm a user password.
Roles - Assign one or more roles (user privileges) to the user. To edit or assign roles, you must be a Zenoss Admin or be assigned the Manager role.
For more information about Zenoss user roles, and for a list of available roles and the privileges they provide, see the section titled Roles in this chapter.
Email - Enter the user's email address. To verify that the address is valid, click the test link.
Pager - Enter the user's pager number.
Default Page Size - Controls how many entries (by default) appear in tables. Enter a value for the default page size. The default value is 40.
Default Admin Role - Select the default role that this user will have for administered objects associated with him.
Event Console Refresh On - Select True or False.
You can associate any object in the Zenoss system with a particular user, for monitoring or reporting purposes. Once associated with a user, you can then assign the user a specific role that applies to his privileges with respect to that object.
For more information about object-specific roles, see the section titled Roles in this chapter.
To create an object association:
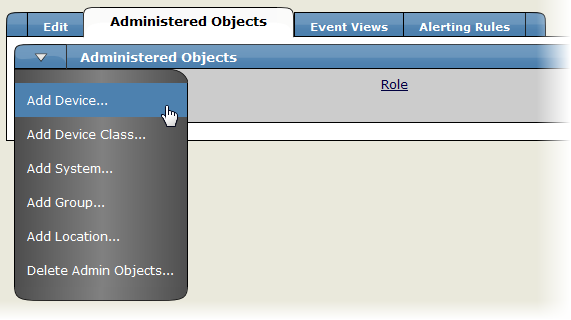
From the User Administration page, click the Administered Objects tab.
The list of administered objects appears.
Select an object type from the Administered Objects table menu. You can add a Device, System, Group, or Location.
The Add Administered Device dialog appears.
Specify the component you want to add as an administered object, and then click OK.
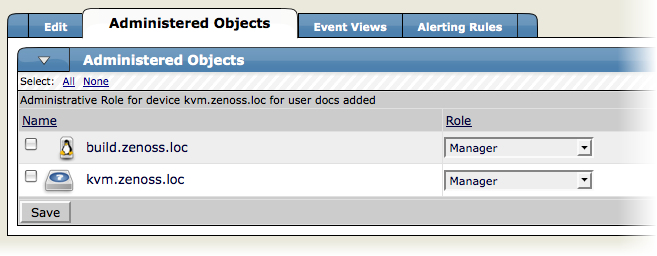
The object appears in the Administered Devices list for the user.
Optionally, change the role that is associated for this user on this object.
Note
The default role assigned to the user for an administered object is specified by the Default Admin Role field on the Edit tab.
Click Save to save changes.
You can also set associated an object with a user by adding an administrator to the object. To do this:
Navigate to the object you want to add the user's list of administered objects.
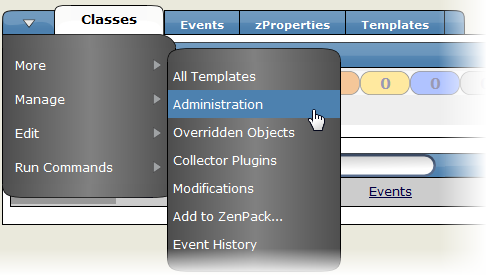
From the page menu, select More, and then select Administration.
In the Administrators area, select Add Administrator from the table menu.
The Add Administrator dialog appears.
Select an administrator from the list, and then click OK.
The administrator appears in the object's Administrators list. The object is added to the user's Administered Objects list.