Installation
Generally speaking, Zentyal is meant to be installed exclusively on one (real or virtual) machine. However, this does not prevent you from installing other applications that are not managed through Zentyal interface, but these must be manually installed and configured.
Zentyal runs on Ubuntu [1] server edition, always on LTS (Long Term Support) [2] versions, that have longer support periods: five years instead of three.
You can install Zentyal in two different ways:
- using the Zentyal installer (recommended option),
- using an existing Ubuntu Server Edition installation.
In the second case you need to add the official Zentyal repositories and continue by installing those modules you are interested in [3].
However, in the first case the installation and deployment process is easier as all the dependencies are on a single CD and besides, you are offered a graphical environment that allows you to use the web interface from the server itself.
The official Ubuntu documentation includes a brief introduction to the installation and configuration of Zentyal [4], in the eBox (previous name of the project) chapter.
| [1] | Ubuntu is a Linux distribution developed by Canonical and the community, focused on laptops, PCs and servers: http://www.ubuntu.com/. |
| [2] | For a detailed description about the publication of Ubuntu versions you are recommended to consult the Ubuntu guide: https://wiki.ubuntu.com/Releases. |
| [3] | For more information about installing from the repository please go to http://trac.zentyal.org/wiki/Document/Documentation/InstallationGuide. |
| [4] | https://help.ubuntu.com/10.04/serverguide/C/ebox.html |
Zentyal installer
The Zentyal installer is based on the Ubuntu Server installer and therefore, those who are already familiar with it will find the installation process very similar.
To start with, you choose the installing language, in this example English is chosen.
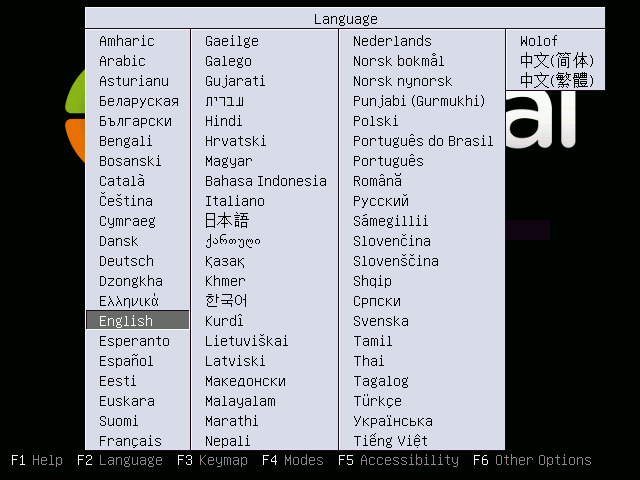
Selection of the language
You can install Zentyal by using the default mode which deletes all disk contents and creates the partitions needed by Zentyal by using LVM [5] or you can choose the expert mode that allows you to make a customized partitioning. Most users should choose the default option unless they are installing on a server with RAID per software or they want to make a special partitioning according to their specif needs.
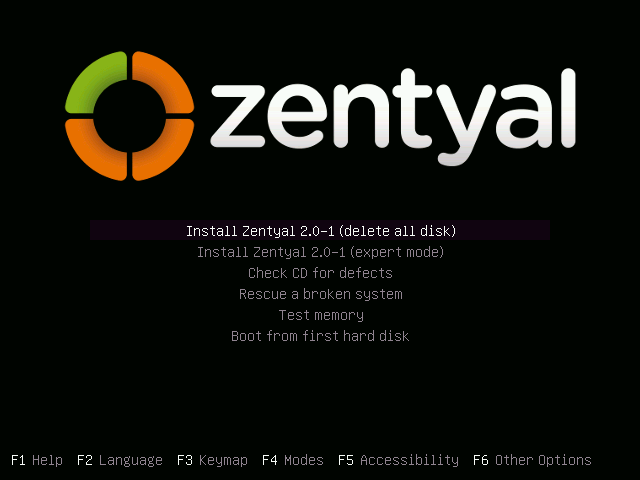
Installer start
In the next step you choose the language for your system interface. To set the language, you are asked for your country, in this example United States is chosen.
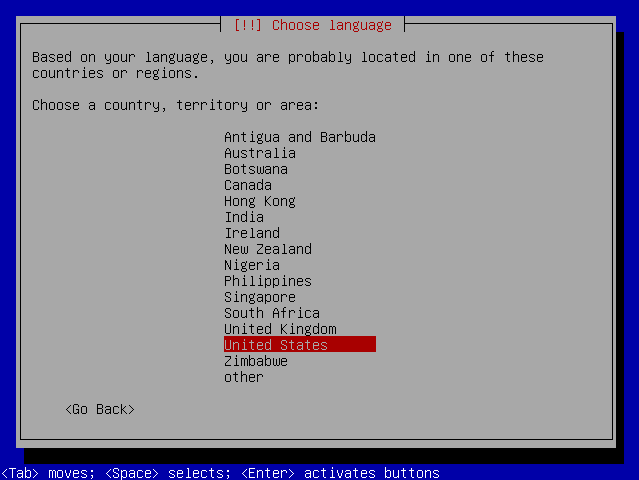
Geographical location
You can use the automatic detection for setting the keyboard: few questions are made to be sure about the model you are using. Otherwise, you can select the model manually by choosing No.
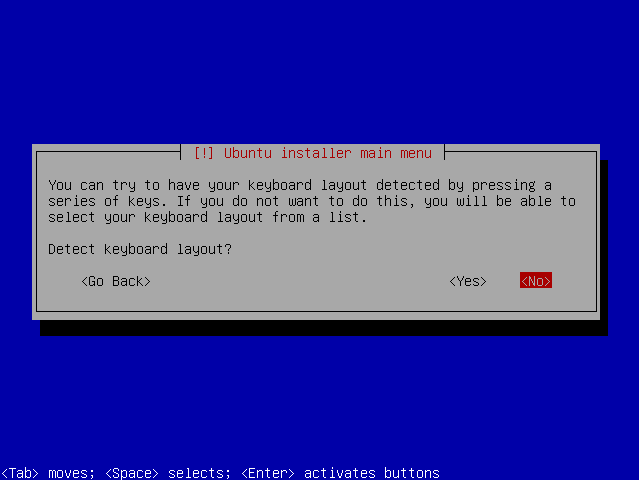
Autodetection of the keyboard
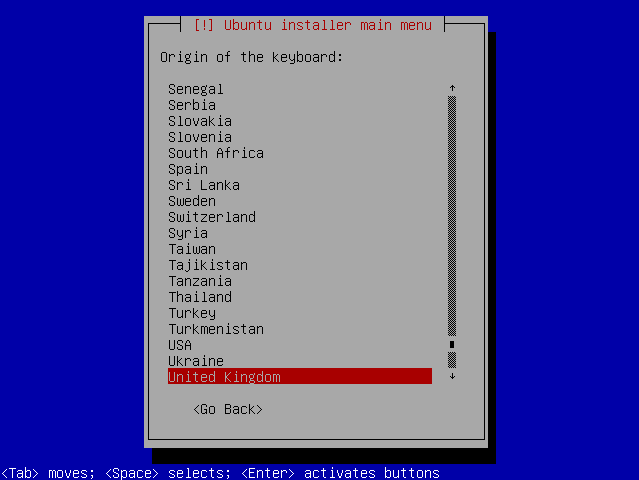
Selection of the keyboard
Afterwards you choose a name for your server: this name is important to identify hosts within the network.
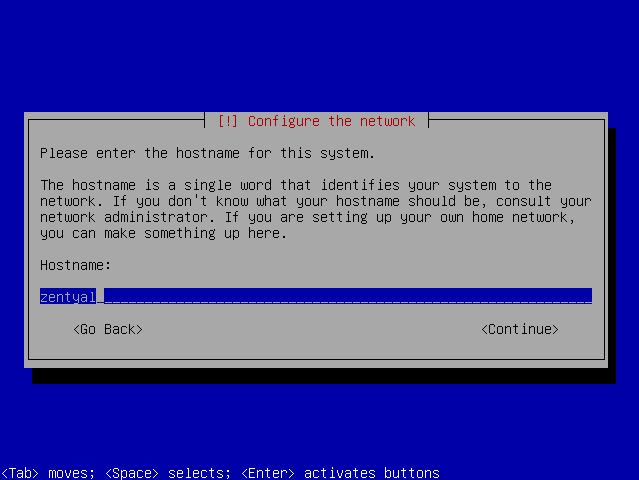
Hostname
In the next step you are asked for your time zone. It is automatically configured depending on the location you have chosen earlier, but you can modify it in case it is incorrect.
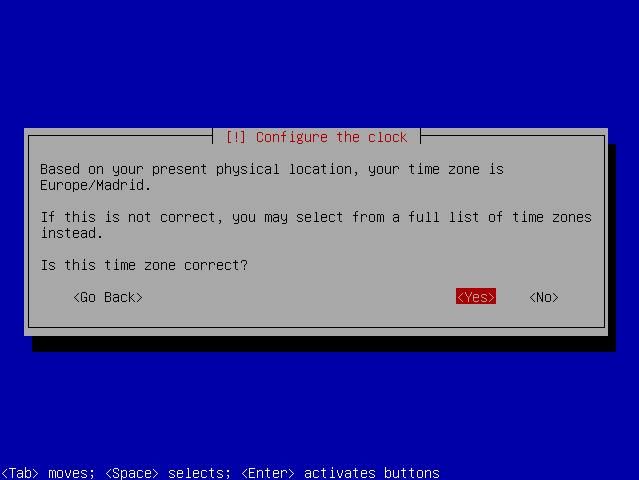
Time zone
Once you have finished these steps, the installation process will start and the progress bar informs you on how the installation goes.
Later you are asked for the administrator name.
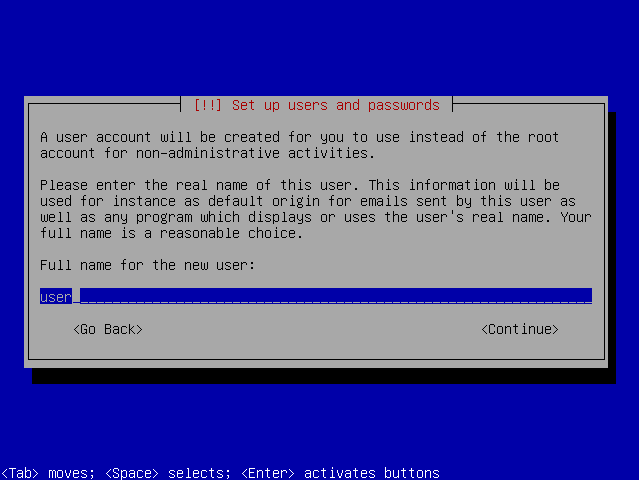
Username
Afterwards you must log into the system by inserting the username or login. This user will have administration privileges and in addition, the same user will be used to access to Zentyal interface.
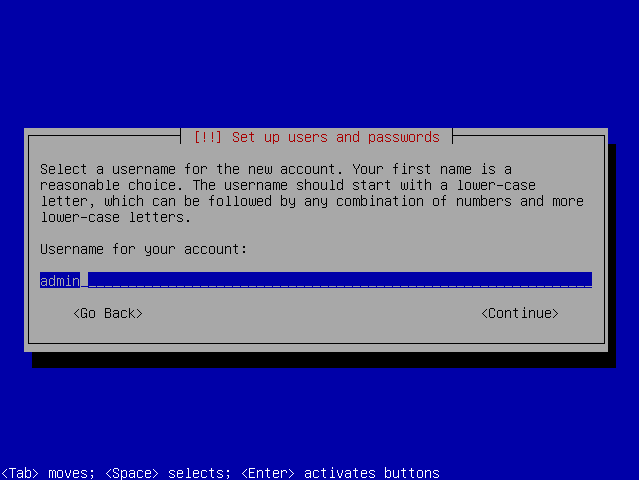
System username
In the next step you are asked for the user password. It is important to notice that the user we have earlier defined can access with this password to both system (via SSH or local login) and to Zentyal web interface and therefore we must be specially careful to choose a secure password (more than 12 characters including letters, numbers and symbols).
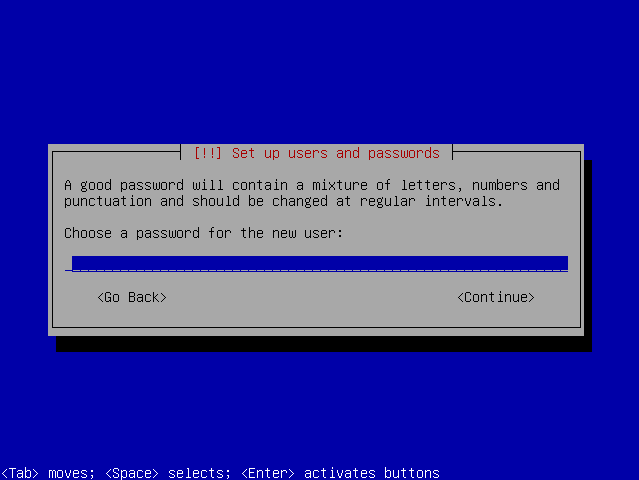
Password
Here you insert the password again to verify it.
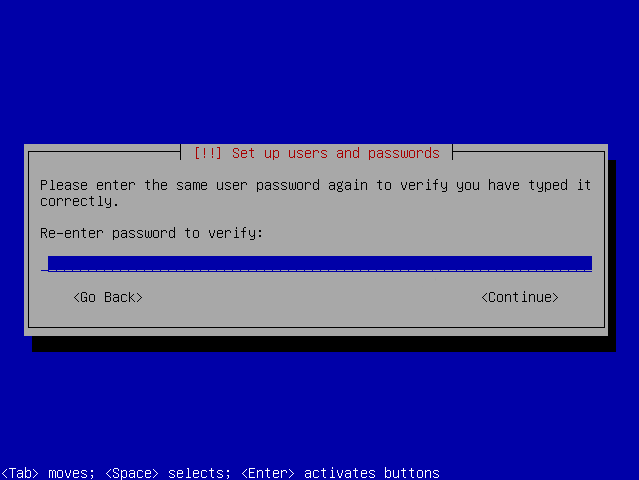
Confirm password
Installation progress bar appears and you must wait the basic system to install. This process can take approximately 20 minutes, depending on the server.
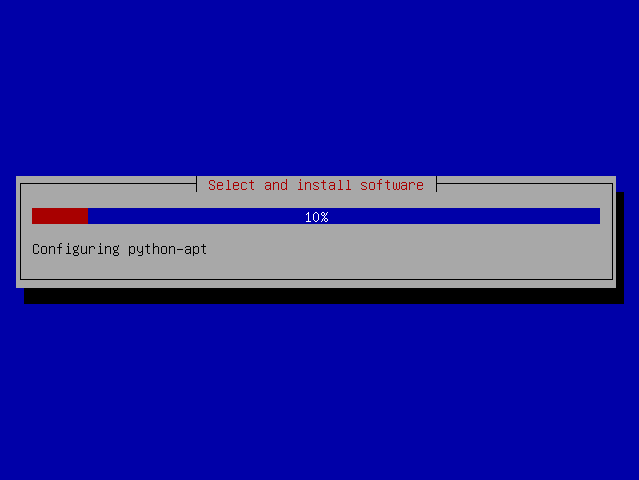
Installation of the base system
Installation of the base system is completed, now you can eject the installation CD and restart.
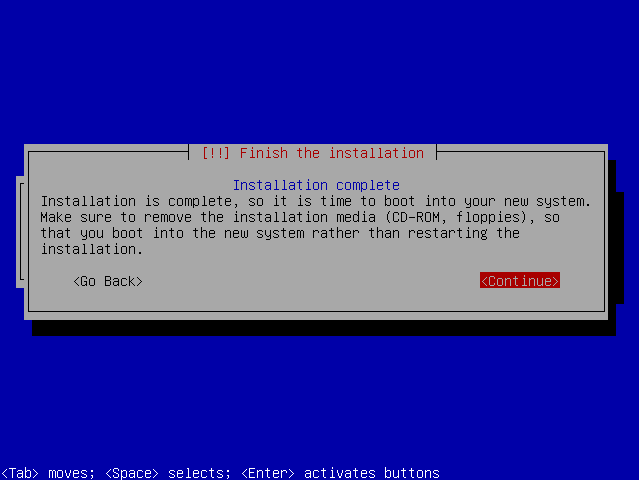
Restart
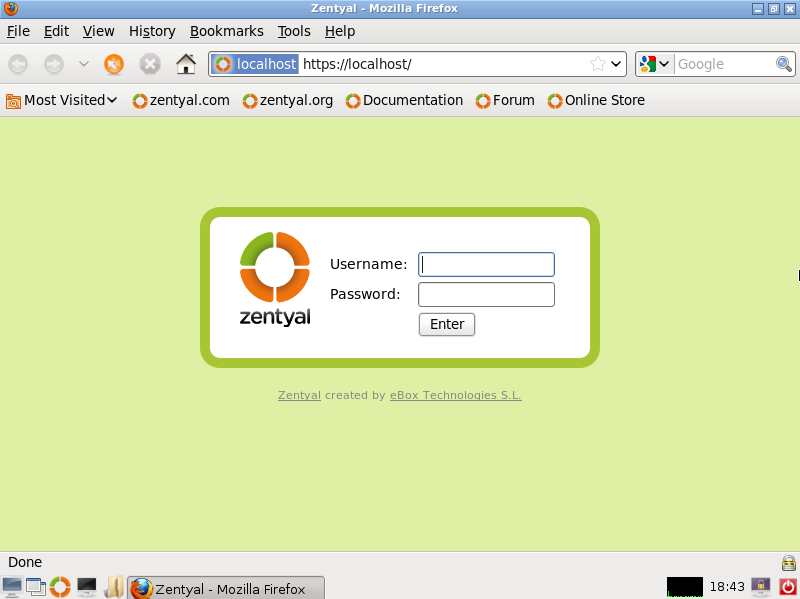
Your Zentyal system works! A graphical interface in a web browser is started and you are able to access to the administrative interface. Although after the first restart the graphical environment was automatically started, from now on you must authenticate before it will start.
Graphical environment with administrative interface
To start configuring Zentyal profiles or modules, you must insert the username and password indicated during the installation. Any other user you add later to the admin group can access to the Zentyal interface as well as to have sudo privileges in the system.
| [5] | LVM is the logical volume manager in Linux, you can find an introduction to LVM management in http://www.howtoforge.com/linux_lvm. |
Initial configuration
When you access for the first time to the web interface, a configuration wizard will start. To start with, you can choose the functionality for your system. There are two methods to carry out the selection:
- Simple:
- You select the installation profile or profiles that you are interested in for you server. An installation profile is a group of packages that gather together a series of features according to the tasks the server will carry out.
- Advanced:
- You select the packages individually and the dependencies will resolve automatically when you confirm the installation.
The simple selection is made from a list of available installation profiles. These installation profiles make it easier and simpler to carry out the most typical Zentyal deployments. However, this does not prevent you from adding new functionality when required. As you can see in the image Zentyal profiles the mentioned list matches with the following sections of this manual.

Zentyal profiles
Zentyal profiles available for installation:
- Zentyal Gateway:
- Zentyal can act as a gateway of the local network, offering secure and controlled access to Internet.
- Zentyal Unified Threat Manager:
- Zentyal protects the local network against any external attacks, intrusions, internal security threats and enables secure interconnection between local networks via Internet or other external network.
- Zentyal Infrastructure:
- Zentyal manages the infrastructure of the local network with basic services such as DHCP, DNS, NTP, HTTP server, etc.
- Zentyal Office:
- Zentyal can act as server for shared resources of the local network: files, printers, calendars, contacts, user profiles and groups, etc.
- Zentyal Unified Communications:
- Zentyal can act as a communications center of the company, handling e-mail, instant messaging and VoIP.
You can select several profiles and make Zentyal have simultaneously different roles in the network.
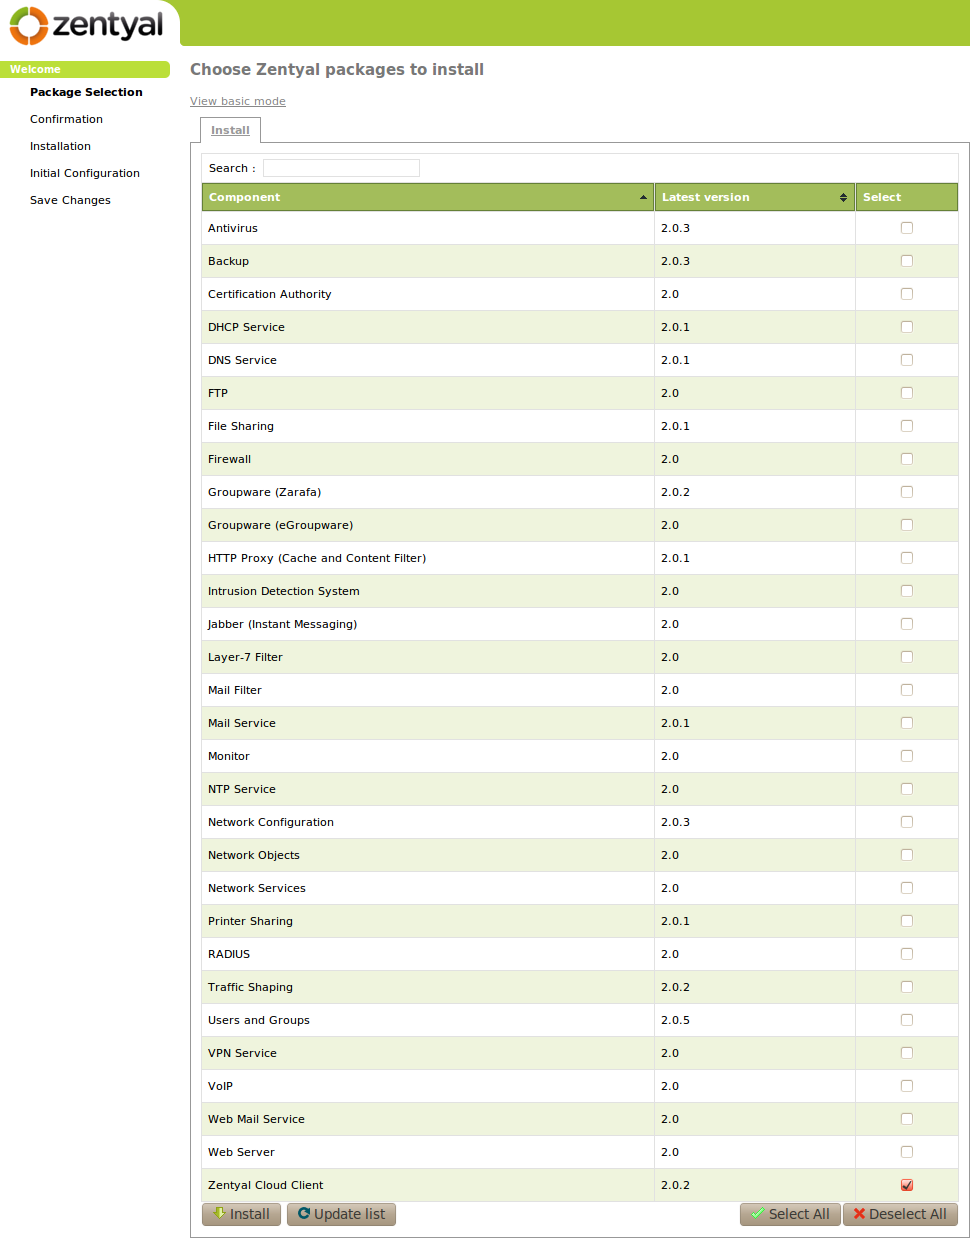
However, if you decide to use advanced selection, a list of Zentyal modules will appear and you can select individually the ones you need.
Advanced selection
In the example only Gateway installation profile is used.
Once we have finished the selection, the necessary additional packages will also be installed and in addition, if there is any recommended complimentary component, you will be asked if you want to install it too. This selection is not definitive and later we can install and uninstall rest of the Zentyal modules via software management.
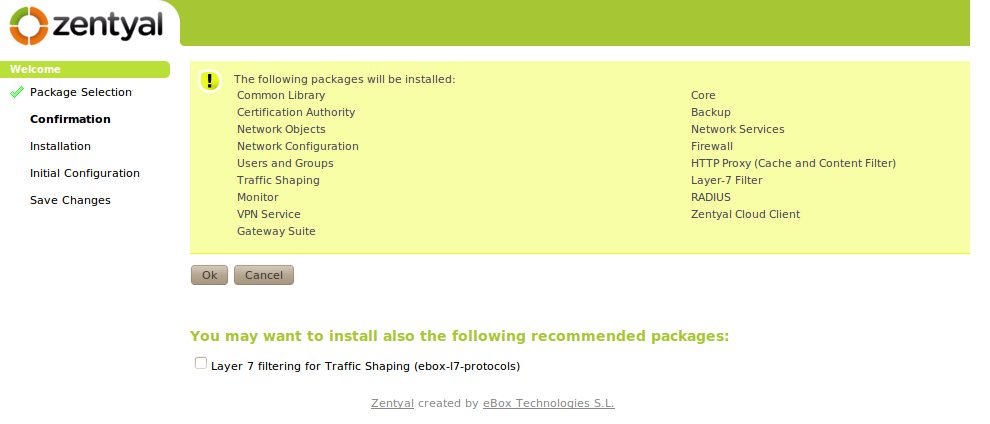
Confirmation and recommended complimentary components
The system will start the installation process of the required modules and you will be shown a progress bar and a brief introduction to the Zentyal functionality together with the additional services available for Zentyal.
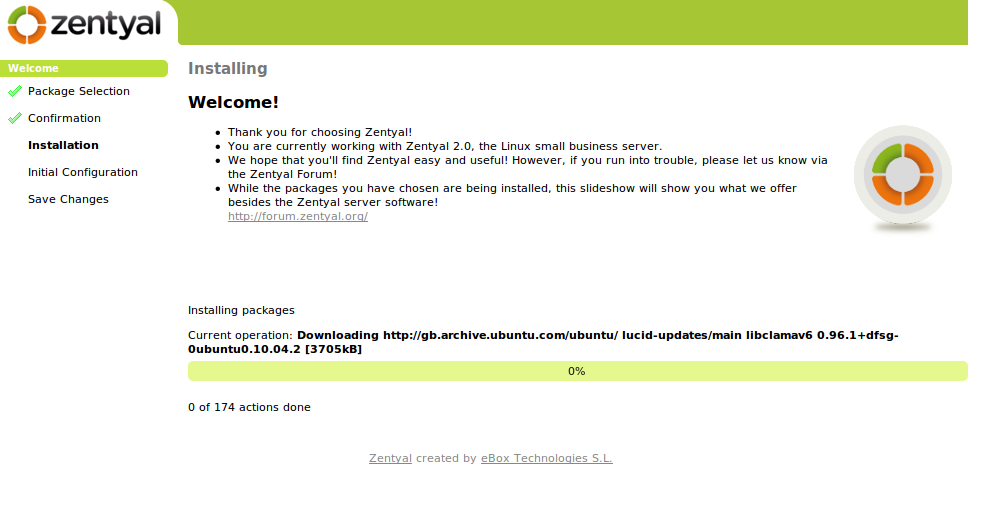
Installation and additional information
Once the installation process is finished, the configuration wizard will configure the new modules and you are asked some questions.
First of all, you are asked for information regarding the network configuration and you define each network interface as internal or external, in other words, whether it will be used to connect to an external network such as Internet or to a local network. Strict firewall policies will be applied to all the traffic coming in through external network interfaces.
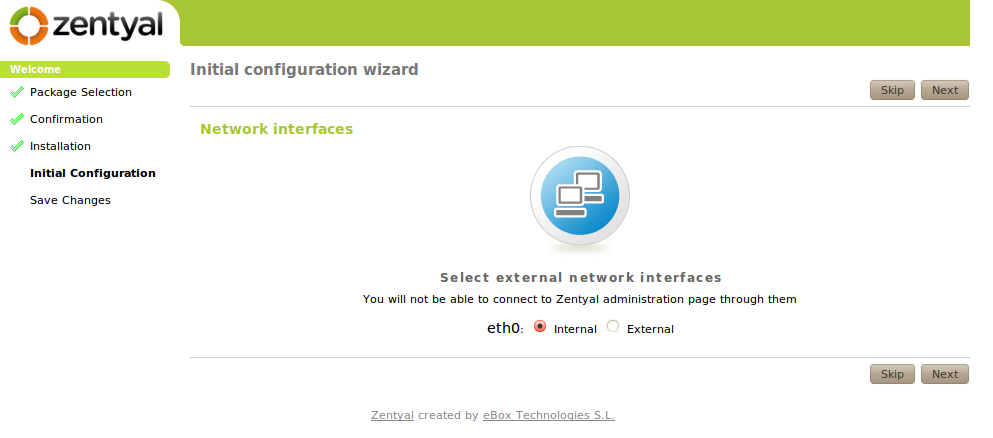
Initial configuration of network interfaces
Next you must select the type of server you want in the “Users and Groups” module. If you are going to have only one server, you select Stand-alone server. If, on the contrary, you are deploying a master-slave infrastructure with several Zentyal servers and centralized management of users and groups or if you are interested in synchronizing the users with Microsoft Active Directory, you must select Advanced configuration. This step is available only if you have installed the Users and Groups module.
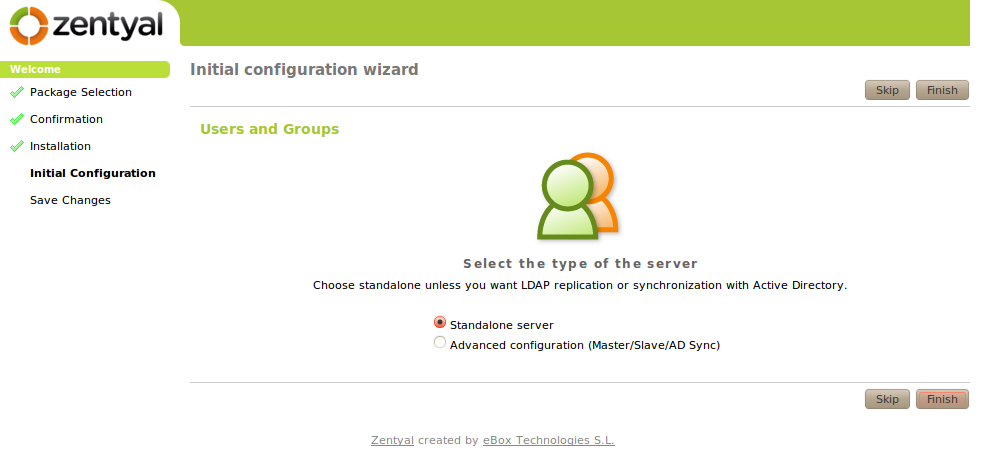
Select a type of server for Users and Groups module
Once you have answered these questions, you will continue to configure all the installed modules.
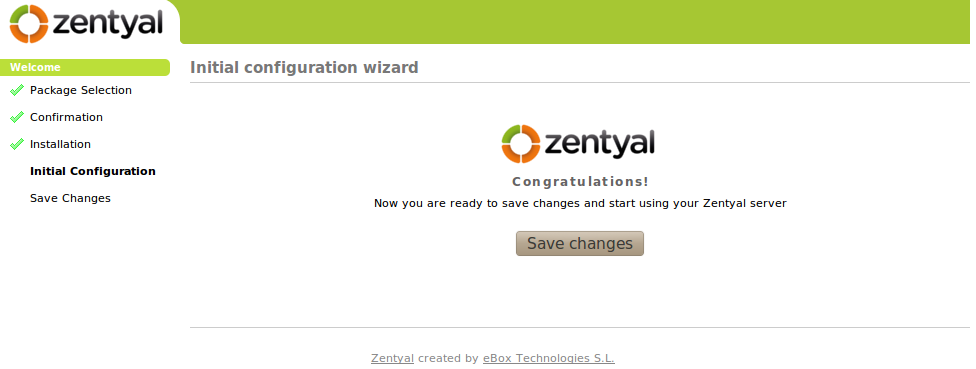
Initial configuration is finished
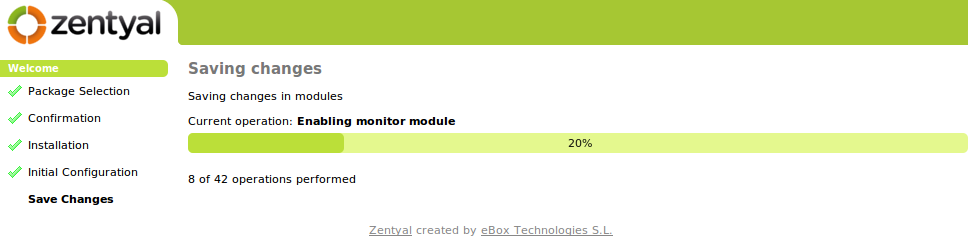
Saving changes
When the system is finished saving changes, you can access to the Dashboard: your Zentyal server is now ready!
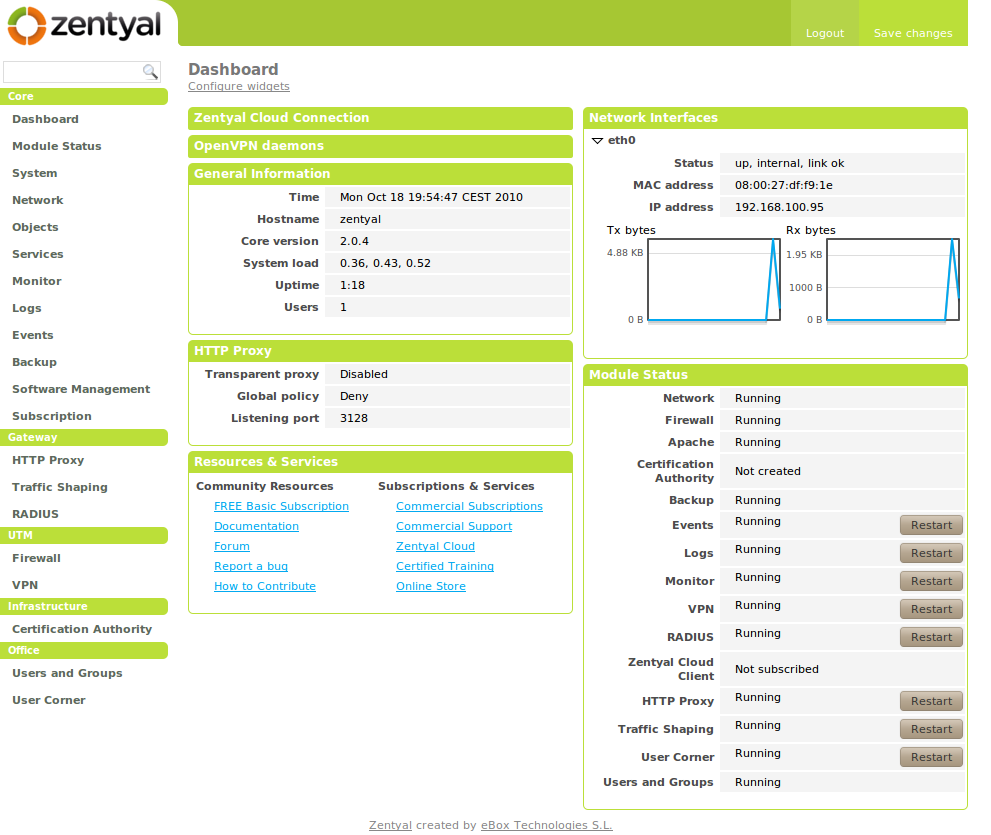
Dashboard
Hardware requirements
Zentyal runs on standard x86 or x86_64 (64-bit) hardware. However, you must make sure that Ubuntu Lucid 10.04 LTS (kernel 2.6.32) supports the hardware you are going to use. You should be able to check this information directly from the vendor. Otherwise you can check Ubuntu Linux Hardware Compatibility List [6], list of servers certified for Ubuntu 10.04 LTS [7] or by searching in Google.
The Zentyal server hardware requirements depend on the modules you install, how many users will use the services and what are their usage patterns.
Some modules have low requirements like Firewall, DHCP or DNS, but others like Mailfilter or Antivirus need more RAM memory and CPU. Proxy and File sharing modules would benefit from faster disks due their intensive I/O usage.
A RAID setup gives a higher level of security against hard disk failures and increased speed on read operations.
If you use Zentyal as a gateway or firewall, you will need at least two network cards, but if you use it has a standalone server, one network card is enough. If you have two or more Internet connections, you can have one network card for each router or connect them to one network card having them in the same subnet. VLAN is also an option.
Also, it is always a good recommendation to have an UPS for your server.
For a general purpose server with the usual usage patterns, these would be the recommended minimum requirements:
| Zentyal Profile | Users | CPU | Memory | Disc | Network cards |
|---|---|---|---|---|---|
| Gateway | <100 | P4 or equivalent | 2G | 80G | 2 or more |
| 100 or more | Xeon Dual core or equivalent | 4G | 160G | 2 or more | |
| UTM | <100 | P4 or equivalent | 1G | 80G | 1 |
| 100 or more | Xeon Dual core or equivalent | 2G | 160G | 1 | |
| Infrastructure | <100 | P4 or equivalent | 1G | 80G | 1 |
| 100 or more | P4 or equivalent | 1G | 160G | 1 | |
| Office | <100 | P4 or equivalent | 1G | 2100G | 1 |
| 100 or more | Xeon Dual core or equivalent | 2G | 1000G | 1 | |
| Communications | <100 | Xeon Dual core or equivalent | 4G | 2100G | 1 |
| 100 or more | Xeon Dual core or equivalent | 8G | 1000G | 1 |
When combining more than one profile, you should think in terms of higher requirements. If you are deploying Zentyal in an environment with more than 100 users, a more detailed analysis should be done including usage patterns, benchmarking and considering high availability strategies.
| [6] | http://www.ubuntuhcl.org/ |
| [7] | http://webapps.ubuntu.com/certification/release/10.04 LTS/servers/ |