Deploying a Project as an interactive application
This tutorial walks you through deploying an Anaconda Project and sharing the deployment with others so they can interact with it.
In this tutorial you will use an example project included with Anaconda Enterprise.
In Anaconda Enterprise, click the Projects tab.
At the top right, click the Sample Projects link, then find the sample project “weather_statistics” and click the Save to My Projects link.
After it’s saved, click the View Project link. Then in the left navigation bar, click the Deploy tab.
In the Deploy Project pane, review the default deployment options:
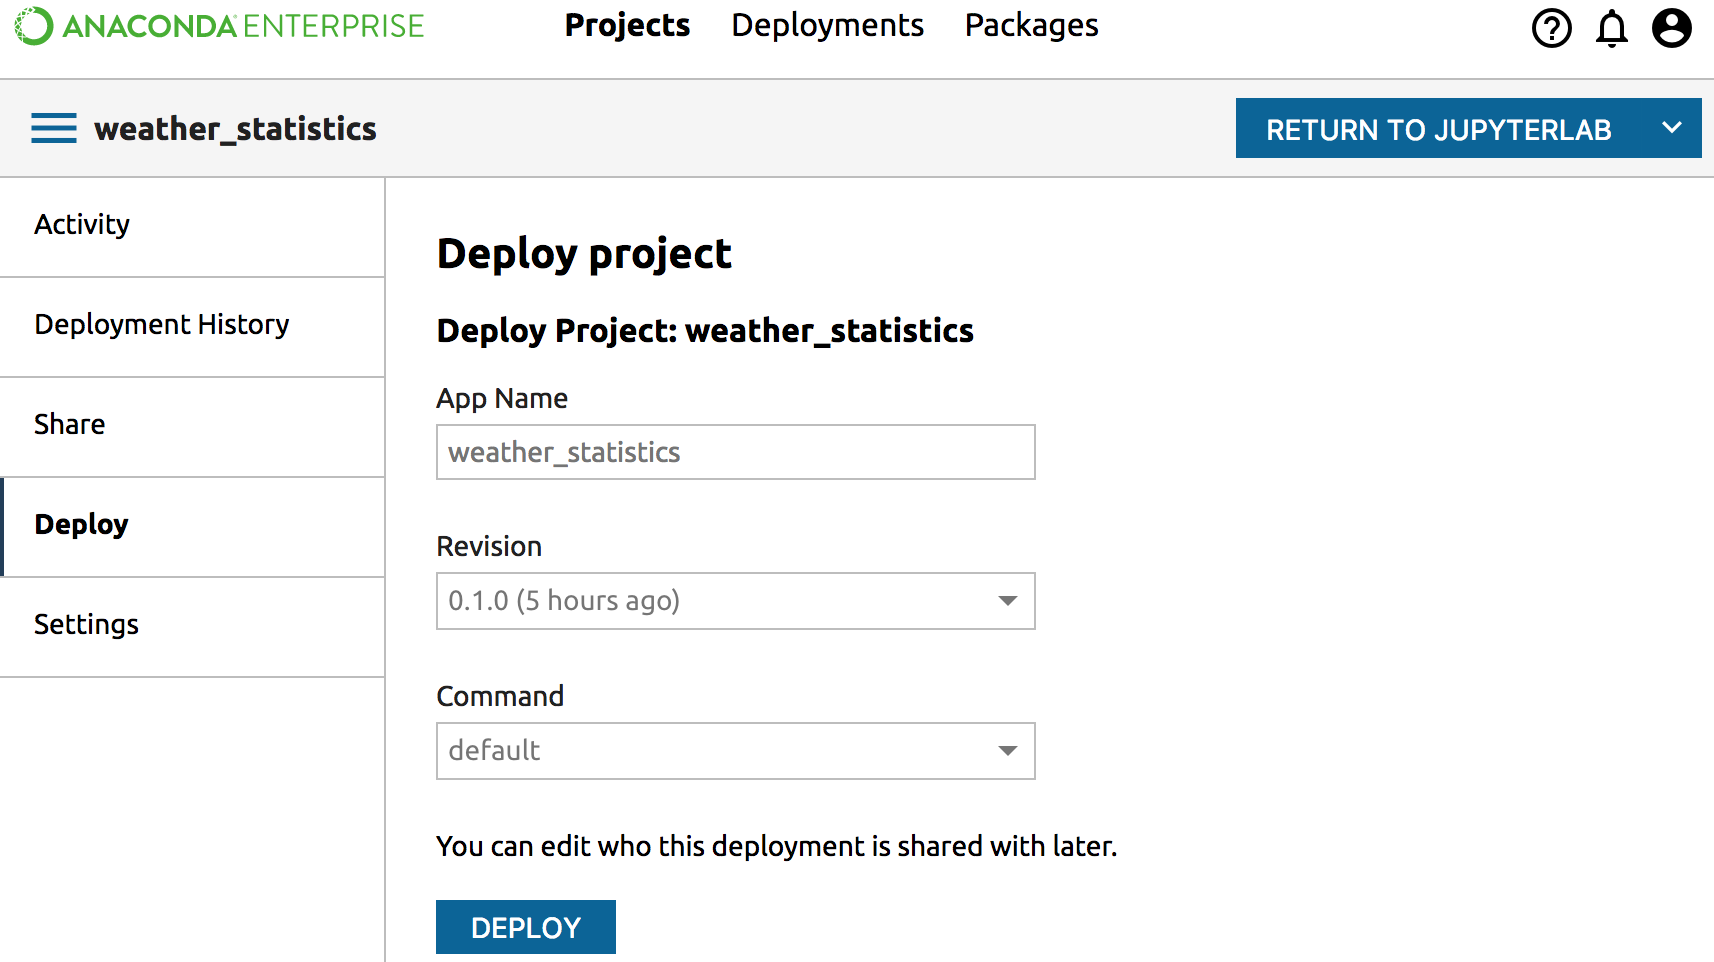
At the bottom of the pane, click the Deploy button.
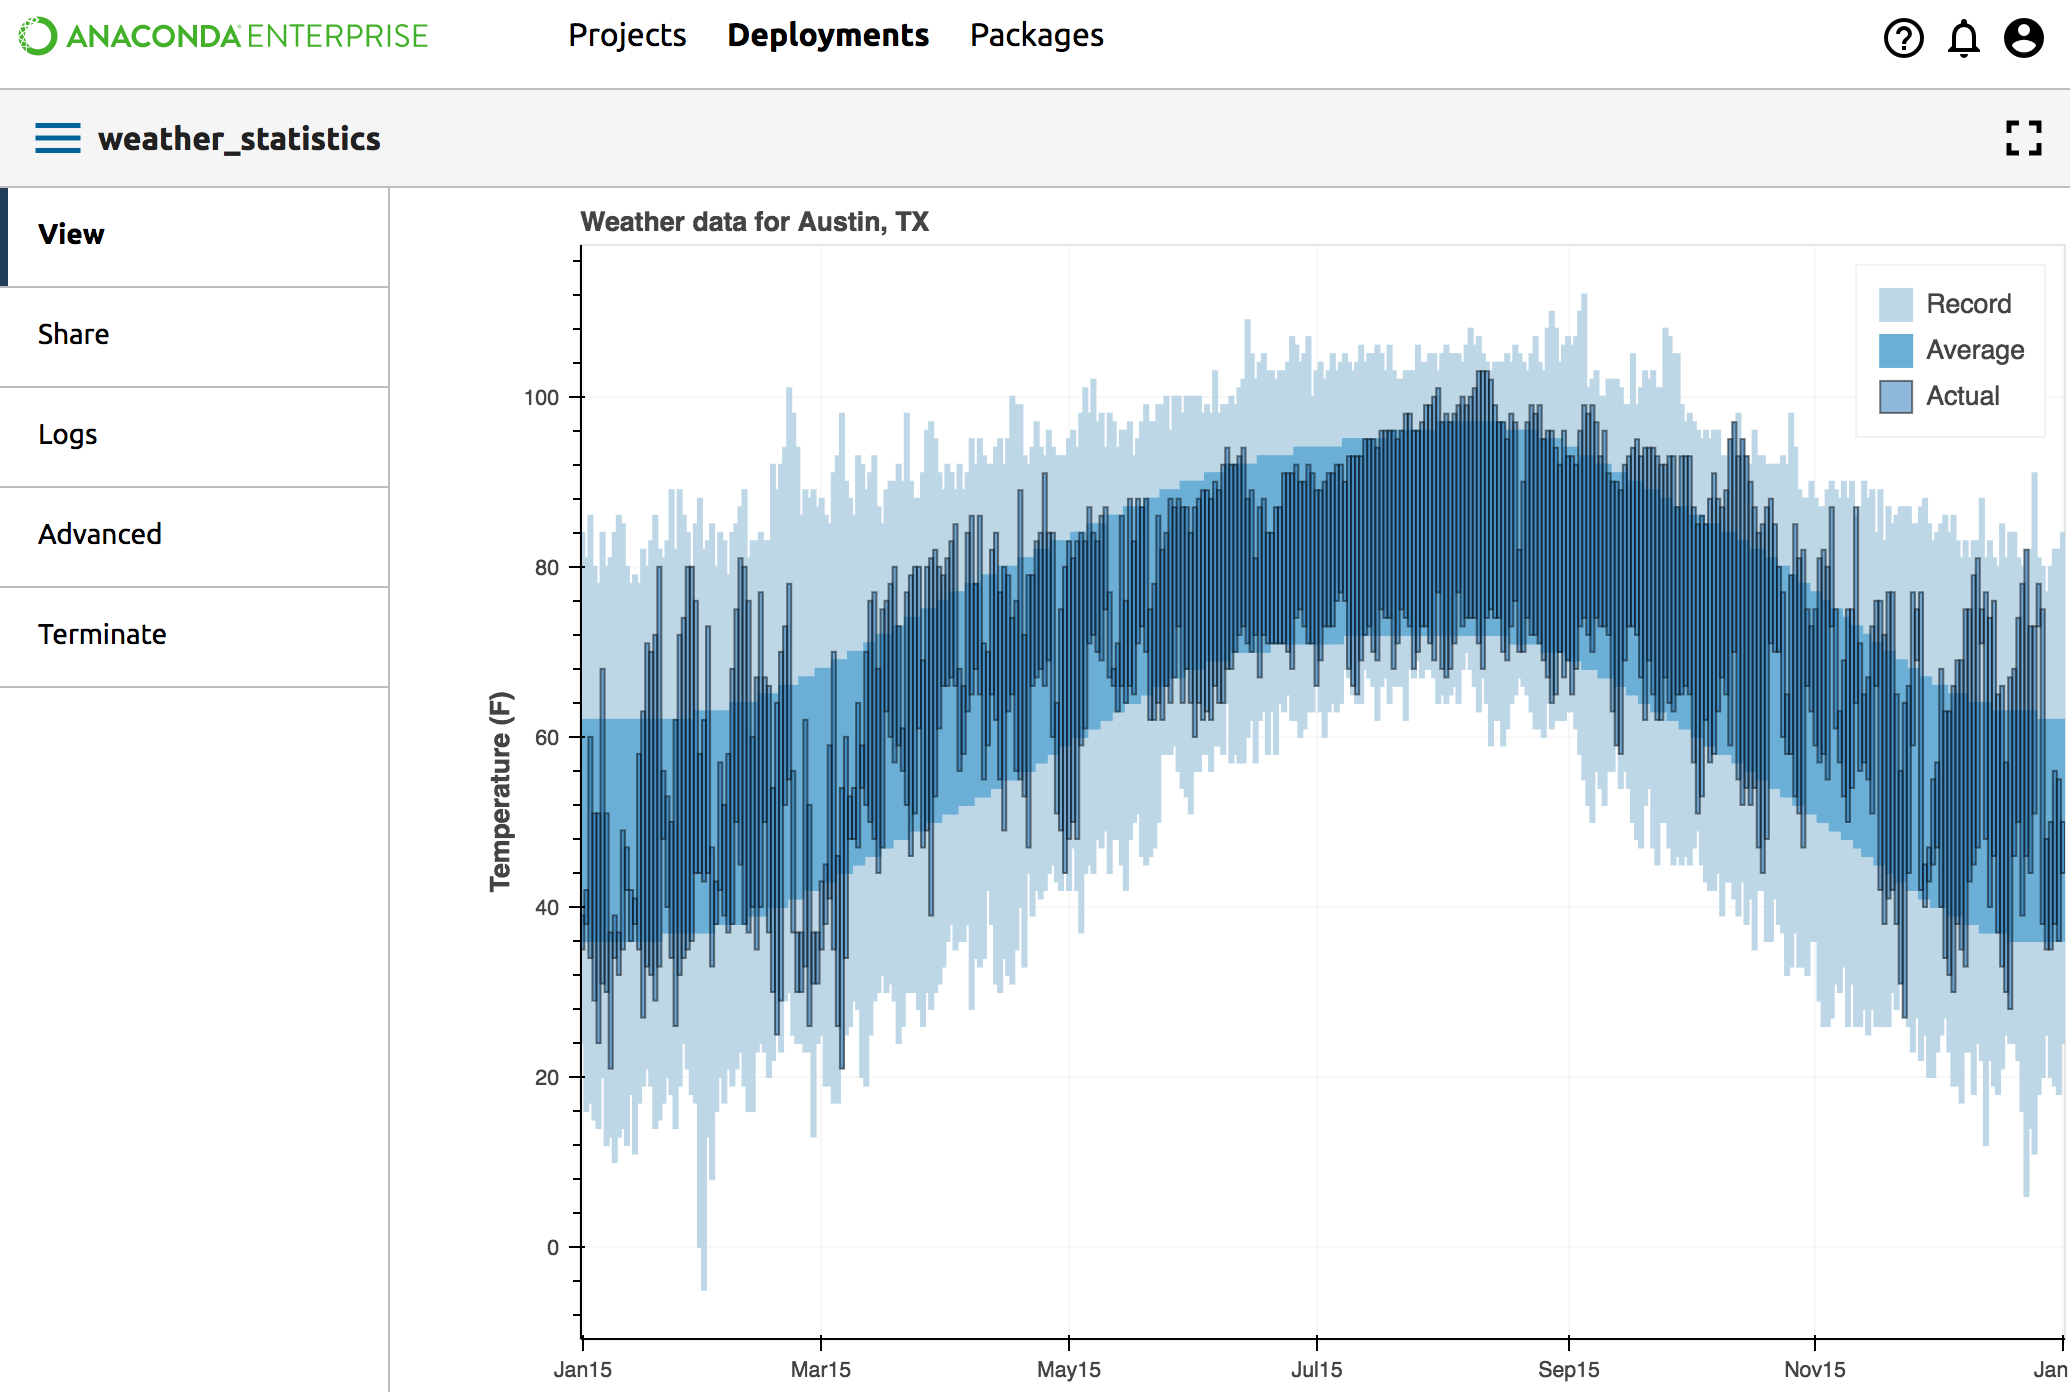
Your project is deployed. This process may take a minute.
To share the deployment:
In the top navigation bar, click Deployments.
Click the Deployment Name column heading to sort the list alphabetically.
Click the deployment name “weather_statistics,” which is the deployment that you just built when you deployed the weather_statistics project:
In the left navigation bar, click Share. The Share pane will appear.
In the Share pane, search for and select the users, groups, or roles that you want to share your deployment with:
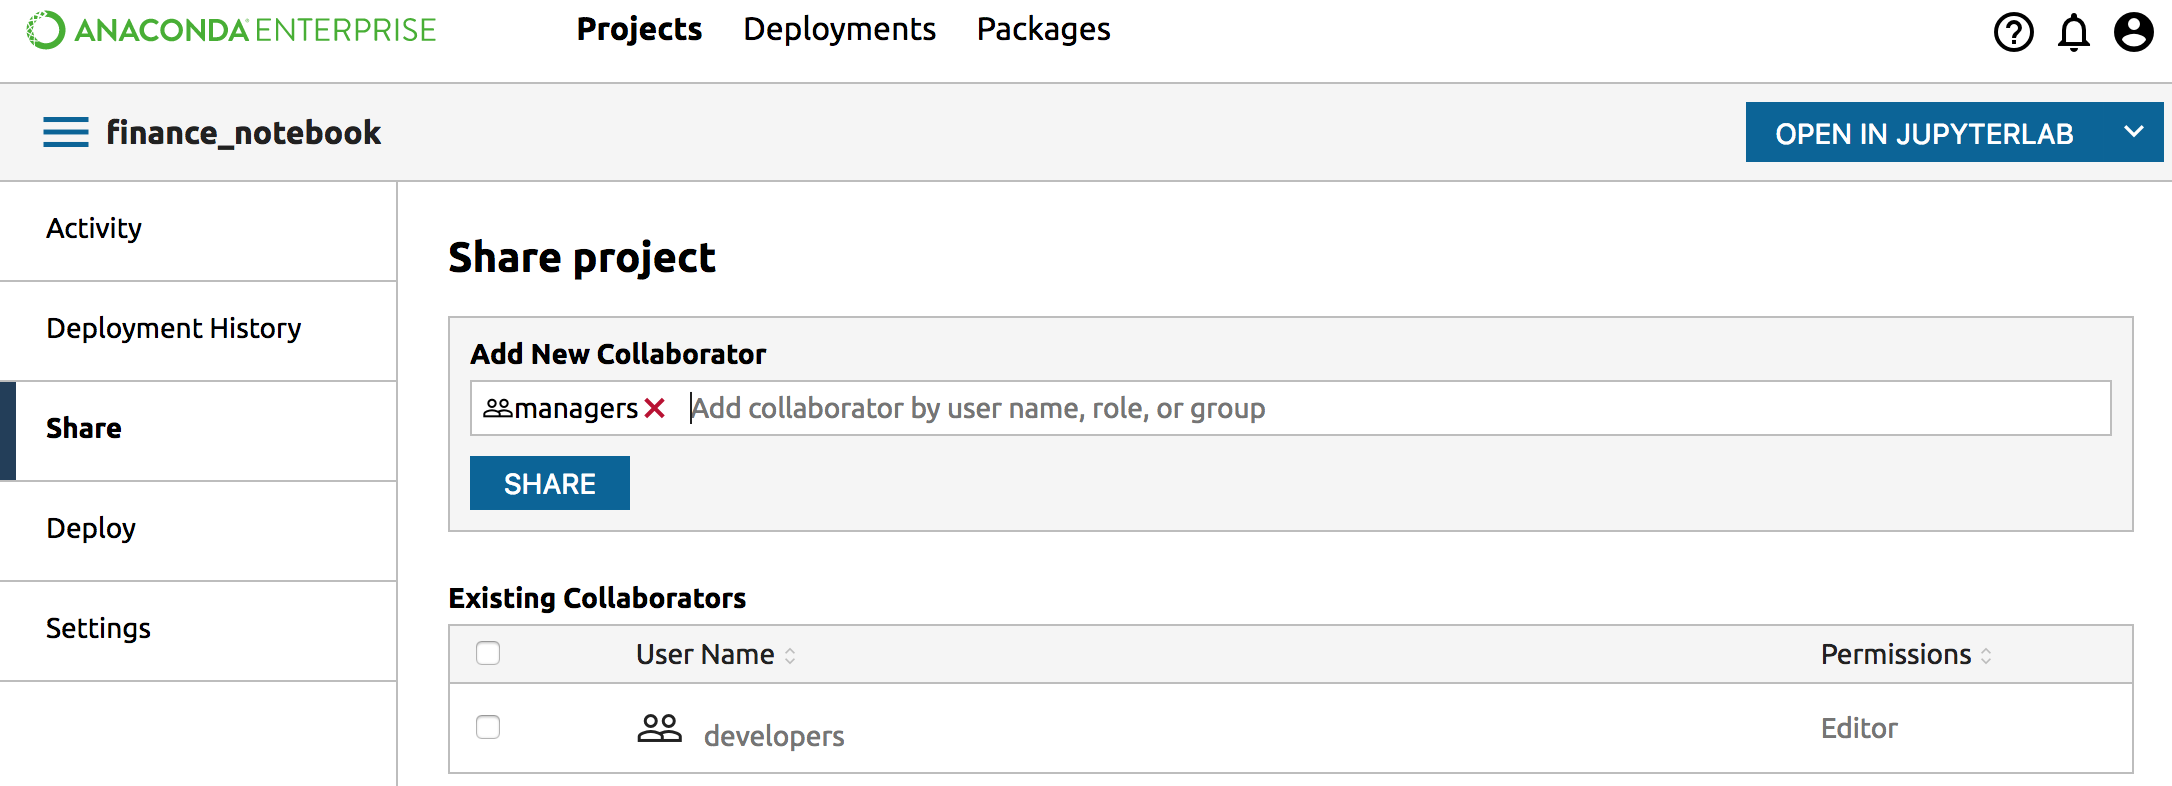
Click the Share button.
The selected users can now see your deployment when they log in to Enterprise.