Alerts
Control Center provides functionality for detecting anomalous events in your monitoring data and performing actions when they occur.
Concepts
Detection of anomalous events (triggering) is decoupled from the actions that should be taken when they occur.
Each time interceptor data is received by Control Center, metric values (consumption difference and latency) of the corresponding time window(s) are updated to reflect the new data. All newly updated metric values are then checked against all configured triggers to determine whether the trigger should fire or not.
Note
Interceptors can conceivably report data related to any time - alerting works across all time windows not just those near real time.
Triggers can be associated with any number of actions. When a trigger fires, it will cause all associated actions to be executed for which the max send rate of the action has not been exceeded. If the max send rate of a particular action has been exceeded, the trigger event will be added to a list associated with the action and included in the action event the next time it is executed (actions report a set of triggers, not just one).
Because of normal lag in the system, time windows close to real time will frequently have associated metric values that would be cause for concern if the time window was further behind real time. For this reason, triggers have an associated buffer value.
A triggered event that is within buffer seconds of real time will not be registered against actions immediately - when the time window ultimately moves greater than buffer seconds behind real time, any associated metric value that would still cause a trigger to be fired will be registered against any appropriate actions then.
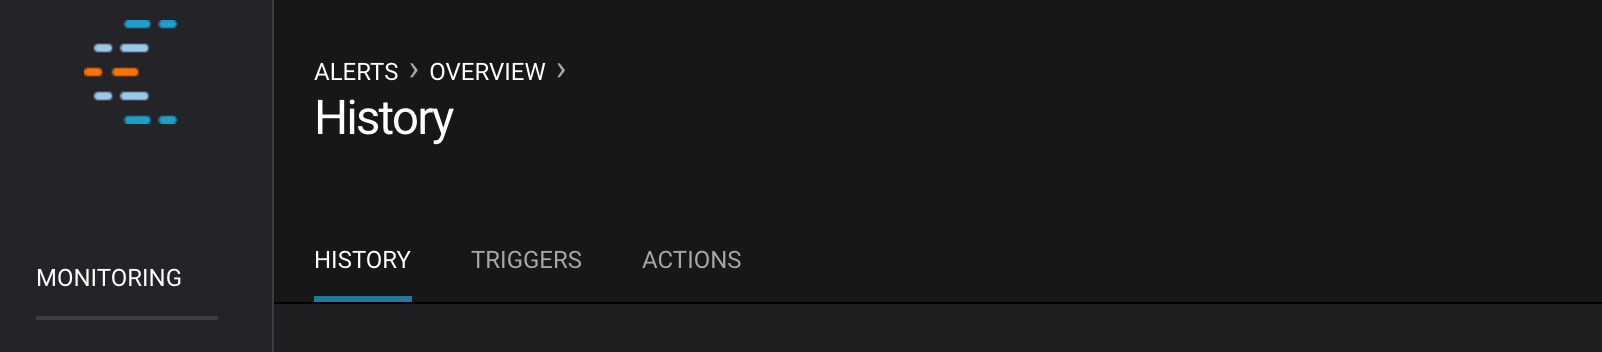
User Interface
The alerts user interface has three main sections, accessible via the sub menus at the top of the overview page:
- Historical Alert Log
- Trigger Management
- Action Management
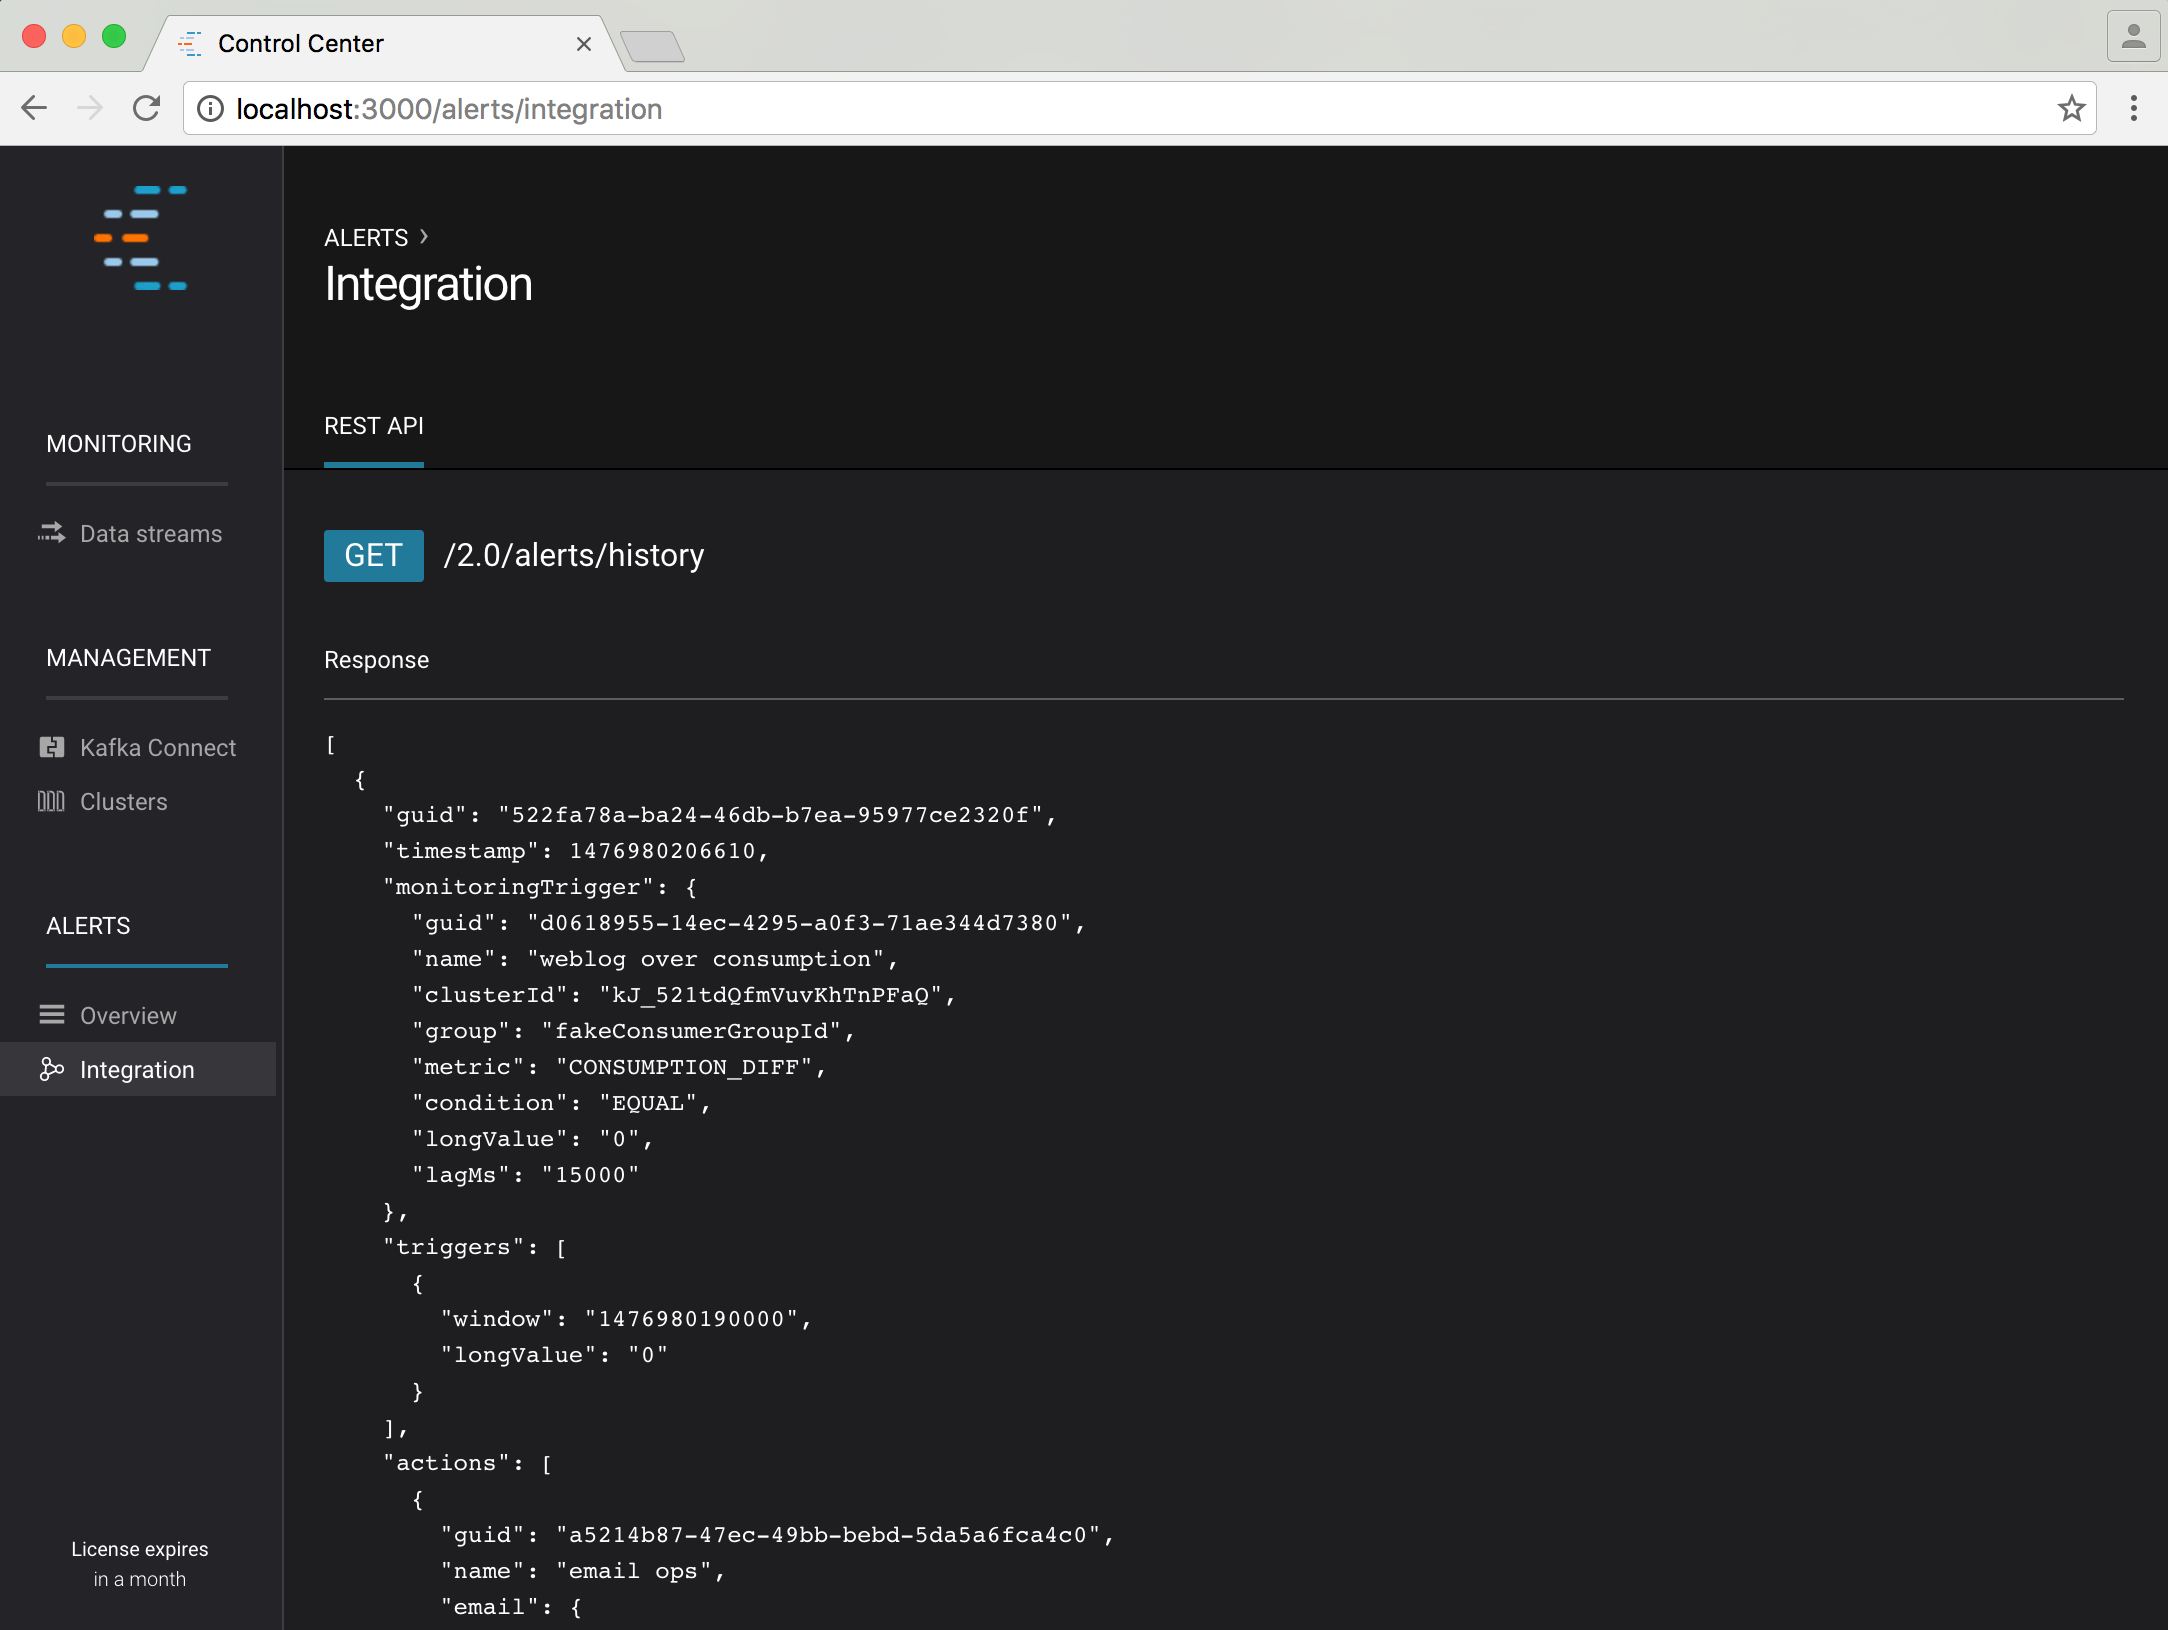
Additionally, there is a page that provides details of the alerts REST endpoint which can be used to programatically obtain historical alert information.
Trigger Management
Clicking on the triggers tab shows a summary of all configured triggers:
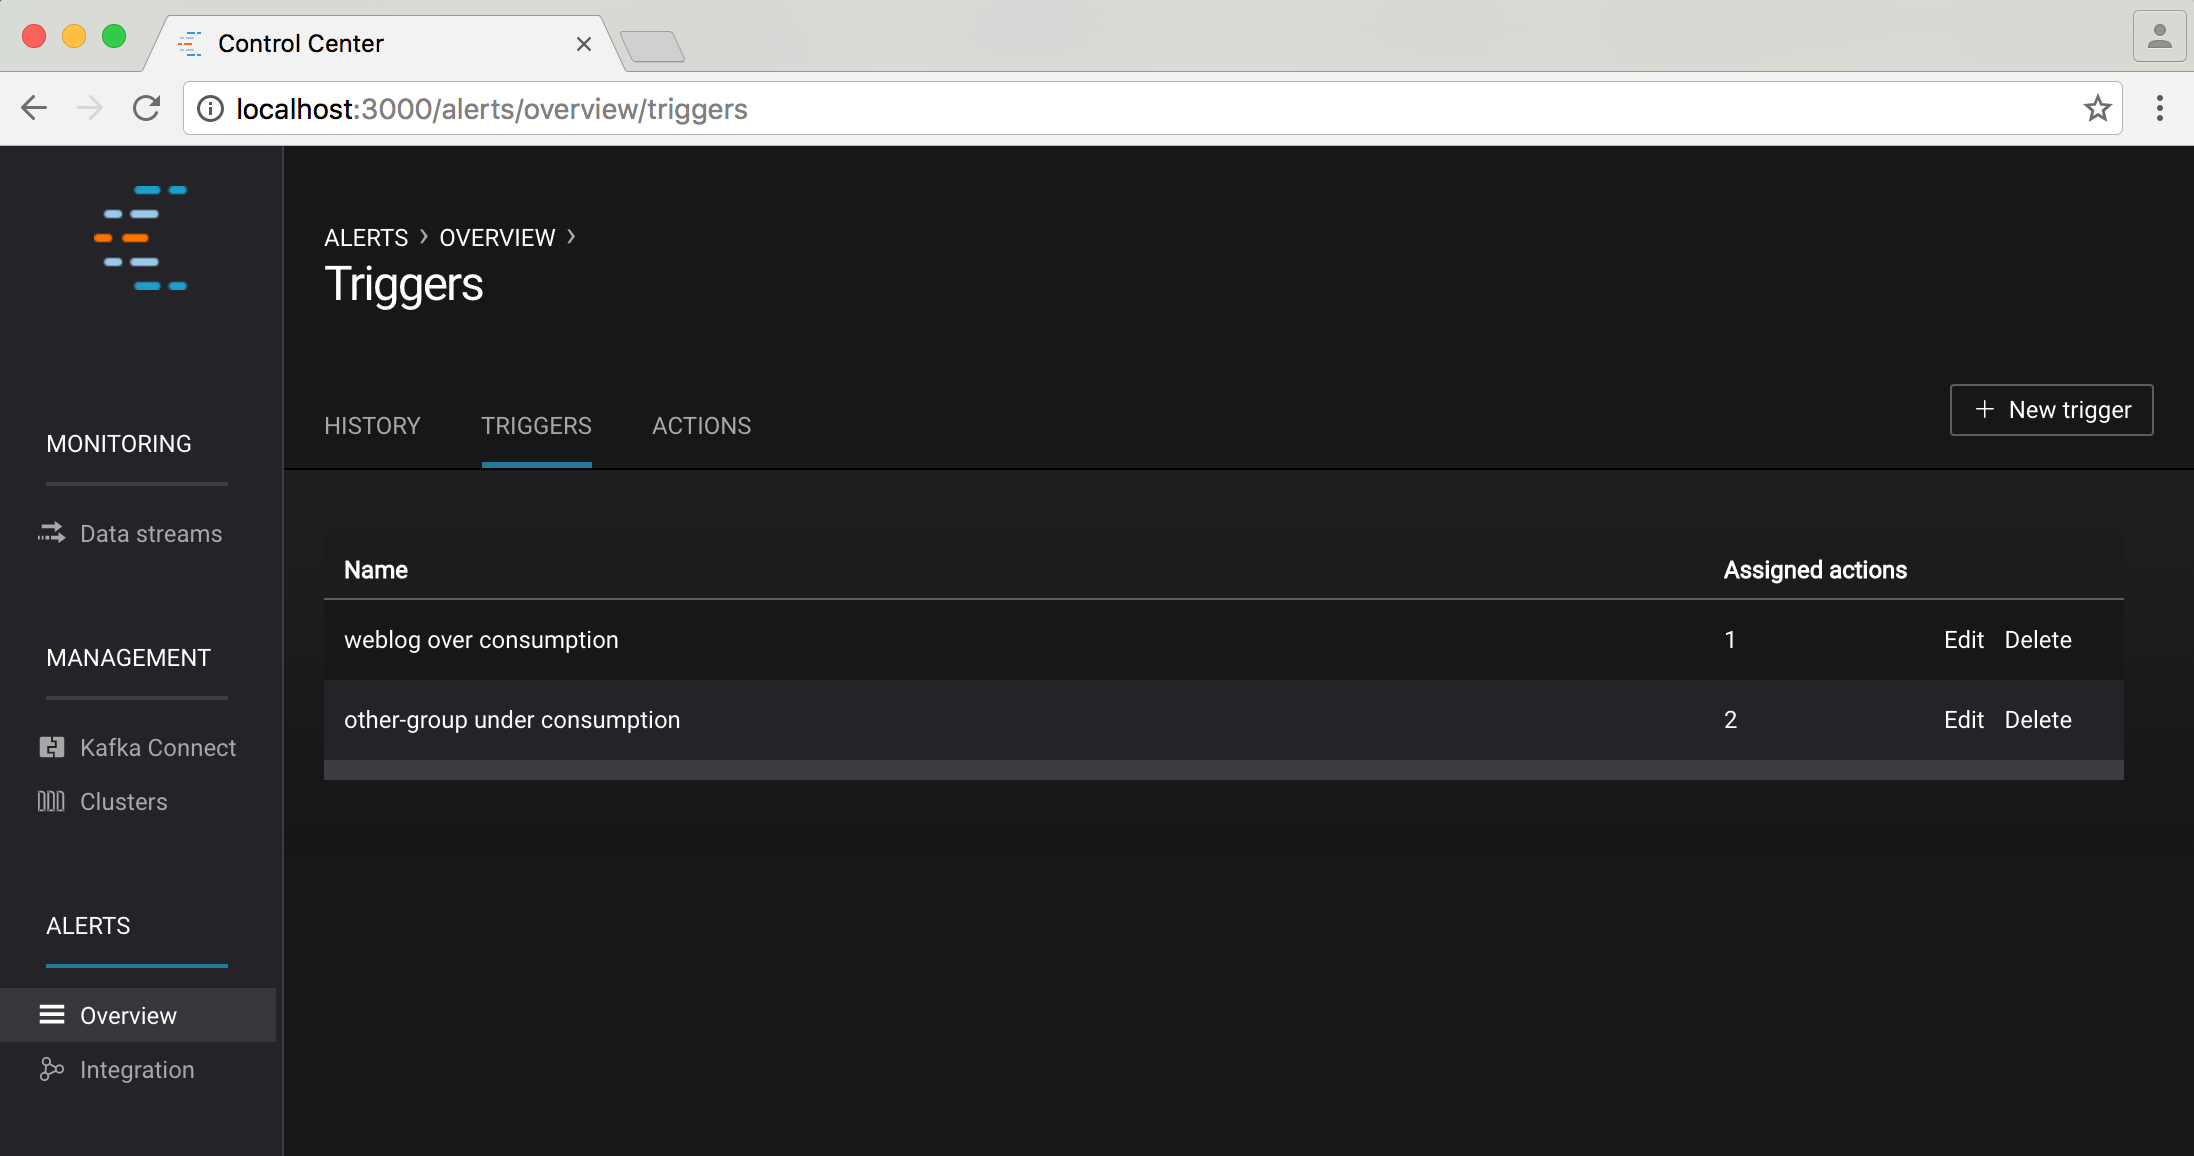
You can edit/delete an existing trigger using the edit/delete links in this table or create a new trigger via the “+ new trigger” button on the top right of the screen.
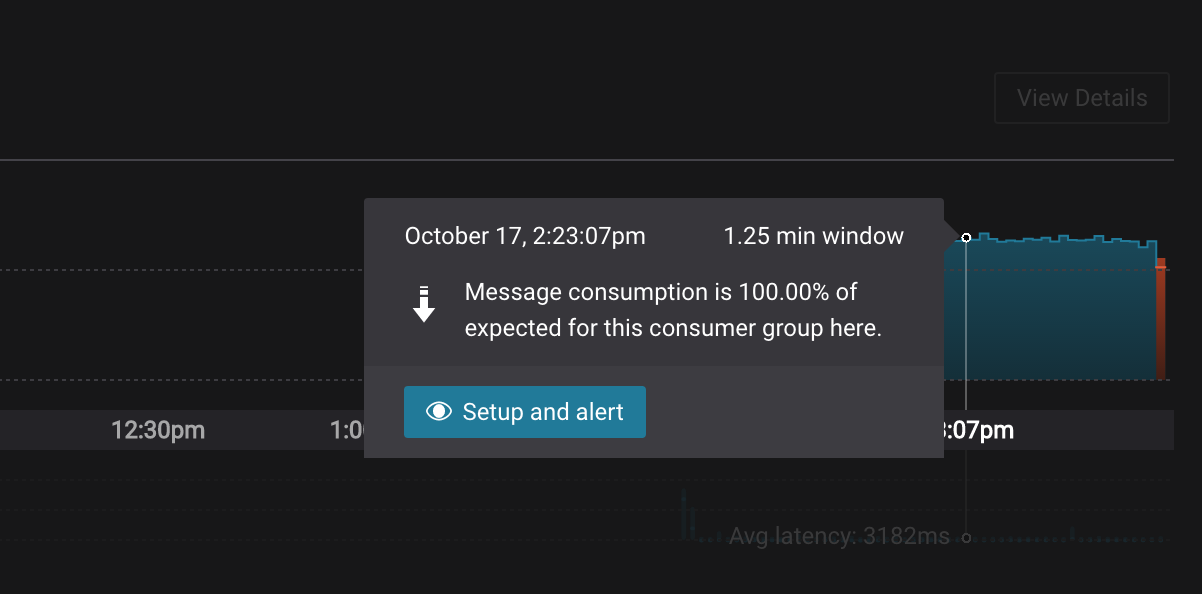
You can also initiate creation of a new trigger by clicking on a consumer group delivery or latency monitoring chart, and clicking “setup alert” button. This will pre-populate the new trigger form with relevant information.
New/Edit Trigger Form
The form for creating and editing triggers is identical. When editing, the form is pre-populated with the current trigger values.
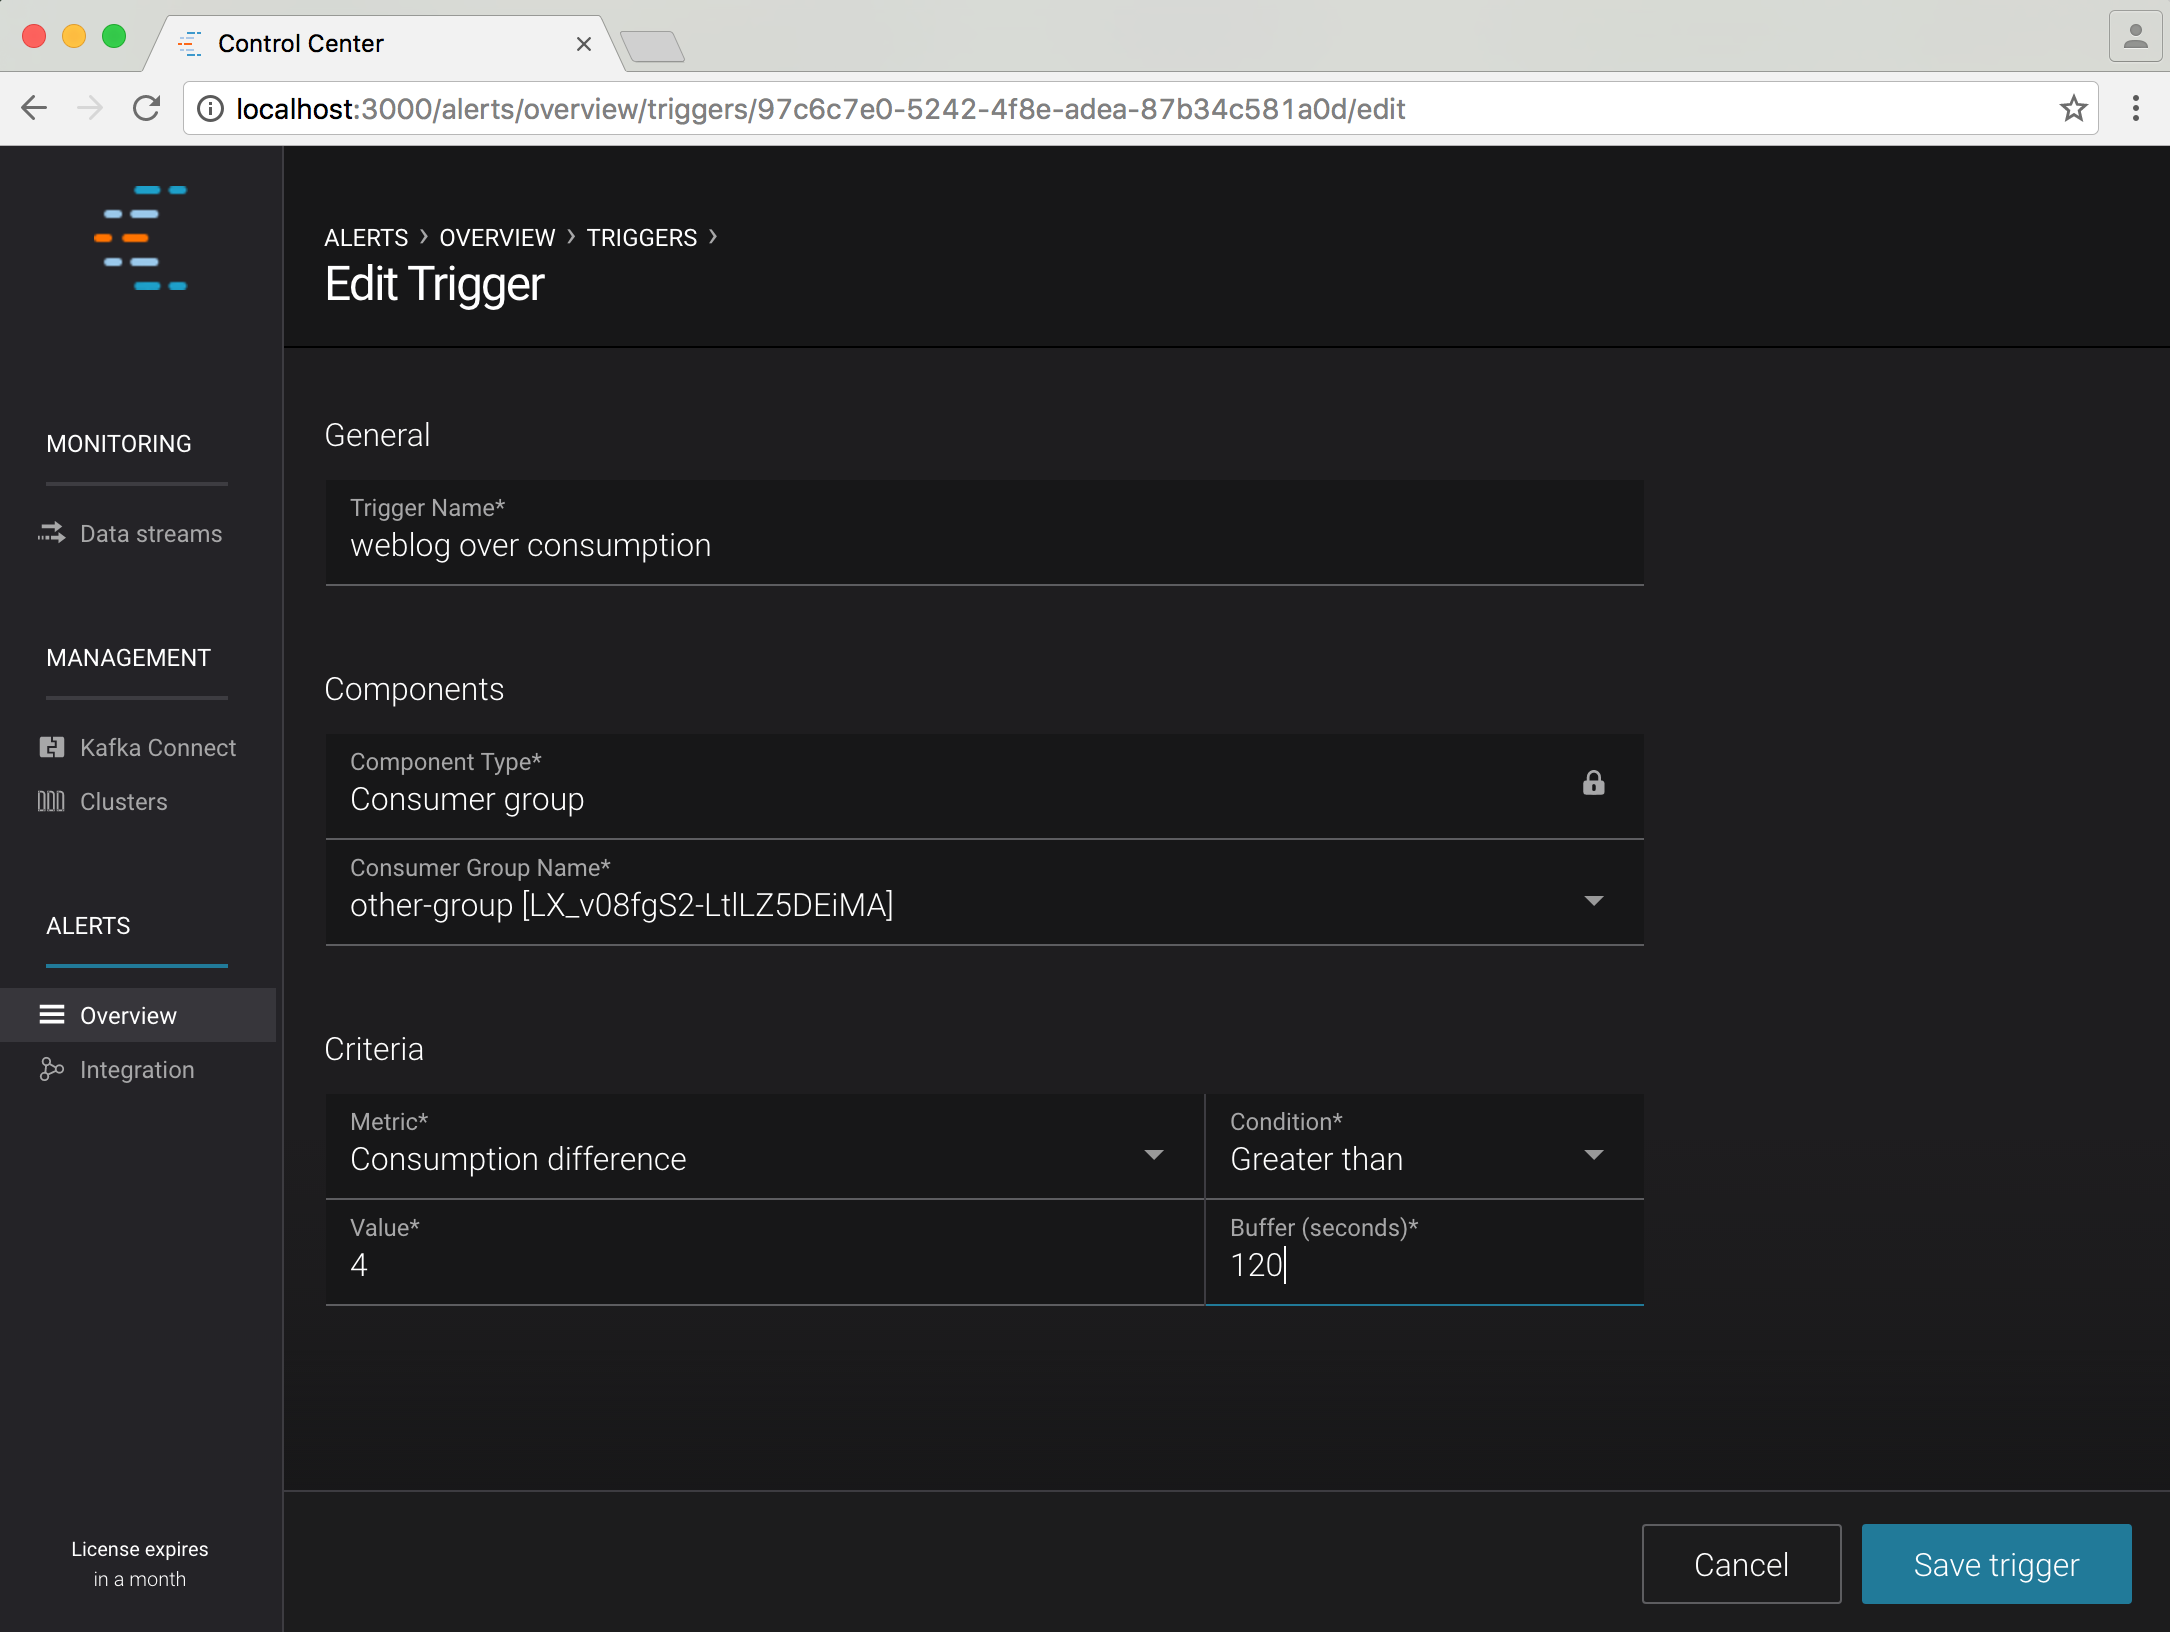
A description of each field follows (all fields are required):
- Trigger Name
- A name used to identify the trigger (for example ‘<consumer group name> under consumption’). Uniqueness is not enforced but you should use different names to avoid confusion.
- Component Type
- Currently we only support alerting on consumer group monitoring data and this is the only possible option for this field. In the future we may support alerting on other types of data.
- Consumer Group Name
- The name of the consumer group to monitor for anomalies.
- Metric
- The metric to monitor. One of “maximum latency (ms)”, “average latency (ms)” or “consumption difference”.
- Condition
- The trigger will fire when condition is true of the difference between the value of the metric being monitored and the value of the value field. One of “Greater than”, “Less than”, “Equal to”, “Not equal to”.
- Value
- The value to compare the monitored metric to.
- Buffer
- The delay behind real time to wait until a time window is considered for triggering (refer to Concepts for more information).
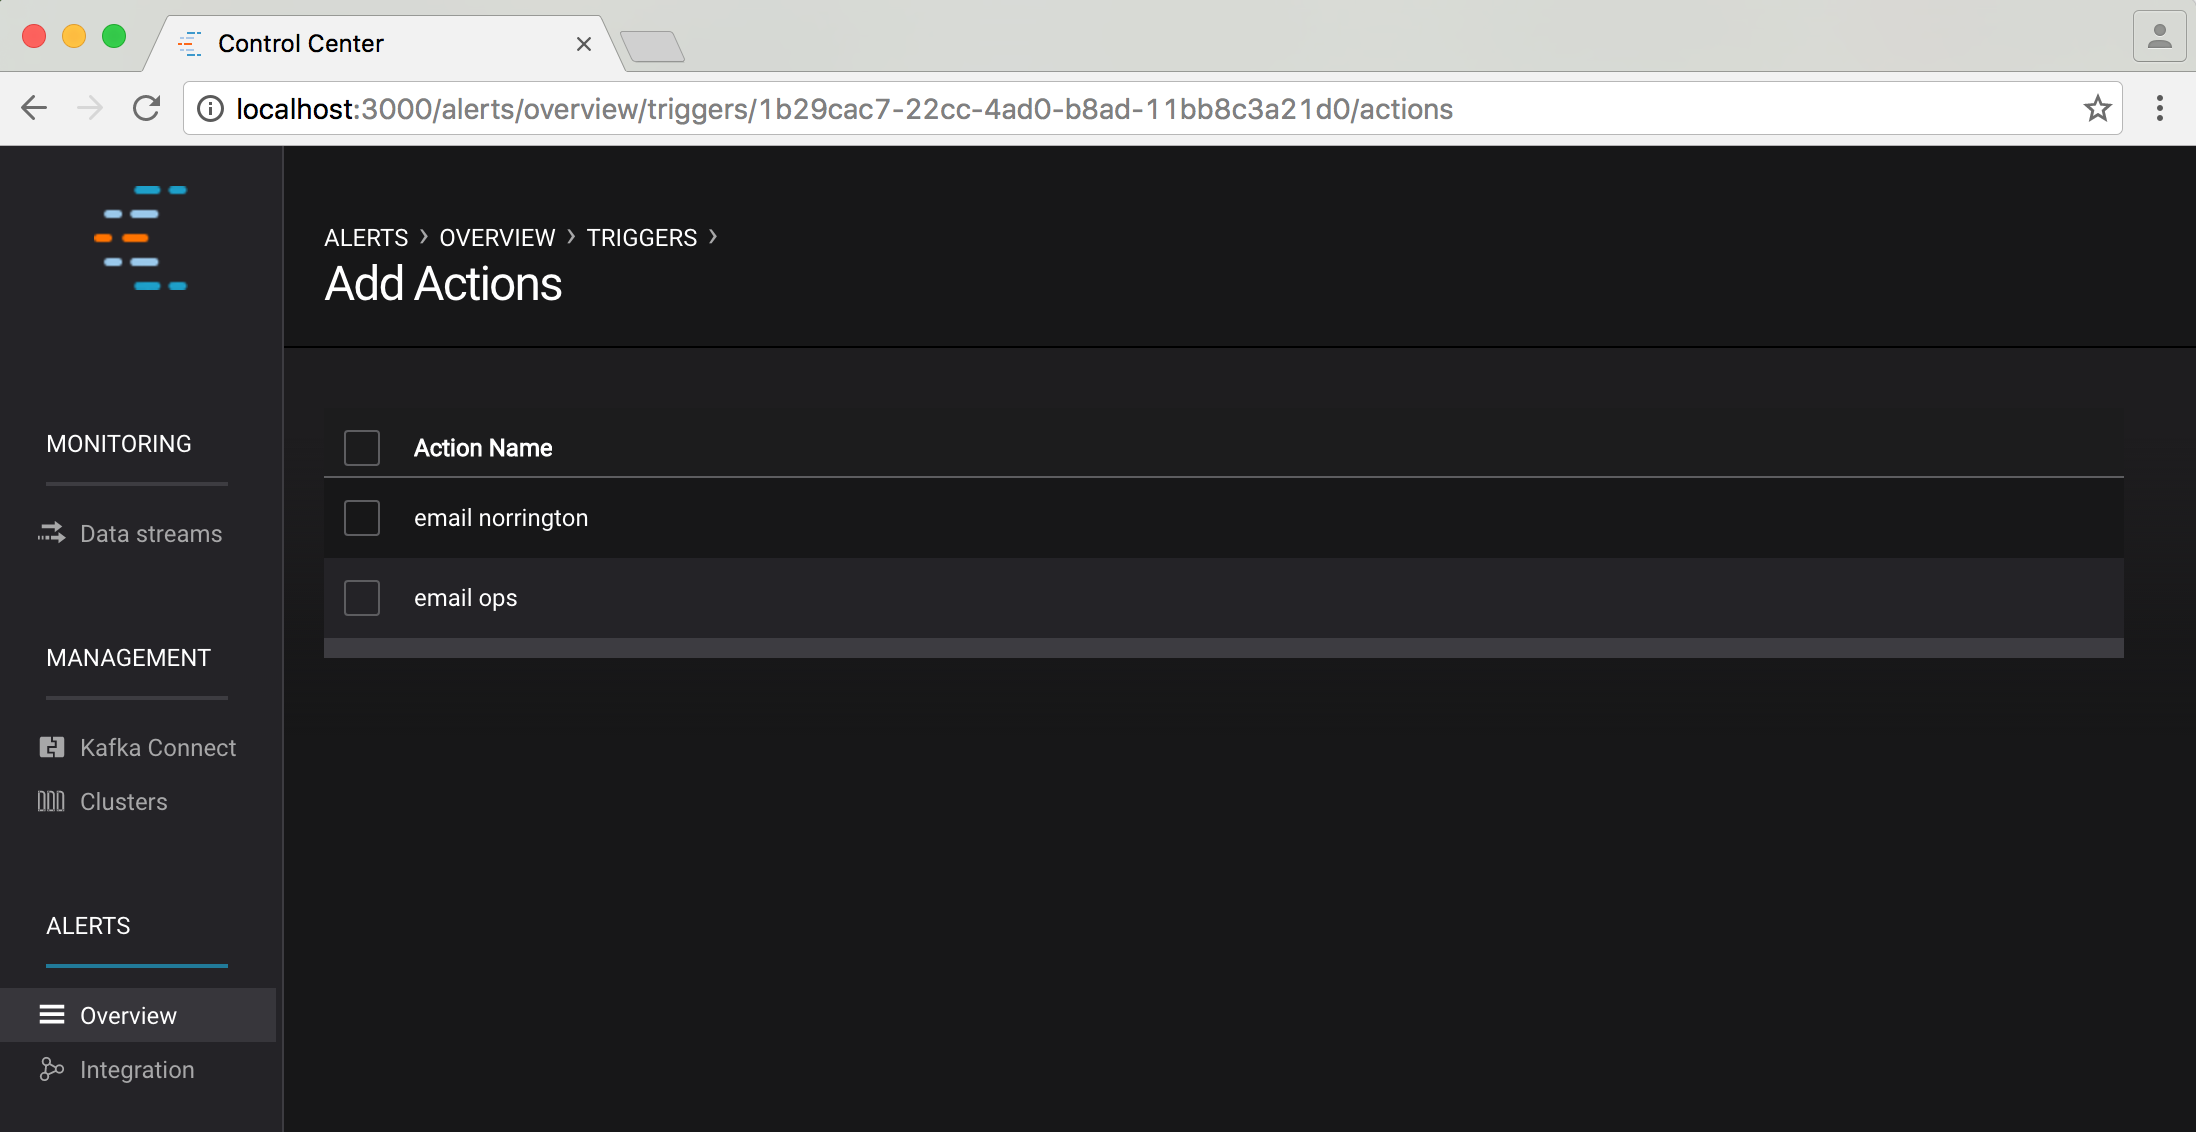
After creating a trigger, you will be given the option to associate it with one or more existing actions, or if none exist, to create a new action.
Actions Management
Clicking on the actions tab shows a summary of all configured actions:
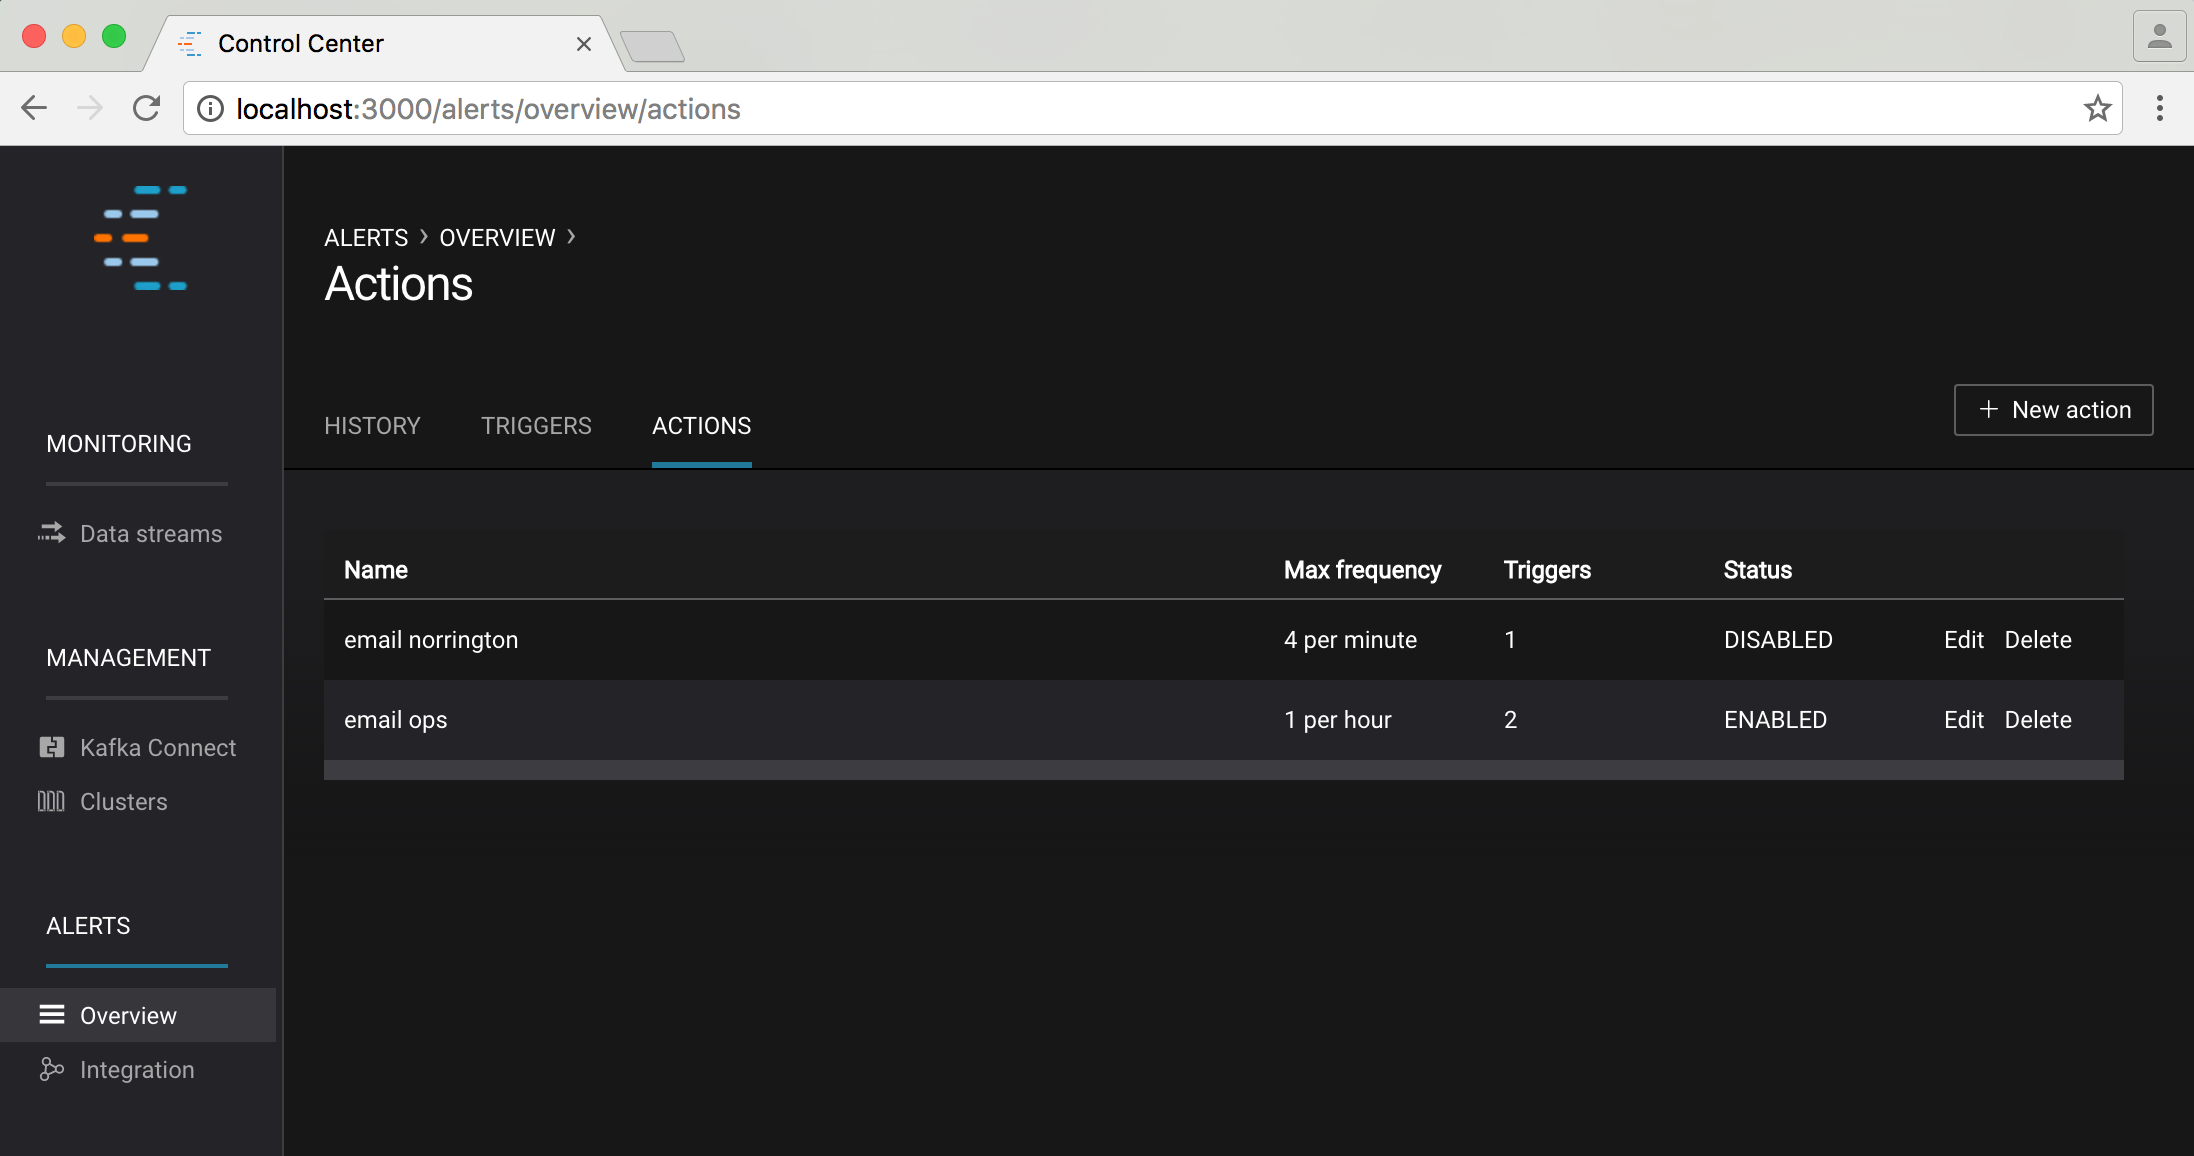
You can edit/delete an existing action using the edit/delete links in this table or create a new action via the “+ new action” button on the top right of the screen.
New/Edit Action Form
The form for creating and editing actions is identical. When editing, the form is pre-populated with the current action values.
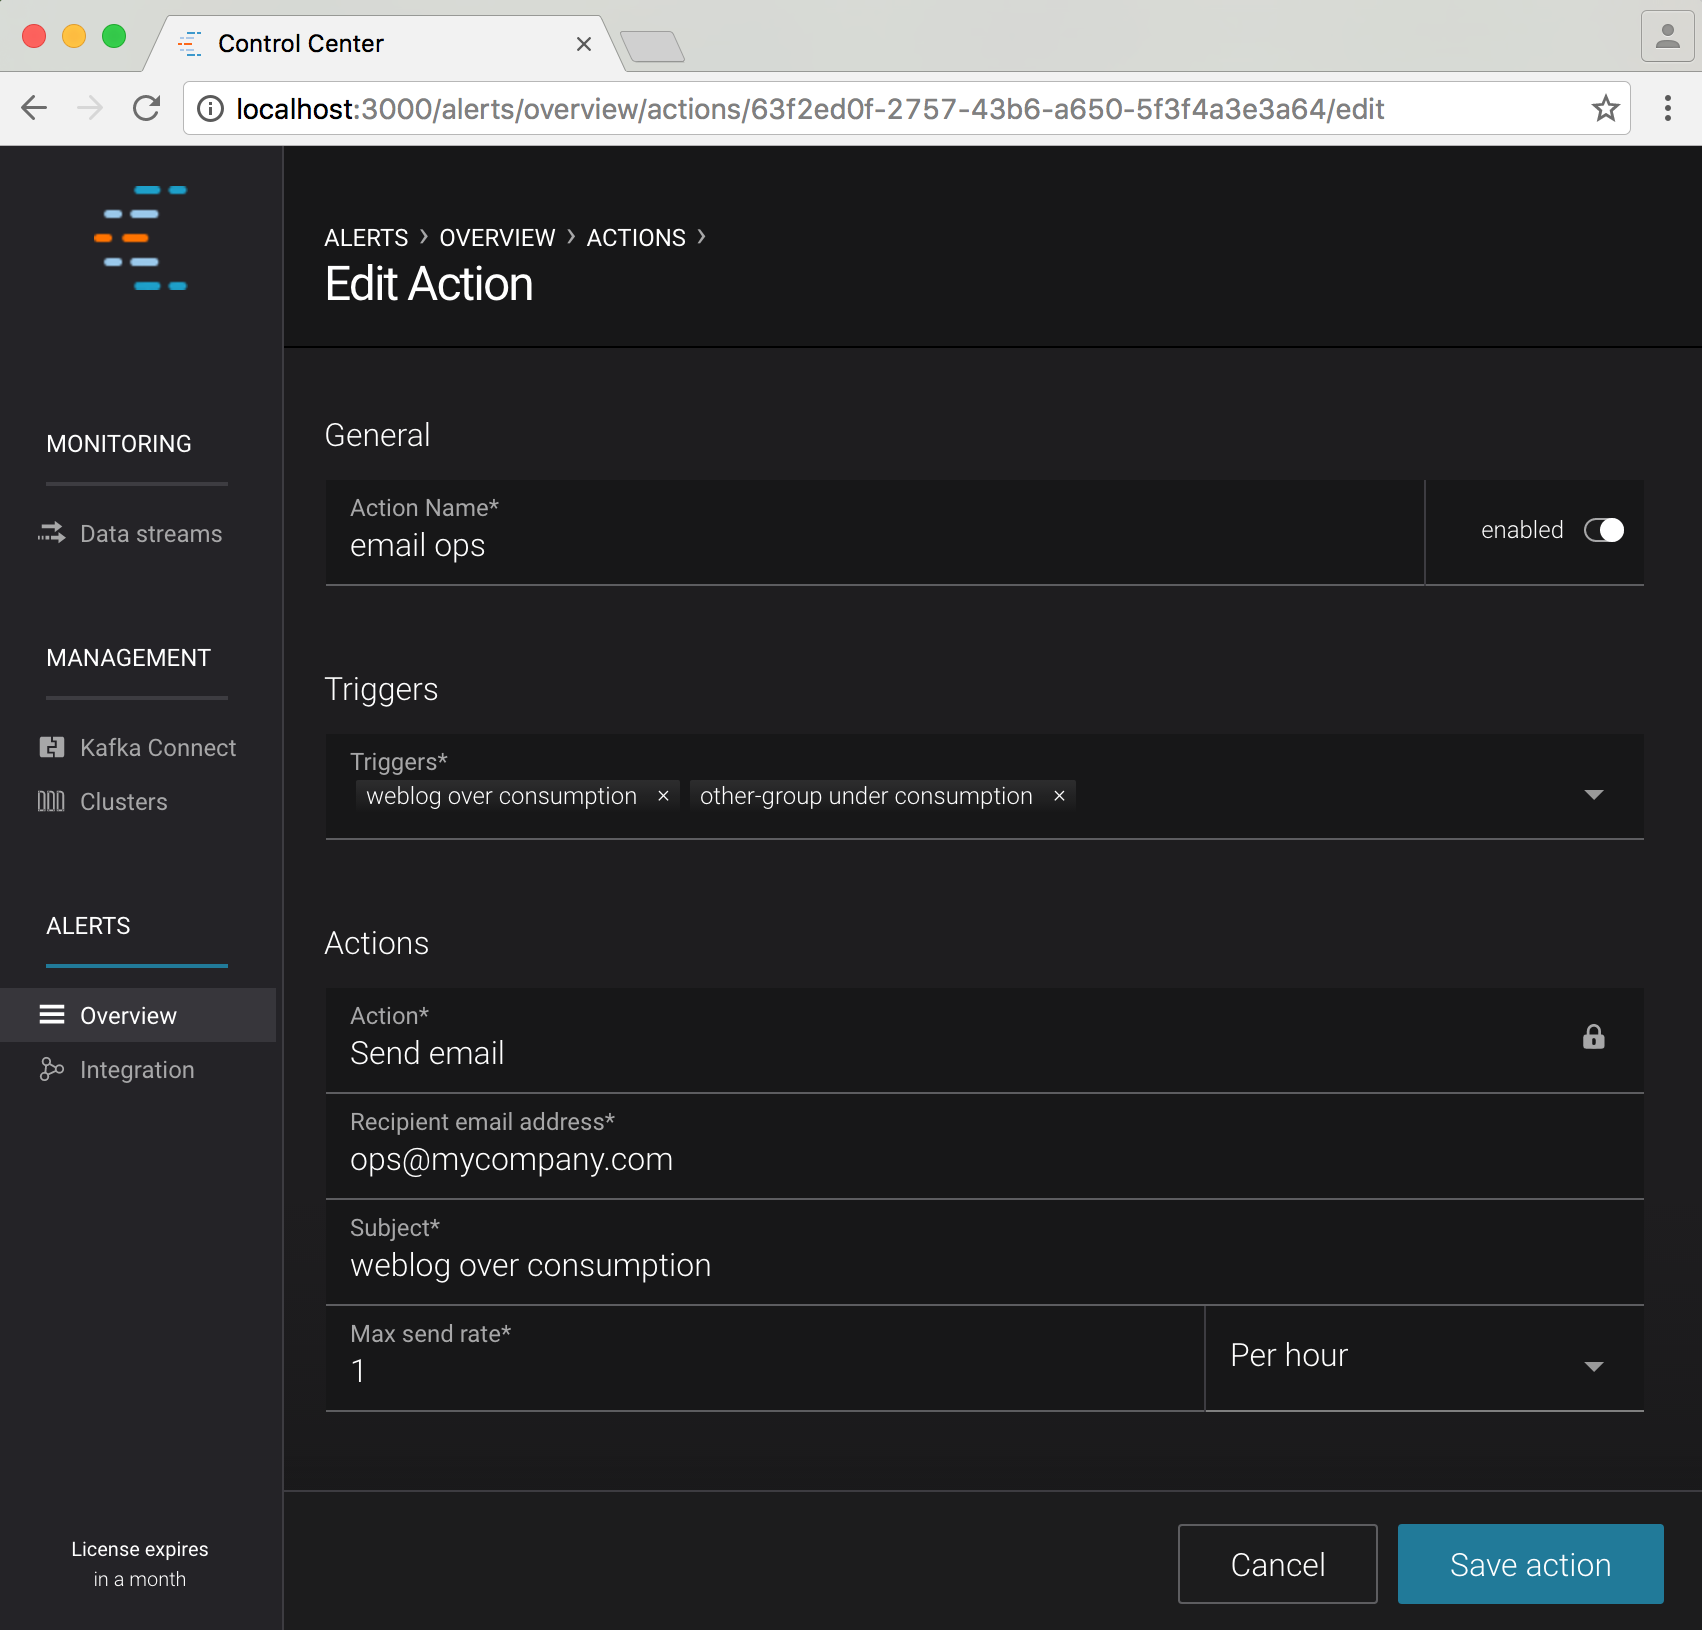
A description of each field follows (all fields are required):
- Action Name
- A name for the action (for example ‘email <ops person’>). Uniqueness is not enforced, but you should use different names to avoid confusion.
- Enabled/Disabled
- You may wish to temporarily disable actions. You can choose whether an action is currently enabled or disabled with this field.
- Triggers
- One or more triggers that will cause the action to be executed (refer to Concepts for more information).
- Action
- The type of action to perform. Currently we only support sending emails, but in the future we may support other action types.
- Recipient Email Address
- The email address associated with this action. A message will be sent to this address each time the action is executed.
- Subject
- The subject line of the email associated with this action.
- Max Send Rate
- The maximum rate at which the action may be executed (refer to Concepts for more information).
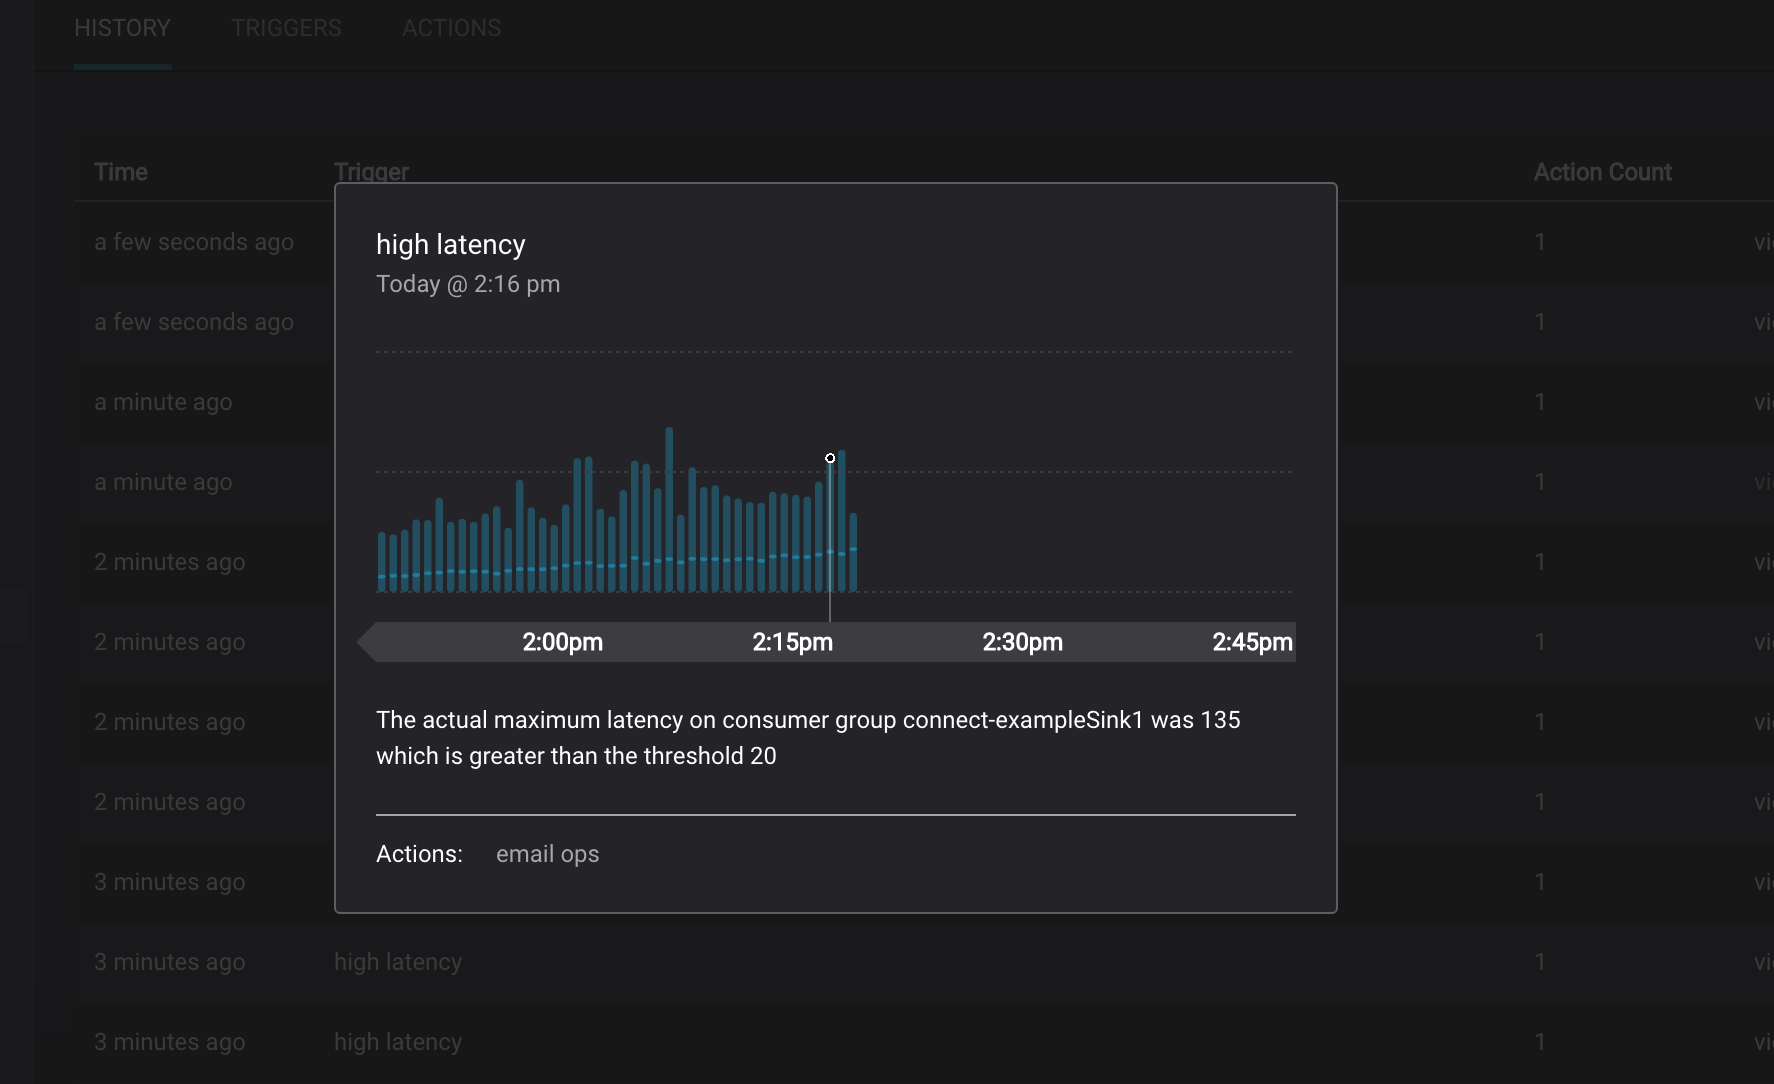
Alert History
Selecting the history tab shows a table summarizing every trigger that has fired that caused an action to be executed (note: it does not list every triggered event).
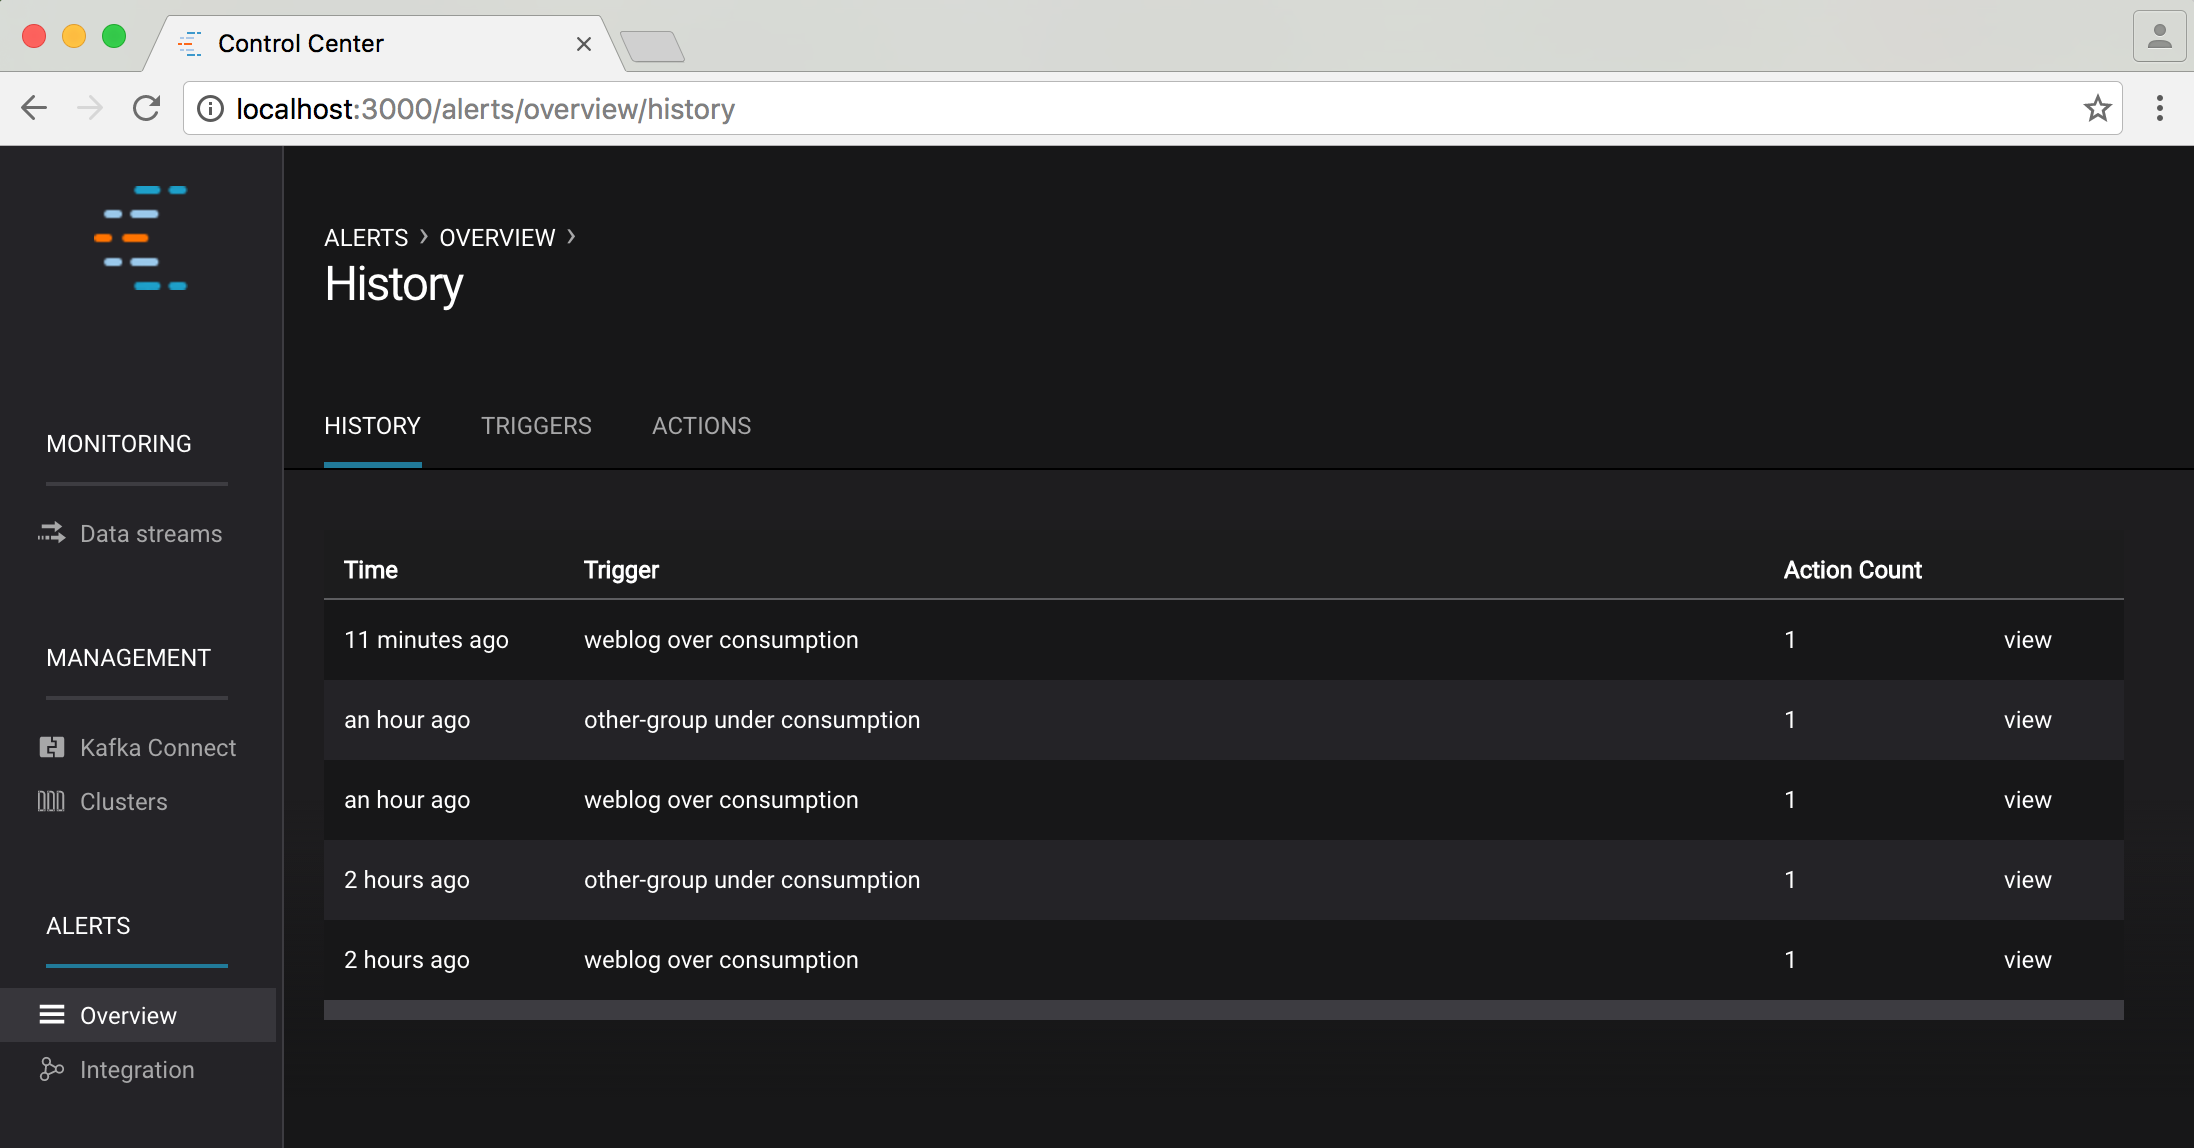
You can see contextual information for any history item by clicking the “view” link.