|
Using the Maven archetypes for starting the projects is very convenient, but afterwards you probably want to use an IDE to edit the files. This page describes the steps necessary to use Eclipse for any Maven project. Using Maven's eclipse plugin to generate project descriptorsUsing mvn eclipse:eclipse, the necessary .classpath and .project files will be generated for Eclipse to be able to work with the project. To give you an example, if you run this command inside this tutorial project , you will get this output: [INFO] Scanning for projects...
[INFO] Reactor build order:
[INFO] SMX-Camel :: Tutorial
[INFO] SMX-Camel :: Tutorial :: Camel SU
[INFO] SMX-Camel :: Tutorial :: SA
[INFO] ------------------------------------------------------------------------
[INFO] Building SMX-Camel :: Tutorial
[INFO] task-segment: [eclipse:eclipse]
[INFO] ------------------------------------------------------------------------
[INFO] Preparing eclipse:eclipse
...
[INFO] Not running eclipse plugin goal for pom project
[INFO] ------------------------------------------------------------------------
[INFO] Building SMX-Camel :: Tutorial :: Camel SU
[INFO] task-segment: [eclipse:eclipse]
[INFO] ------------------------------------------------------------------------
[INFO] Preparing eclipse:eclipse
...
[INFO] Wrote Eclipse project for "tutorial-camel-su" to /home/gert/projects/tutorial/tutorial-camel-su.
[INFO]
[INFO] ------------------------------------------------------------------------
[INFO] Building SMX-Camel :: Tutorial :: SA
[INFO] task-segment: [eclipse:eclipse]
[INFO] ------------------------------------------------------------------------
[INFO] Preparing eclipse:eclipse...
...
[INFO] Wrote Eclipse project for "tutorial-camel-sa" to /home/gert/projects/tutorial/tutorial-camel-sa.
[INFO]
[INFO]
[INFO]
[INFO] ------------------------------------------------------------------------
[INFO] Reactor Summary:
[INFO] ------------------------------------------------------------------------
[INFO] SMX-Camel :: Tutorial ................................. SUCCESS [10.038s]
[INFO] SMX-Camel :: Tutorial :: Camel SU ..................... SUCCESS [10.166s]
[INFO] SMX-Camel :: Tutorial :: SA ........................... SUCCESS [4.922s]
[INFO] ------------------------------------------------------------------------
[INFO] ------------------------------------------------------------------------
[INFO] BUILD SUCCESSFUL
[INFO] ------------------------------------------------------------------------
[INFO] Total time: 31 seconds
[INFO] Finished at: Fri Feb 15 11:04:14 CET 2008
[INFO] Final Memory: 16M/78M
[INFO] ------------------------------------------------------------------------
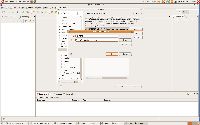
Configure M2_REPO classpath variableThe project descriptors generated refer to the local Maven repository using the M2_REPO classpath variable. You need to configure this inside Eclipse.
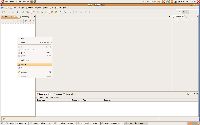
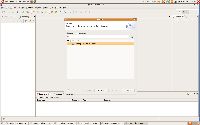
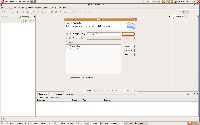
Import the project(s) in EclipseNow it's time to actually import the projects into Eclipse by using the Import wizard. You can find the wizard in the top menu (File ⇒ Import...) or in the navigation pane's context menu.
... and start using Eclipse to edit your Maven project filesFurther reading
|


