Relevant to Blender v2.31
We're just about ready to see our first rendering, but first, we've got some work to do.
1. SHIFT-LMB on the top right small button of the layer visibility buttons in the 3DWindow toolbar (Figure 4.19, “Making both layer 1 and 10 visible.”) to make both Layer 1 (Gus's layer) and Layer 10 (the layer with the camera) visible.
Note
Remember that the last layer selected is the active layer, so all subsequent additions will automatically be on layer 10.
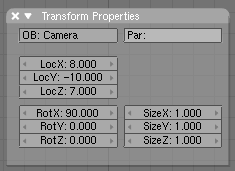
2. Select the camera (RMB) and move it to a location like (x=7, y=-10, z=7). Do this by pressing GKEY and dragging the camera while keeping CTRL pressed to move it in steps of 1 grid unit.
Entering precise locations and rotations
If you prefer to enter numerical values for
an object's location you can do so by pressing
NKEY and modifying the NumButtons
in the Panel that appears (Figure 4.20, “The Panel for numerical input of object position/rotation
etc. ”).
Remember to press OK
to confirm your input.
To make the camera point at Gus, keep your camera selected
then select Gus via SHIFT-RMB. The
camera should be magenta and Gus light pink. Now press
CTRL-T and select the
Old Track entry in the pop up.
This will force the camera to track Gus and always point
at him. This means that you can move the camera wherever you want
and be sure that Gus will always be in the center of the camera's
view.
Tracking
If the tracking object already has a rotation of its own, as is often the case, the result of the CTRL-T sequence might not be as expected. If it is not, select the tracking object (in our example the camera), and press ALT-R to remove any object rotation. Once you do this the camera will really track Gus.
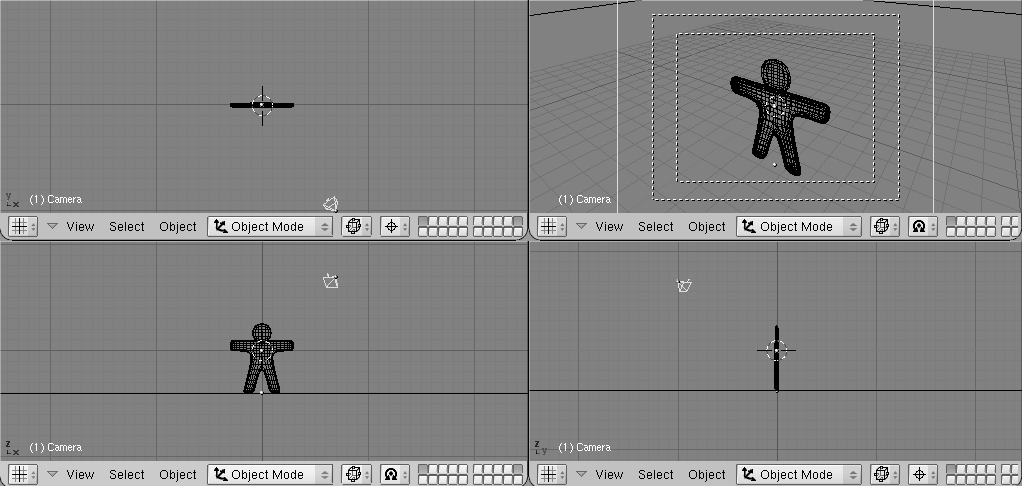
Figure 4.21, “Camera position with respect to Gus.” shows top, front, side and camera view of Gus. To obtain a camera view press NUM0.
Now we need to create the ground for Gus to stand on.
1. In top view (NUM7), and out of EditMode, add a plane (SPACE>>ADD>>Mesh>>Plane).
Note
It is important to be out of EditMode, otherwise the newly added object would be part of the object currently in EditMode, as it was for Gus' head when we added it. If the cursor is where Figure 4.21, “Camera position with respect to Gus.” shows, such a plane would be in the middle of Gus's body.
2. Switch to ObjectMode and Front view (NUM1) and move (GKEY) the plane down to Gus's feet, using CTRL to keep it aligned with Gus.
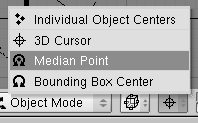
3. Switch the reference center from cursor (where we set it at the beginning) to object by pressing the highlighted button Figure 4.22, “Set the reference center to Object center.”.
4. Go to Camera view (NUM0) and, with the plane still selected, press SKEY to start scaling.
5. Enlarge the plane so that its edges extend beyond the camera viewing area, as indicated by the outer white dashed rectangle in Camera view.
Now, some light!
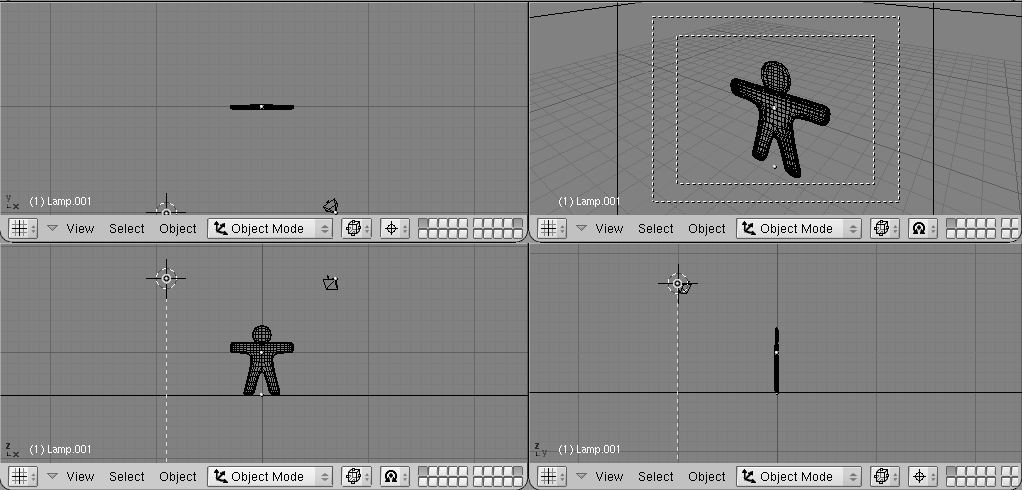
1. In Top view (NUM7), add a Lamp light (SPACE>>ADD>>Lamp) in front of Gus, but on the other side of the camera; for example in (x=-9, y=-10, z=7) (Figure 4.23, “Inserting a Lamp.”).
2. Switch to the Lamp Buttons in the Shading context via the button with a lamp in the Button Window toolbar (Figure 4.24, “The Lamp Buttons window button.”) or F5.
3. In the Buttons Window, Preview Panel,
press the Spot
toggle button to make the
lamp a Spotlight (Figure 4.25, “Spot light settings.”) of pale
yellow (R=1, G=1, B=0.9). Adjust ClipSta:
Num Button to 5, Samples:
to 4, and Soft: to 8.
4. Make this spotlight track Gus just as you did for the camera by selecting Spot, SHIFT, then Gus, then by pressing CTRL-T. If you added the spot in Top View you should not need to clear its rotation via ALT-R.
5. Add a second lamp in the same location as the spot, and again in Top
View, with (SPACE>>ADD>>Lamp). Make this lamp
a Hemi lamp with
energy of 0.6 (Figure 4.26, “The Hemi lamp settings”).
Two lamps?
Use two or more lamps to help produce soft, realistic lighting, because in reality natural light never comes from a single point. You will learn more about this in Chapter 12, Lighting.
We're almost ready to render. As a first step, go to the Scene context and Render buttons by pressing the image-like icon in the Button window toolbar (Figure 4.27, “The Rendering buttons window buttons.”) or F10.
In the Render Buttons, Format Panel,
set the image size to 640x480
with the Num buttons at the top right. In the
Render Panel set the Shadows
Toggle Button top center to On, and the
OSA
Toggle Button center-left to On as well (Figure 4.28, “The Rendering Buttons window”). These latter controls will
enable shadows and oversampling (OSA) which will prevent jagged
edges.
Now press the RENDER button
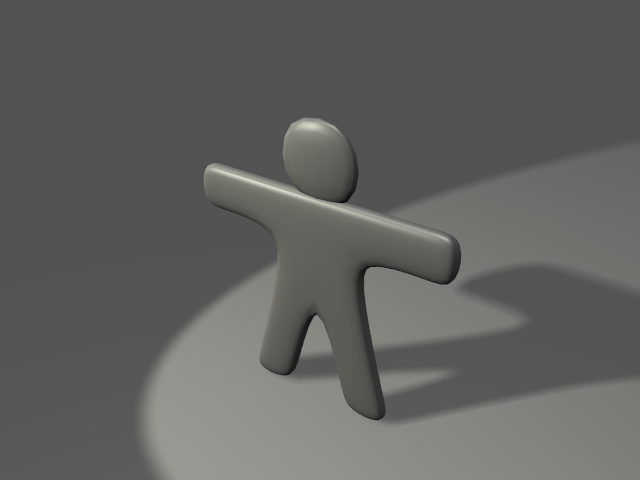
or F12. The result, shown in Figure 4.29, “Your first rendering. Congratulations!”, is actually quite poor. We still need materials,
and lots of details, such as eyes, and so on.
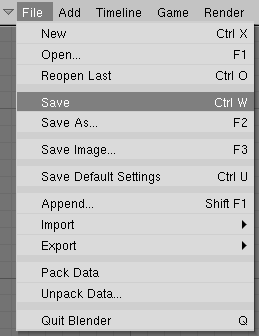
Saving
If you have not done so already, now would be a good
time to save your work, via the
File>>Save
menu shown in Figure 4.30, “The Save menu.”, or
CTRL-W. Blender will warn you if you try to
overwrite an
existing file.
Blender does automatic saves into your system's temporary directory. By default, this happens every four minutes and the file name is a number. Loading these saves is another way to undo unwanted changes.

