by Kenneth Styrberg
Relevant to Blender v2.34
Weighted creases for subdivision surfaces allows for tuning of the edge sharpness.
Creases are a property of mesh edges, and can be edited in mesh Edit Mode when the mesh is a subsurf. Select the edges you want to have creased, and press SHIFT-E to change the amount of the edge sharpness.
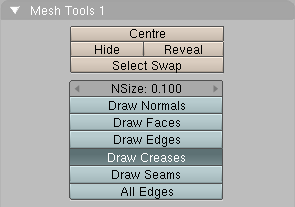
You can enable an indication of your edge sharpness by enabling Draw Creases. See Figure 7.9, “Mesh Tools 1 panel”.
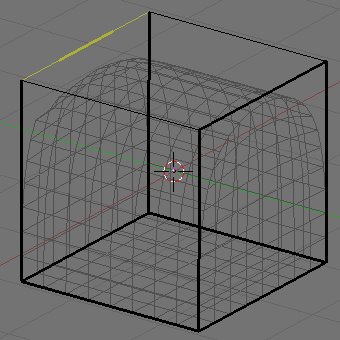
The sharpness value on the edge is indicated as a thicker part on the edge. If the edge has a sharpness value of 1.0, the edge will have a thicker look, and if sharpness value is 0.0, the edge will be thin. If sharpness value is between 0.0 and 1.0, only part of the edge will be thicker. See Figure 7.10, “Edge sharpness around 0.5”.
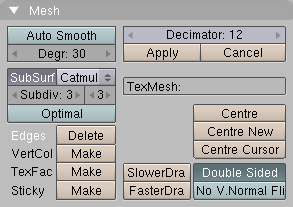
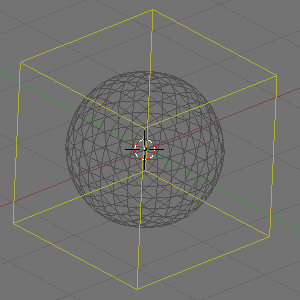
To use creases we need to activate subsurfaces. Select the default cube, if you do not have one, add one! Go to the Edit panel (F9) and press the SubSurf button. Make sure the subsurf type is Catmull-Clark in the drop-down list, now move up the subdivision level to 3 for both display and render values. See Figure 7.11, “Mesh panel”. The cube will get the look of a sphere.
Enter Edit Mode (TAB), with cube selected. By default you are in Vertices Select mode, now press CTRL-TAB to get a Select Mode menu, Figure 7.12, “Select Mode menu”, select Edges.
Now select all edges by pressing AKEY. All edges should get a yellowish color, Figure 7.13, “All edges selected”. If all edges are black, then something was already previously selected. Press AKEY again to select all edges.
Now press SHIFT-E to edit the edge sharpness value. The sharpness value will be seen in realtime in the tool bar, Figure 7.14, “Edge sharpness”. Move mouse pointer closer to or away from the edge/s to alter the sharpness value. Set the value for all edges to 1.0. The cube will get back it's normal look as a cube.
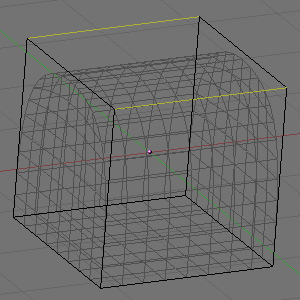
Now select two opposite edges on top of cube. Press SHIFT-E to edit the edge sharpness value. Set the value for the edges to 0.0, Figure 7.15, “Two edges selected”.
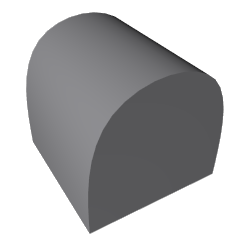
If you render you will get a nice cube with a rounded top, Figure 7.16, “Result”. A very good improvement in workflow to achieve this kind of mesh!
