GlassFish / Sun Java System Application Server
| Installation of GlassFish |
| Installation of CloverETL Server |
| Configuration of CloverETL Server on GlassFish |
![[Important]](figures/important.png) | Important |
|---|---|
See Application Server in system requirements for currently supported GlassFish versions and required Java versions. GlassFish 3.1.2 contains a bug causing to work improperly (see https://java.net/jira/browse/GLASSFISH-18444). We recommend version 3.1.2.2. If you encounter any problems during the installation, the Possible Issues during Installation section may provide a solution. |
Installation of GlassFish
Choose and download the GlassFish release from the official download page.
CloverETL Server is developed and tested with the GlassFish 3.1.2.2 container. Running the Server with other versions may result in unpredictable behavior.
Extract the downloaded archive, or run the
.exefile which will guide you through the setup.Run GlassFish.
Run
[GlassFish_home]/bin/asadmin start-domainand enter a new password for administrator.
Check whether GlassFish is running.
Open a new tab in your browser and type http://localhost:8080/ in the address bar.
If the GlassFish welcome page appears (see below), the server is successfully installed.
The Admin Console is, by default, accessible at http://localhost:4848/.
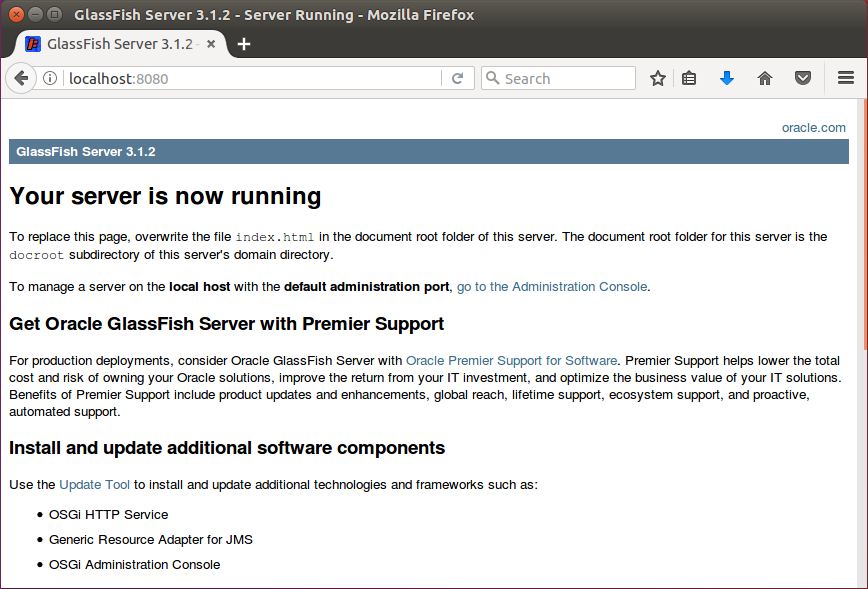
Figure 3.6. Glassfish welcome page
Installation of CloverETL Server
Check if you meet the prerequisites:
Oracle JDK or JRE is installed (see Java Virtual Machine for required java version).
JAVA_HOME or JRE_HOME environment variable is set.
A supported version of GlassFish 3 is installed.
It is strongly recommended to adjust the default limits for Memory allocation (see the Memory Settings section).
You can set the minimum and maximum memory heap size by adjusting the "Xms" and "Xmx" JVM parameters and perm space by adjusting the "XX:MaxPermSize" parameter:
Edit the
[GlassFish_home]/glassfish/domains/domain1/config/domain.xmlfile.Change/add the following sub-elements in the
<java-config>section:<jvm-options>-XX:MaxPermSize=384m</jvm-options> <jvm-options>-XX:PermSize=256m</jvm-options> <jvm-options>-Xms512m</jvm-options> <jvm-options>-Xmx2g</jvm-options>
Restart GlassFish.
Go to the download section of your CloverETL account and download the
clover.war(web archive) file containing CloverETL Server for GlassFish 3.Deploy the
clover.warfile.Open the GlassFish Administration Console (default URL: http://localhost:4848/).
Go to Applications and click Deploy ....
Upload the
clover.warfile or select the file from a filesystem if it is present on the machine running GlassFish.Make sure the Web Application is selected in the Type field.
Type "clover" in both the Application Name and the Context Root fields.
Click OK.
Configuration of CloverETL Server on GlassFish
![[Tip]](figures/tip.png) | Tip |
|---|---|
| Default installation (without any configuration) is only recommended for evaluation purposes. For production use, at least a dedicated database and SMTP server configuration is recommended. |
For detailed configuration of CloverETL Server, use a properties file. Here you can configure various properties, including the connection to the database, username and password, path to the license file, private properties, number of active threads, clusters and much more (see Chapter 9, List of Properties and Chapter 30, Cluster Configuration). The file can be placed either on a default, or specified location.
Content of such a file (example with MySQL database):
datasource.type=JDBC
jdbc.driverClassName=com.mysql.jdbc.Driver
jdbc.url=jdbc:mysql://127.0.0.1:3306/clover?useUnicode=true&characterEncoding=utf8
jdbc.username=yourUsername
jdbc.password=yourPassword
jdbc.dialect=org.hibernate.dialect.MySQLDialect
Properties file in Specified Location
The properties file is loaded from a location which is specified by the environment/system property
clover_config_file or clover.config.file.
Create the
cloverServer.propertiesfile in a directory readable by GlassFish. (If you need an example of connection to any of supported databases, see Chapter 8, Examples of DB Connection Configuration.)Set system property
clover.config.filepointing to the config properties file:Go to GlassFish Administration Console (default URL: http://localhost:4848/).
Go to →
Create system property named
clover.config.filewhose value is a full path to the file on your file system (e.g.:/home/clover/cloverServer.properties).
Copy the JDBC driver
.jarfile for a selected database into[GlassFish_home]/glassfish/domains/[domain-name]/libRestart GlassFish.
![[Note]](figures/note.png) | Note |
|---|---|
|