Splash screen
Tutorial
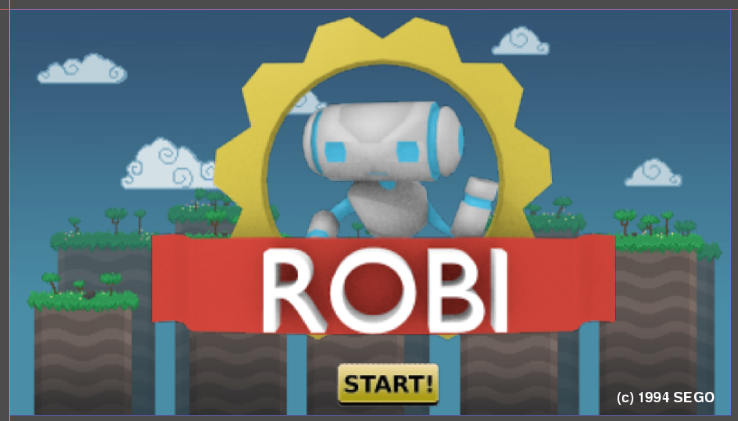
This will be a simple tutorial to cement the basic idea of how the GUI subsystem works. The goal will be to create a really simple, static splash screen.
Following is a file with the assets that will be used. These can be added directly to your project folder—no need to import them:
Setting up
Set the display resolution to 800x450 in Project Settings, and set up a new scene like this:
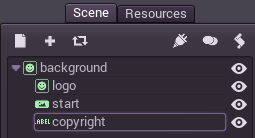
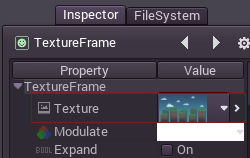
The nodes ‘background” and “logo” are of TextureFrame type. These have a special property for setting the texture to be displayed, just load the corresponding file.
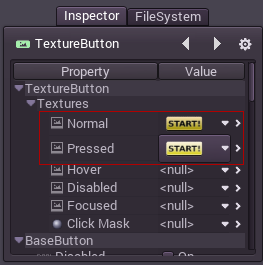
The node “start” is a TextureButton, it takes several images for different states, but only the normal and pressed will be supplied in this example:
Finally, the node “copyright” is a Label. Labels can be set a custom font by editing the following property:
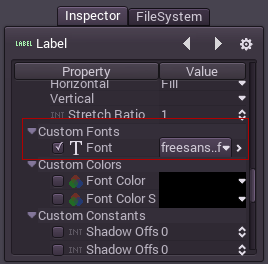
As a side note, the font was imported from a TTF, see Importing fonts.