1.14.3. Three Steps to Your Task

By following this guideline you will have created a task for your course in no time.

Step 1: Open course editor and insert task course element
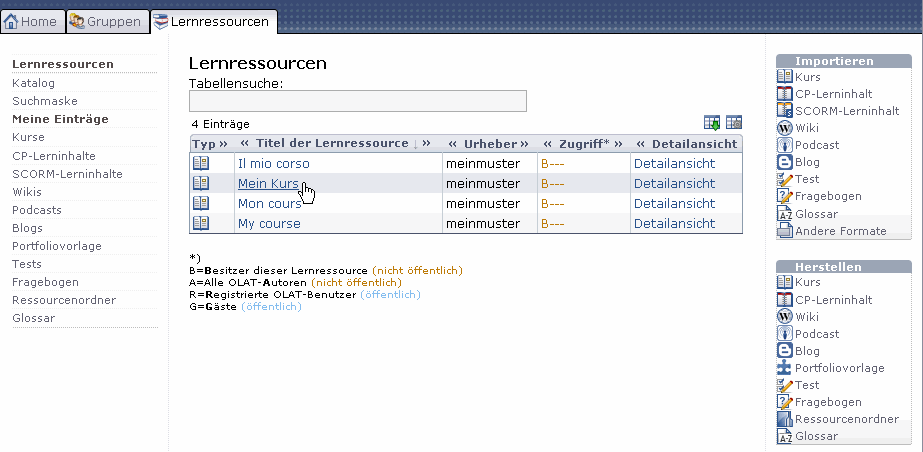
1 Search for your course in learning resources, section «My entries» and open it.
2 Click on «Course editor» in the toolbox «Course tools» on your right.
3 Select «Task» in the toolbox «Insert course elements» on your right.
4 Select position at which you want your task to be inserted and save your settings.
5 Indicate a short title for your course element in the tab «Title and description» and save your settings.
Step 2: Configure task
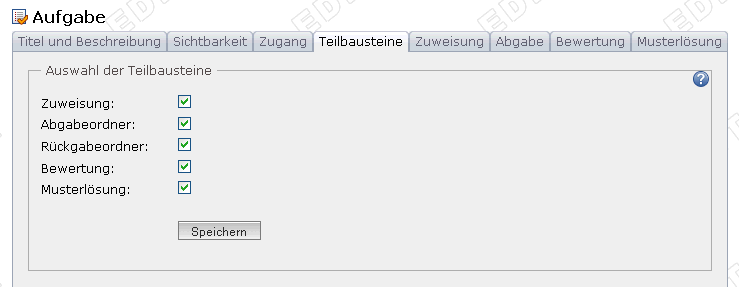
1 Select favored sub-elements in the tab «Sub-elements» and save your settings. Only sub-elements selected can be configured in the next tab.
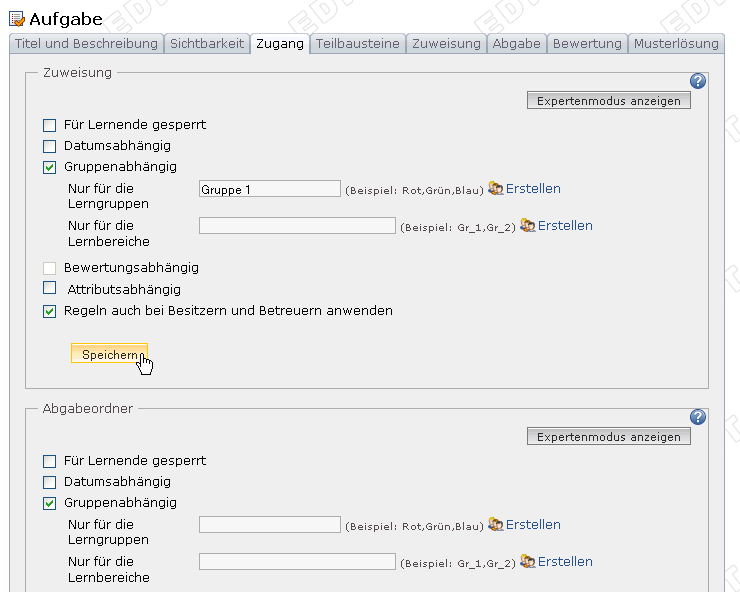
2 Important: In order to be able to assess your tasks you have to assign all sub-elements selected to a learning group in the tab «Access.» Activate check box «Depending on group.» Select or create learning group. In order to create a learning group indicate a name in the field «Only for learning groups» before clicking on «Create.» Finish and save your settings.
3 Click on «Open task folder» in the tab «Assignment.» Upload your task file(s) created before. Optionally write a message for users in the section «Assign task» and configure your allocation according to your needs.
4 Optionally adapt confirmation text in the tab «Handing in» and configure e-mail settings.
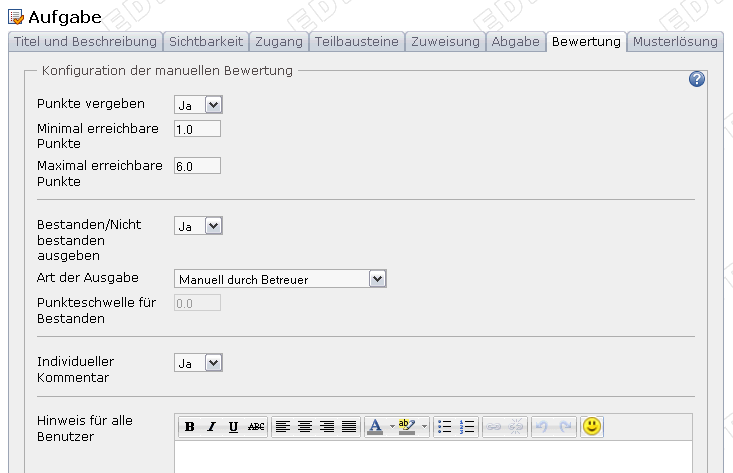
5 Select assessment option in the tab «Assessment.» Available are: «Score granted» (incl. minimum/maximum score), «Display passed/failed» incl. option «Type of display» (manually or automatically), and «Individual comment.» Save your settings.
6 Click on «Open folder of sample solution» in the tab «Sample solution» before uploading your sample solutions.
Step 3: Publish and activate your course
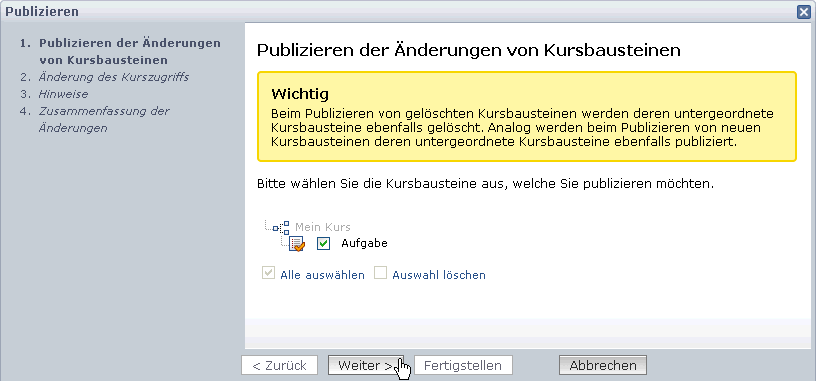
1 Select «Publish» in the toolbox «Editor tools» on your right.
2 Click on course element before clicking «Next.»
3 Select «All registered OLAT users» from the pull-down menu, section «Modify course access.»
4 Click on «Finish.»

Your task is now embedded in your course. Depending on the configuration of your task element course participants will be able to select a task and submit their solution. Course authors and tutors of learning groups can then assess and return all submitted and corrected files by means of the assessment tool.

hint

Course authors can determine in the course editor if they want to receive an e-mail along with their course tutors whenever a course participant uploads a task. Course participants will get an e-mail after having been assessed.