To enter a new To-Do List item, select the "New To-Do List Item" option. The following screen will appear:
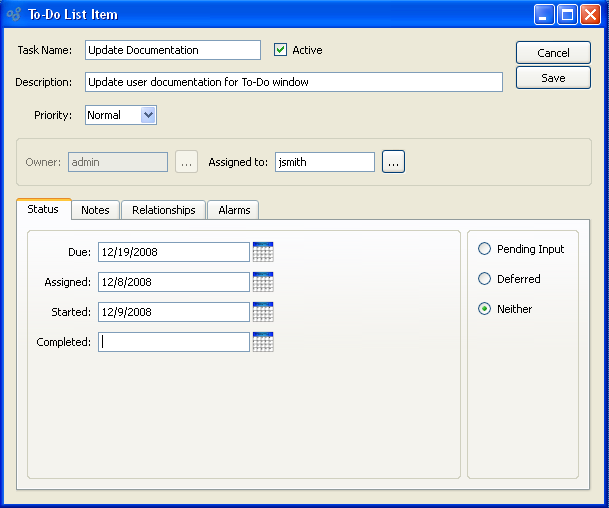
When entering a new To-Do List item, you are presented with the following options:
- Task Name
Enter a name to describe the Task. Duplicate Task Names are allowed.
- Active
Select to indicate the To-Do List item is active.
- Description
Enter a brief description of the To-Do List item.
- Priority
Enter a priority from the drop down list to help you prioritize your To-Do List items. Priority options include, Very High, High, Normal, Low, Very Low
- Assigned to
By default, a new To-Do List item is assigned to the user who creates it. Once a To-Do List item has been created, it may be reassigned to another user.
- Reassign to User
To reassign the To-Do List item to another user, use the browse button located to the right of the field. By default, To-Do List items are assigned originally to the user who creates them.
- Date Due
Specify the date when the To-Do List item is due.
- Date Assigned
Specify the date when the To-Do List item was assigned—or reassigned.
- Date Started
Specify the date when work on the To-Do List item was started.
- Date Completed
Specify the date when work on the To-Do List item was completed.
- Status
-
Specify one of the following statuses to assign to the To-Do List item:
- Pending Input
Select to indicate the To-Do List item is pending input. To-Do List items having this status will display a "P" in the status column when they appear on the To-Do List.
- Deferred
Select to indicate the To-Do List item is deferred. To-Do List items having this status will display a "D" in the status column when they appear on the To-Do List.
- Neither
Select to indicate the To-Do List item is neither pending input nor deferred. To-Do List items having this status will display an "I" in the status column when they appear on the To-Do List.
To the far right of the screen, the following buttons are available:
- CANCEL
Closes the screen without creating a To-Do List item, returning you to the previous screen.
- SAVE
Creates the To-Do List item and adds it to the To-Do List.
To enter notes for a To-Do List Item, select the "Notes" tab at the bottom of the screen, as shown below:
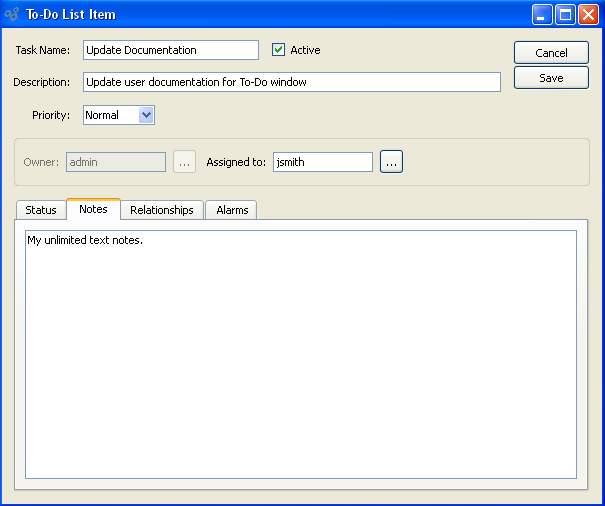
- Notes
This is a scrolling text field with word-wrapping for entering Notes related to the To-Do List item.
To create associations for a To-Do List Item to other records, select the "Relationships" tab at the bottom of the screen, as shown below:
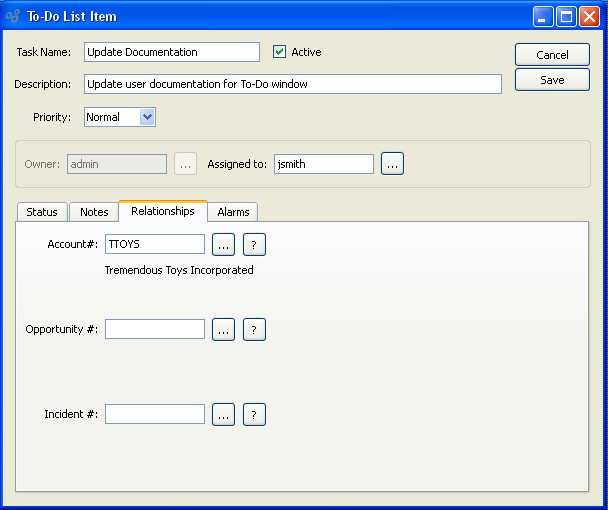
- Account
Specify the CRM Account the To-Do item is associated with (if any).
- Opportunity
Select an opportunity (if applicable) to associated with the To-Do List item.
- Incident
Select an Incident (if applicable) to associate with the To-Do List item.
To create reminder Alarms for a To-Do List Item, select the "Alarms" tab at the bottom of the screen, as shown below:
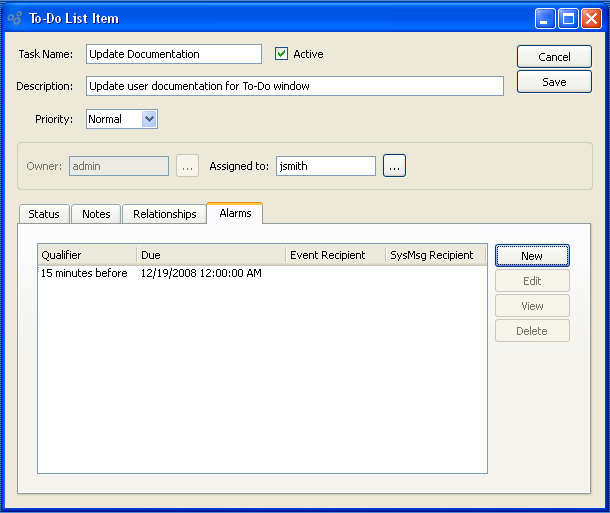
Upon selecting Alarms you are presented with the following options:
- Alarms
Displays a list of Alarms you can create to send reminders to various users associated with an event or system message.
To the far right of the screen, the following buttons are available:
- NEW
Opens screen for entering new Alarm information..
- EDIT
Enables you to edit highlighted Alarm. The edit screen is the same as that for entering new Alarm information—except that when editing, the fields will contain Alarm information.
- VIEW
Highlight an Alarm and then select this button to reach a read-only view of the "Edit" screen. Double-clicking on an Alarm will also bring you to the view screen.
- DELETE
Highlight an Alarm Item and then select this button to remove the Alarm Item from the list.
To create a new Alarm, select the NEW button. The following screen will appear:

When creating a new Alarm you are presented with the following options:
- Due
Add the date and time for which you want the Alarm to alert specific users and contacts.
- Event
Select if you would like an event to trigger the Alarm. You may select from an unlimited list of users to be notified.
Select if you would like an Email notification to be sent as an alarm. You may select from an unlimited list of users to be notified.
- System Message
Select if you would like a system message to be issued as an alarm. You may select from an unlimited list of users to be notified.
To the far right of the screen, the following buttons are available:
- CANCEL
Closes the screen without creating an Alarm, returning you to the previous screen.
- SAVE
Creates the Alarm and adds it to the list of Alarms.
- USER LOOKUP
Allows you to choose unlimited number of users created in the system.
- CONTACT LOOKUP
Allows you to choose from unlimited number of contacts created in the system.