To access the master list of Companies, select the "Companies" option. The following screen will appear:
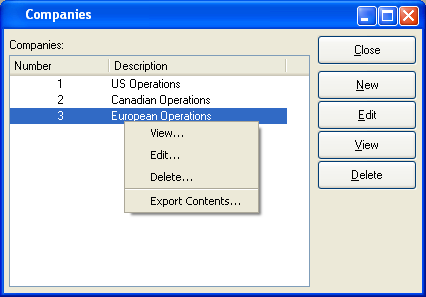
The "Companies" screen displays information on all existing Companies, including Company number and Company description.
Note
The use of Companies can be enabled or disabled by default at the system level.
To the far right of the screen, the following buttons are available:
- CLOSE
Closes the screen, returning you to the application desktop.
- NEW
Opens screen for creating a new Company.
- EDIT
Enables you to edit highlighted Company. The edit screen is the same as that for creating a new Company—except that when editing, the fields will contain Company information. Double-clicking on a Company will also bring you to the editing screen.
Right-clicking on a Company in the Companies list enables you to select from the following menu options:
To add a new Company, select the NEW button. The following screen will appear:
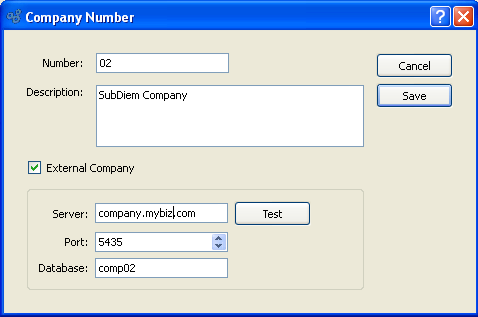
When creating a new Company, you are presented with the following options:
- Number
Enter a number to identify the Company.
- Description
Enter a brief description of the Company.
- External Company
-
Select to designate the Company as a pointer to a Company on another database. This option will only be visible if external Company consolidation is enabled in the system's Accounting configuration. This option is also available only on xTuple ERP Standard Edition and higher. To learn more read the associated wiki topic here.
Tip
Once G/L Accounts have been created using a defined Company segment, either manually or via synchronization, the "External Company" option will no longer be editable.
- Server
Enter the server address of the external Company.
- Port
Enter the port used by the external Company server.
- Database
Enter the database used by the external Company.
- Test
Select to confirm the connection and external Company compatibility criteria. This option will only be available once the connection details have been entered.
To the far right of the screen, the following buttons are available:
- CANCEL
Closes the screen without creating a Company, returning you to the previous screen.
- SAVE
Creates the Company and adds it to the master list of Companies.