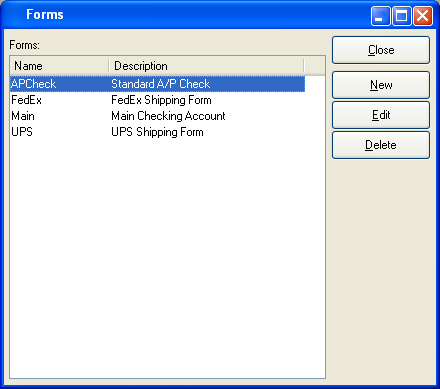
To access the master list of available Form definitions, select the "Forms" option. The following screen will appear:

The Forms master list displays information on all available Form definitions, including Form name and Form description.
To the far right of the list, the following buttons are available:
- CLOSE
Closes the screen, returning you to the application desktop.
- NEW
Opens screen for adding a new Form definition to the Forms master list.
- EDIT
Enables you to edit highlighted Form definitions. The edit screen is the same as that for creating a new Form definition—except that when editing, the fields will contain Form information. Double-clicking on a Form will also bring you to the editing screen.
- DELETE
Highlight a Form and then select this button to remove the Form from the master list.
To create a new Form definition, select the NEW button. The following screen will appear:

When creating a new Form definition, you are presented with the following options:
- Name
Enter a unique Form name.
- Description
Enter a brief description of the Form.
- Report
Specify the report definition you want to associate with the Form.
Tip
In the case where you have multiple versions (i.e., grades) of the same-named report definition, it doesn't matter which one you select when setting up a Form. The system will always use the report definition having the highest grade.
- Keyed On
-
Specify where in the application you want the report definition to be cross referenced. For example, selecting "Work Orders" will make the specified report definition available to the "Print Work Order Form" screen. The system supports the following keyed on cross-references:
Customers
Items
Item Sites
Purchase Orders
Sales Orders
Vendors
Work Orders
Sales Analysis - Special Calendar
Production Entry Sheets
Return Authorizations
To the far right of the screen, the following buttons are available:
- CANCEL
Closes the screen without adding a new Form to the master list.
- SAVE
Creates the Form and adds it to the Forms master list.