Chapter 2. The Eclipse Integrated Development Environment (IDE)
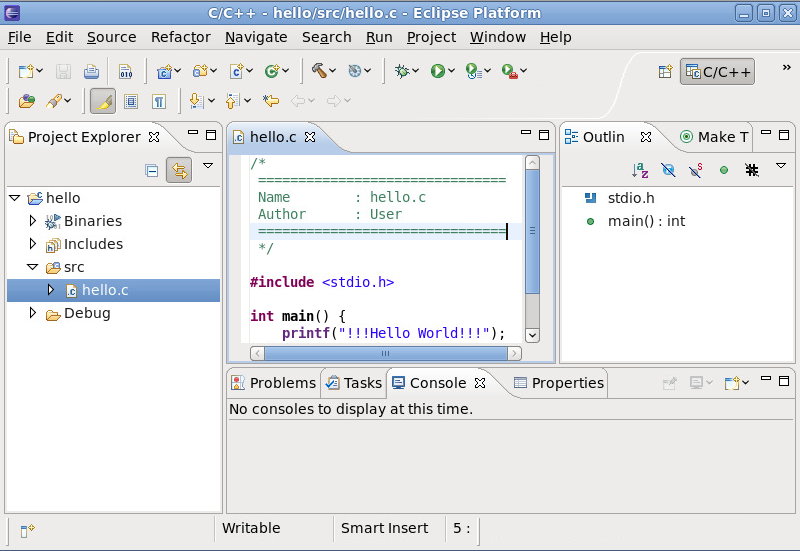
The entire user interface in
Figure 2.1, “Eclipse User Interface (default)” is referred to as the Eclipse
workbench. It is generally composed of a code , window, and several views. All elements in the Eclipse workbench are configurable, and fully documented in the
Workbench User Guide (). Refer to
Section 2.2, “Useful Hints” for a brief overview on customizing the user interface.
Eclipse also divides many functions into several classes, housed inside distinct menu items. For example, the menu houses functions relating to compiling/building a project. The menu contains options for creating and customizing perspectives, menu items, and other user interface elements. For a brief overview of each main menu item, refer to Reference > C/C++ Menubar in the C/C++ Development User Guide or Reference > Menus and Actions in the Java Development User Guide.
The following sections provide a high-level overview of the different elements visible in the default user interface of the Eclipse integrated development environment (IDE).
The Eclipse workbench provides a user interface for many features and tools essential for every phase of the development process. This section provides an overview of Eclipse's primary user interface.
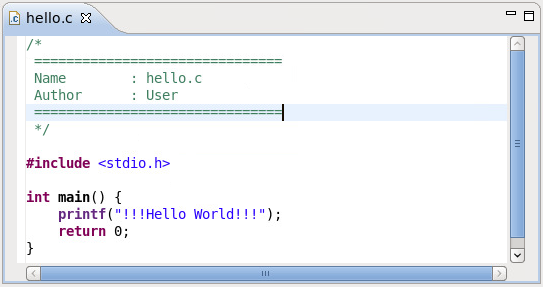
The is used to write and edit source files. Eclipse can autodetect and load an appropriate language editor (e.g. C Editor for files ending in .c) for most types of source files. To configure the settings for the Editor, navigate to > > > .
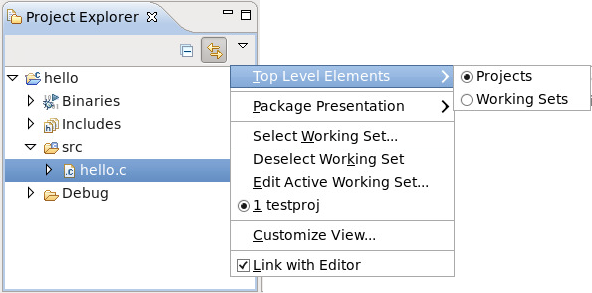
The provides a hierarchial view of all project resources (binaries, source files, etc.). You can open, delete, or otherwise edit any files from this view.
The View Menu button in the allows you to configure whether projects or working sets are the top-level items in the . A working set is a group of projects arbitrarily classified as a single set; working sets are handy in organizing related or linked projects.
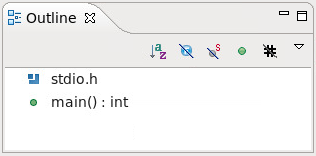
The window provides a condensed view of the code in a source file. It details different variables, functions, libraries, and other structural elements from the selected file in the Editor, all of which are editor-specific.
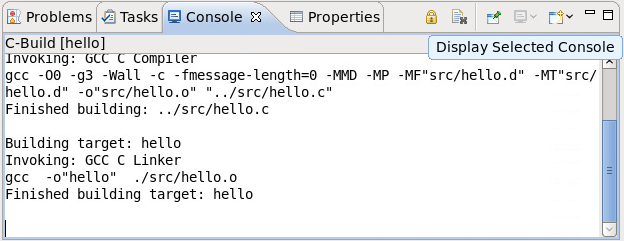
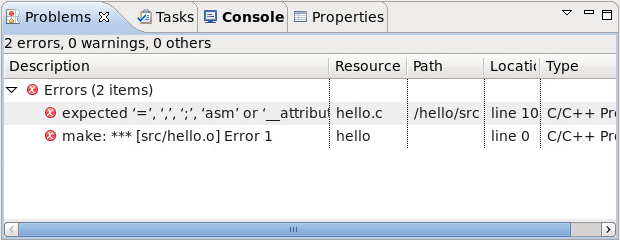
Some functions and plugged-in programs in Eclipse send their output to the view. This view's Display Selected Console button allows you to switch between different consoles.
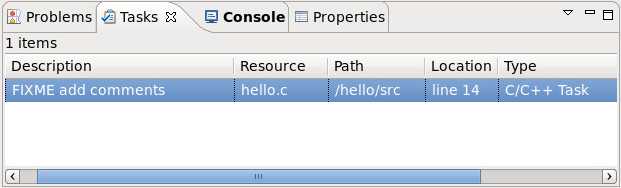
The view allows you to track specially-marked reminder comments in the code. This view shows the location of each task comment and allows you to sort them in several ways.
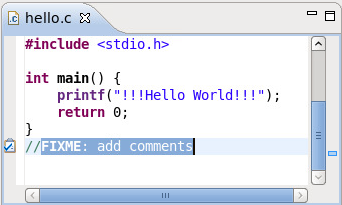
Most Eclipse editors track comments marked with //FIXME or //TODO tags. Tracked comments—i.e. task tags—are different for source files written in other languages. To add or configure task tags, navigate to > and use the keyword task tags to display the task tag configuration menus for specific editors/languages.
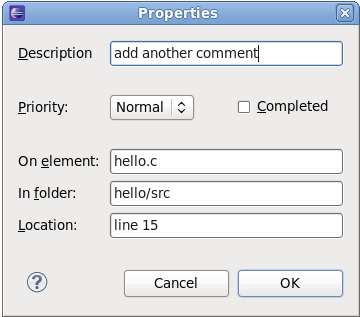
Alternatively, you can also use > to open the task menu (
Figure 2.8, “Task Properties”). This will allow you to add a task to a specific location in a source file without using a task tag.
The view displays any errors or warnings that occurred during the execution of specific actions such as builds, cleans, or profile runs. To display a suggested "quick fix" to a specific problem, select it and press Ctrl+1.