Install Xenko
Beginner
Download the Xenko installer (XenkoSetup.exe) from the Xenko website.
Double-click the XenkoSetup.exe file.
The Xenko Setup Wizard opens.
Xenko requires .NET Framework 4.6.2. If you don't have this, Xenko prompts you to install it.
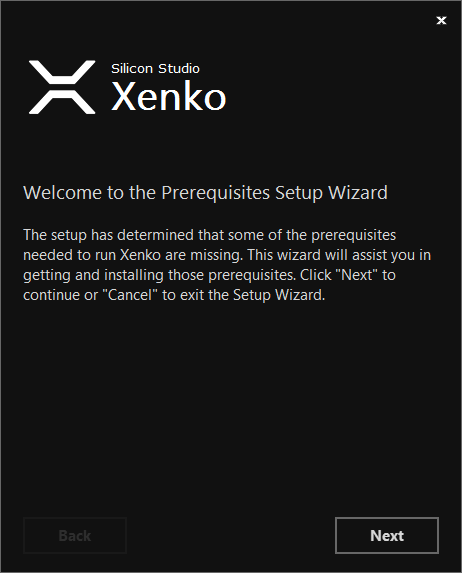
Click Next and follow the prompts.
Note
Alternatively, you can download the .NET Framework from the Microsoft Download Center and restart the Xenko installer.
The Xenko Setup Wizard opens.
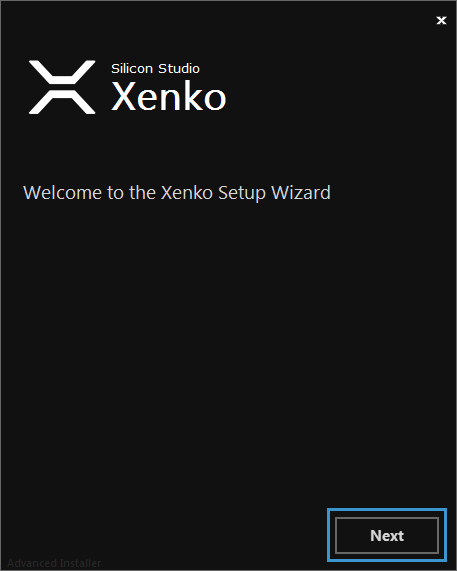
Click Next.
The Xenko License Agreement window opens.
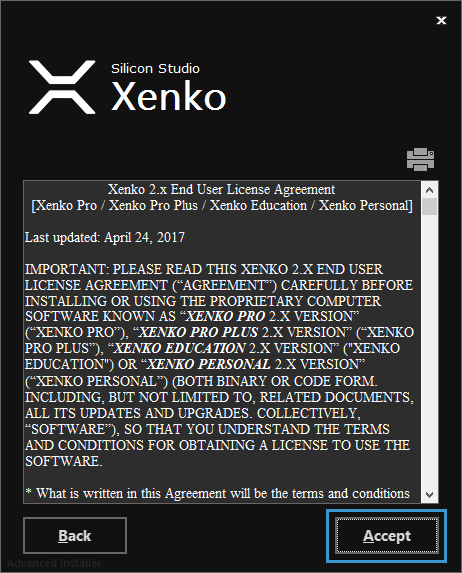
Click Accept.
The Xenko installation type window opens.
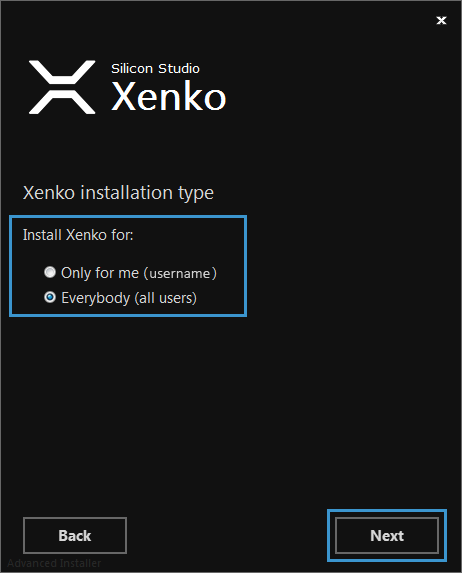
Select an installation type and click Next.
The Select installation folder window opens.
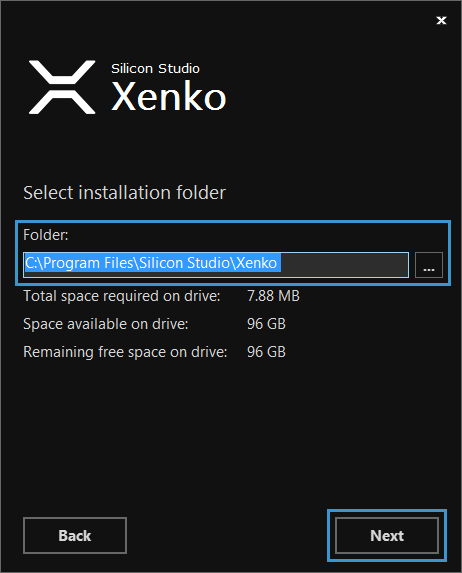
Select a folder to install Xenko to and click Next.
The Create application shortcuts window opens.
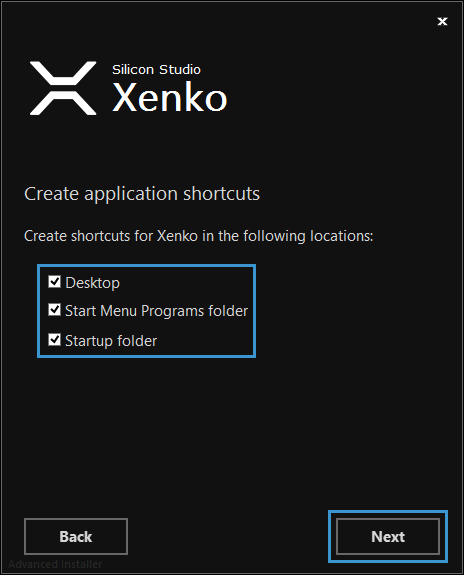
Choose which shortcuts you want Xenko to create, and click Next.
The Ready to Install window opens.
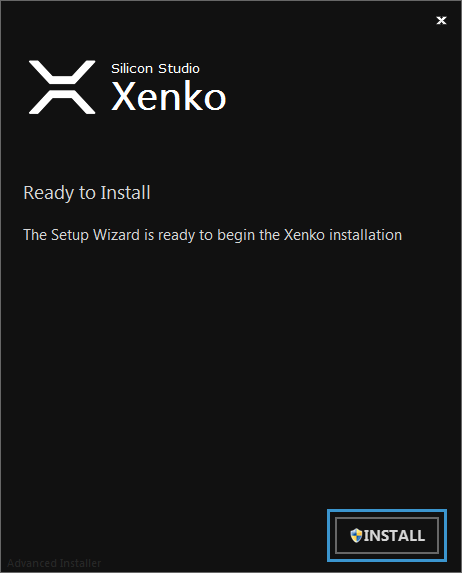
Click Install.
Installation begins.
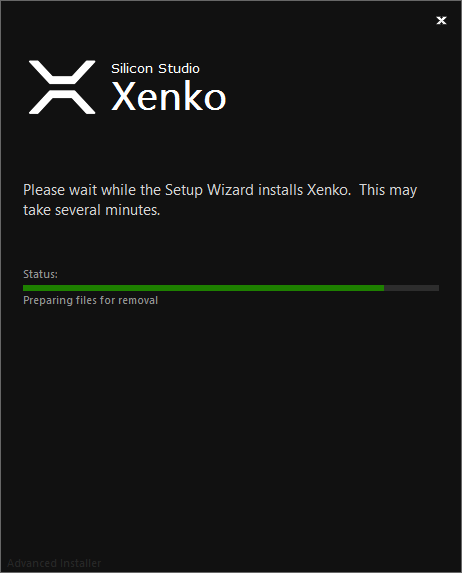
After the installer closes, Xenko creates shortcuts in locations you selected and the Xenko Launcher opens.
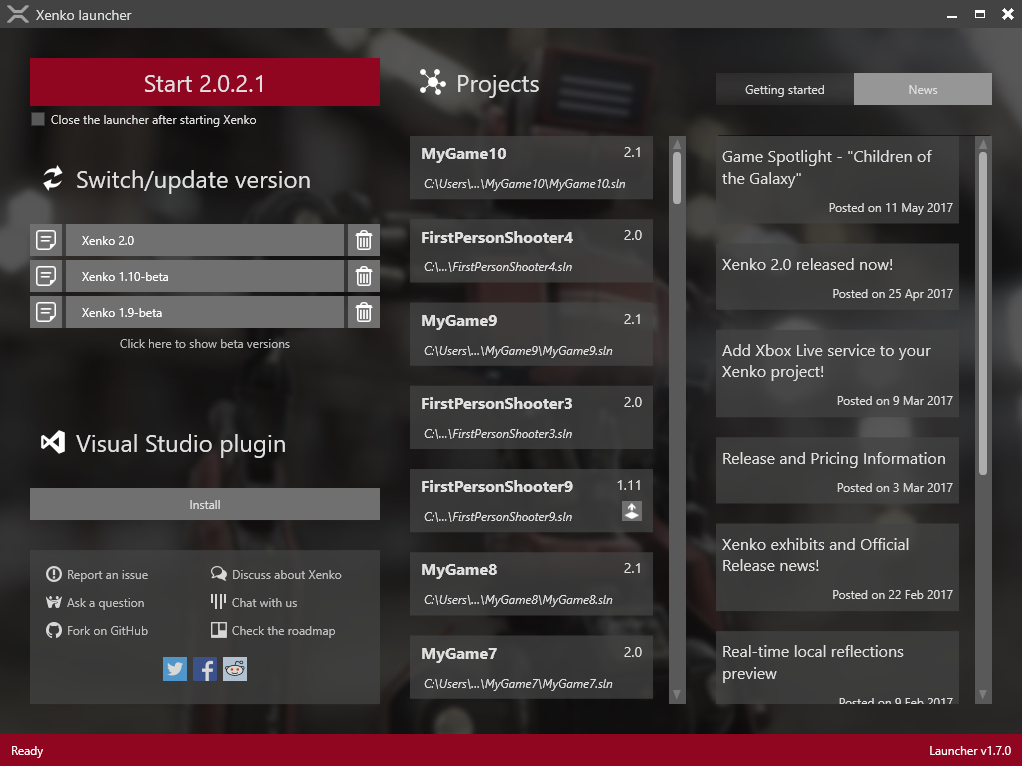
The Xenko Launcher prompts you to install the latest version of Xenko.
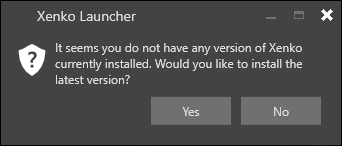
Click Yes.
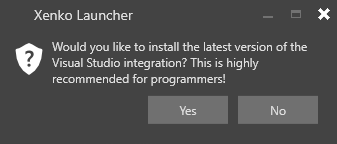
The Xenko Launcher asks if you want to install the Visual Studio integration. This lets you edit shaders directly from Visual Studio and provides syntax highlighting, live code analysis with validation, error-checking, and navigation. Installing the integration isn't mandatory, but we recommend it.
Windows confirms that Xenko can make changes to your computer.
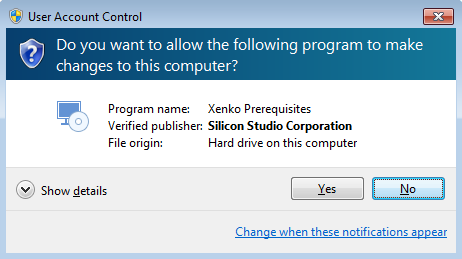
Click Yes.
The Xenko Launcher checks if the prerequisite Visual C++ Redistributable is installed. If it's not installed, follow the prompts to install it.
The Xenko Launcher checks if the prerequisite Build Tools for Visual Studio is installed. If you have Visual Studio, then this is already installed. If it's not installed, follow the prompts to install it.
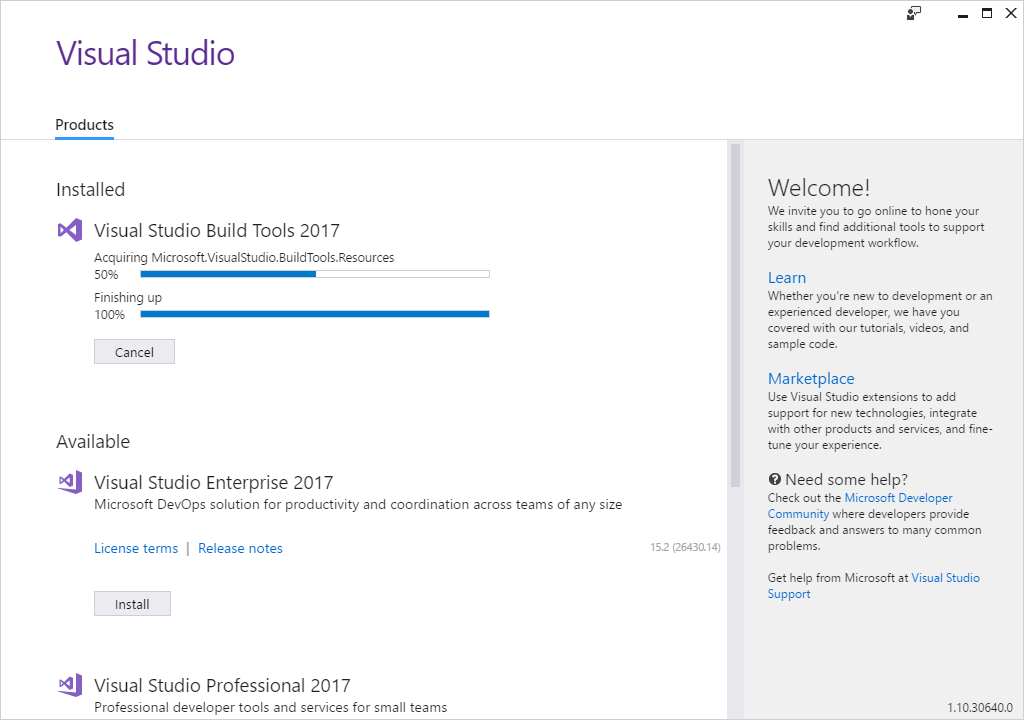
Note
Windows uses the Visual Studio installer to install Build Tools for Visual Studio, but it doesn't install Visual Studio.
Xenko is now installed and ready to use.
Note
If you don't install the prerequisites, Xenko won't run. In this case, you can download and install the prerequisites separately. For instructions, see Troubleshooting — Xenko doesn't run.
Alternatively, uninstall Xenko, restart the Xenko installer, and install the prerequisites when prompted.