Installation
Before you start
Verify that your system meets all Anaconda Enterprise system requirements.
Configure DNS records
Configure your A record in DNS for the master node.
anaconda.example.com
*.anaconda.example.com
NOTE: Replace anaconda.example.com with the actual domain name you will use for your Anaconda Enterprise installation.
Create temporary directory (optional)
Approximately 30 GB of available free space on each node is required for
the Anaconda Enterprise installer to temporarily decompresses files to
the /tmp directory during the installation process.
If adequate free space is not available in the /tmp directory, you can
specify the location of the temporary directory to be used during installation
by setting the TMPDIR environment variable to a different location.
Example:
sudo TMPDIR=/tmp2 ./gravity install
NOTE: When using sudo to install, the temporary directory must be set explicitly in the command line to preserve TMPDIR.
The master node and each worker node all require a temporary directory of the
same size and should each use the TMPDIR variable as needed.
Or, you can install as root.
Docker
The machines on which you are installing must not already have Docker installed. Remove Docker or use a clean machine.
Installing on Amazon EC2 and other cloud providers
NOTE: etcd is very sensitive to disk latency.
Use a configuration where etcd is located into its own EBS volume.
This terraform configuration file has the
recommended drive configuration.
To use the terraform configuration file, change the keyname and the AMI to the target you want to test.
- CentOS 7.2 (ami-692df57f)
- RHEL 7.2 (ami-9e2f0988)
If you don’t want to use the terraform configuration file, we recommend that you install Anaconda Enterprise on machines (master AND worker) with IOPS of a minimum of 3000 IOPS on Amazon EC2.
NOTE: Fewer IOPS than 3000 will fail.
For Instance Type we recommend the m4.4xlarge instance
types or larger.
Custom user ID (UID) for service account
By default, Anaconda Enterprise will install using a service account with the
user ID (UID) 1000. You can change the UID of the service account by using the
--service-uid option or the GRAVITY_SERVICE_USER environment variable at
installation time. Refer to the installation commands below for example usage.
$TMPDIR needs to be writable by User ID:1000
Create a new directory and set TMPDIR before installing. User 1000 (or the desired UID for the service account) needs to be able to write to this directory. This means they can read, write and execute on the $TMPDIR.
For example, to give write access to UID 1000, run:
sudo chown 1000 -R $TMPDIR
Installation Instructions
There are two methods to install Anaconda Enterprise:
- Browser installation (must be on the same network as the target machines)
- Unattended command-line interface (CLI) installation
With both methods, you can create any number of nodes from one to four nodes.
You can also add or remove nodes at any time after installation.
Option 1. Browser Installation
On the master node, create a new directory for the installer. Navigate to the new directory, then download and decompress the installer:
mkdir anaconda-enterprise
cd anaconda-enterprise
curl -O <location_of_installer>.tar.gz
tar xvzf anaconda-enterprise-<installer_version>.tar.gz
cd anaconda-enterprise-<installer_version>
NOTE: The tarball file is 7 GB, so it may take a while to download.
On the master node, run the installer as sudo or root user:
sudo ./gravity wizard
NOTE:: By default, Anaconda Enterprise will install using a service account with
the user ID (UID) 1000. You can change the UID of the service account by using
the --service-uid option or the GRAVITY_SERVICE_USER environment
variable. For example, to use UID 1001, you can use the command
sudo ./gravity wizard --service-uid=1001 or
sudo GRAVITY_SERVICE_USER=1001 ./gravity wizard.
NOTE: Run all commands as sudo or root user.
* [0/100] starting installer
confirm the config:

* IP address: 1.1.1.1

confirm (yes/no):
yes
* [0/100] starting installer
* [0/100] preparing for installation... please wait
* [0/100] application: AnacondaEnterprise:5.1.1
* [0/100] starting web UI install wizard
---------------------------------------------------------------------------------------------
OPEN THIS IN BROWSER: https://1.1.1.1:61009/web/installer/new/gravitational.io/AnacondaEnterprise/5.1.0?install_token=0a39d9a2f16036fc6583e78b502e7cae
---------------------------------------------------------------------------------------------
Connect to the URL in your browser, ensuring that you are connecting to the public network interface:
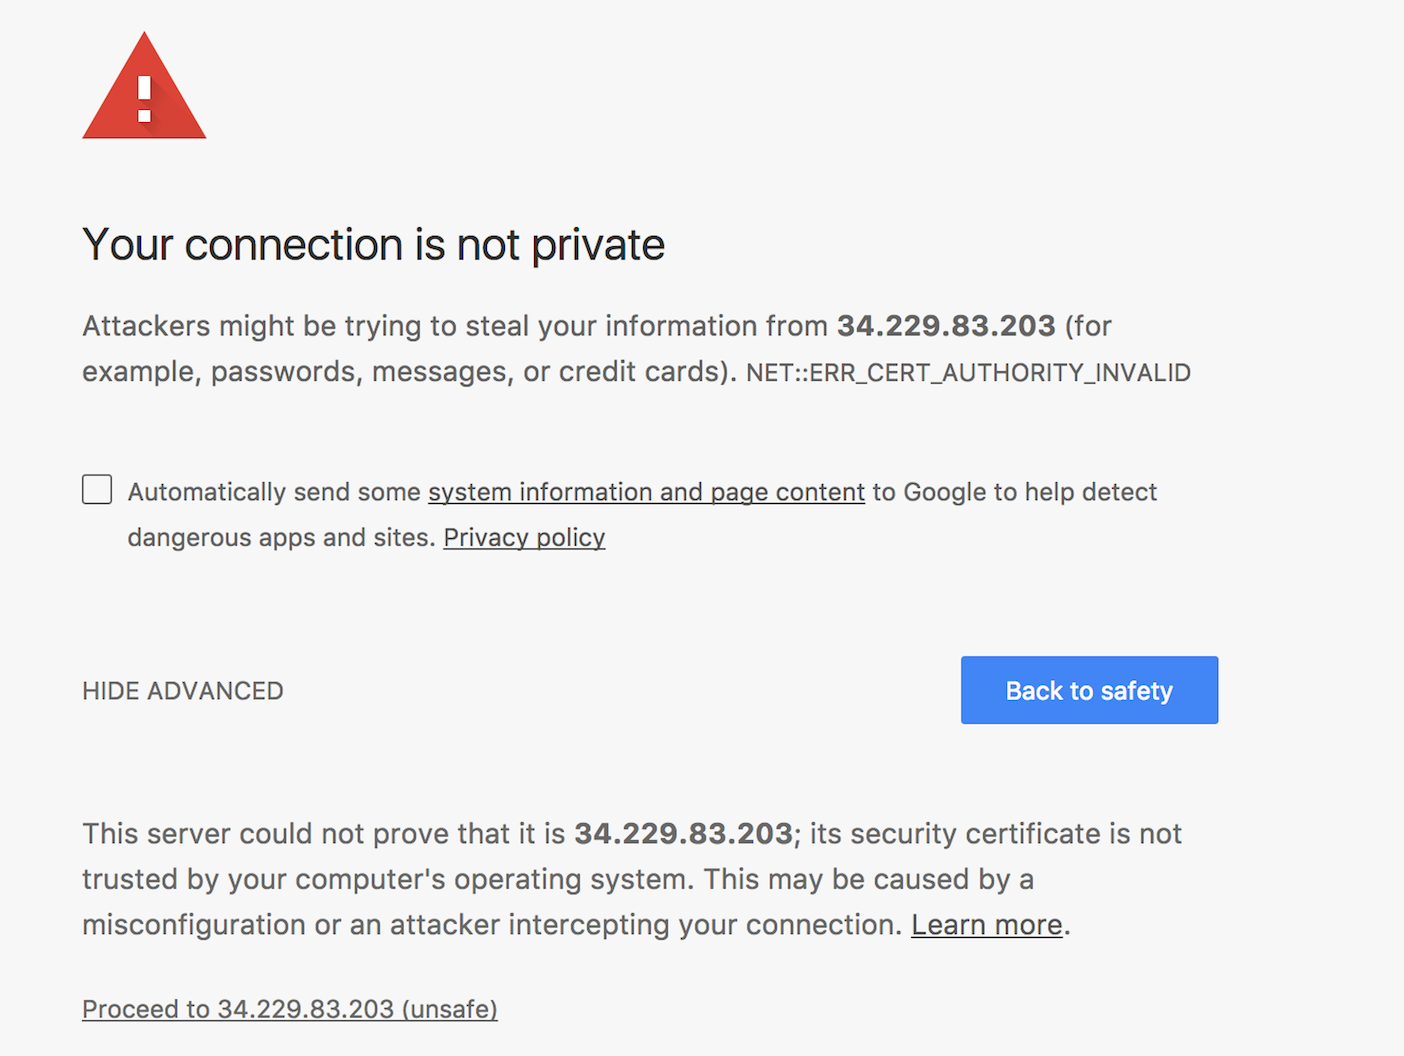
The installer will install a self-signed TLS/SSL certificate, so you can proceed beyond the initial security warning:
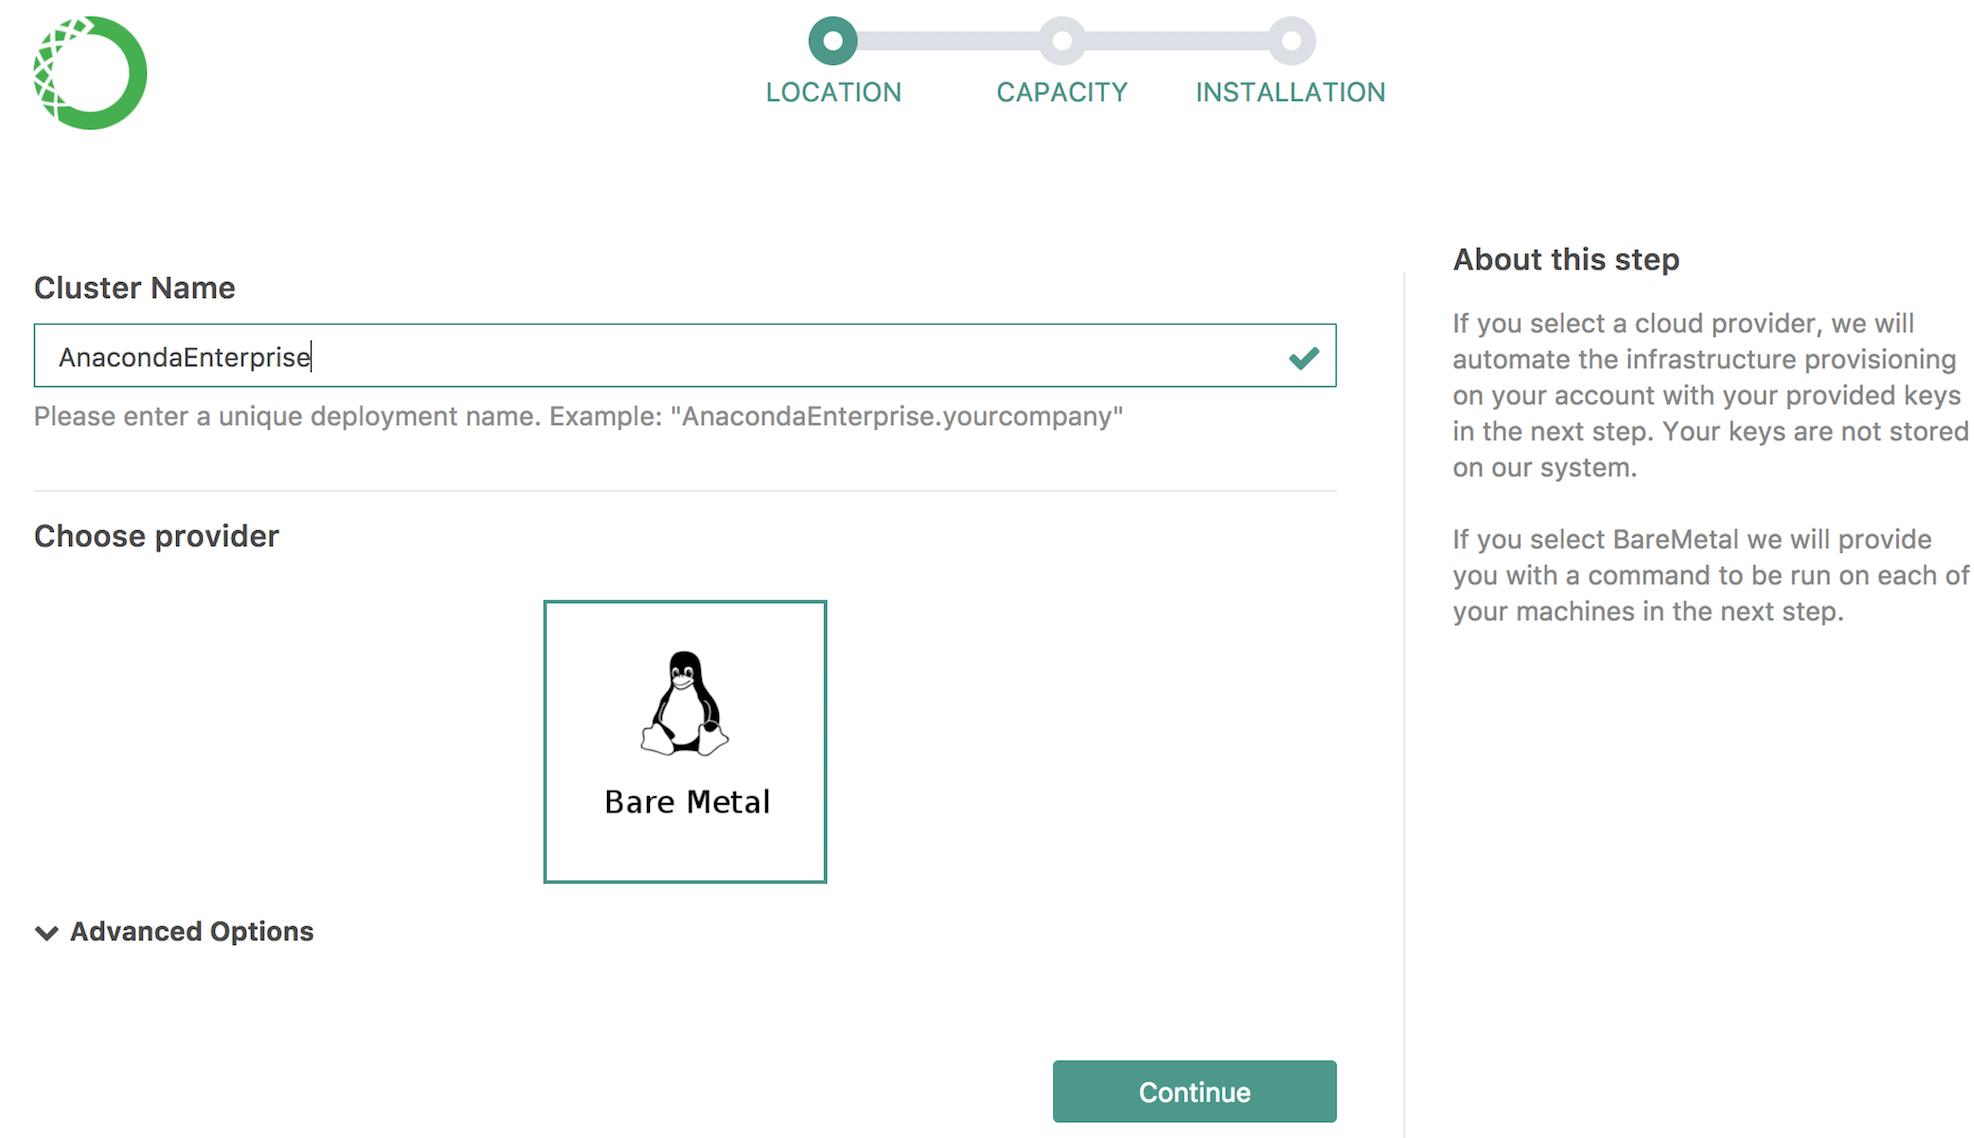
Enter the Cluster Name. The Bare Metal option is already selected. Click Continue.
Select the number of nodes between one and four that you want to install to, where one node is the master node and the remaining nodes are worker nodes.
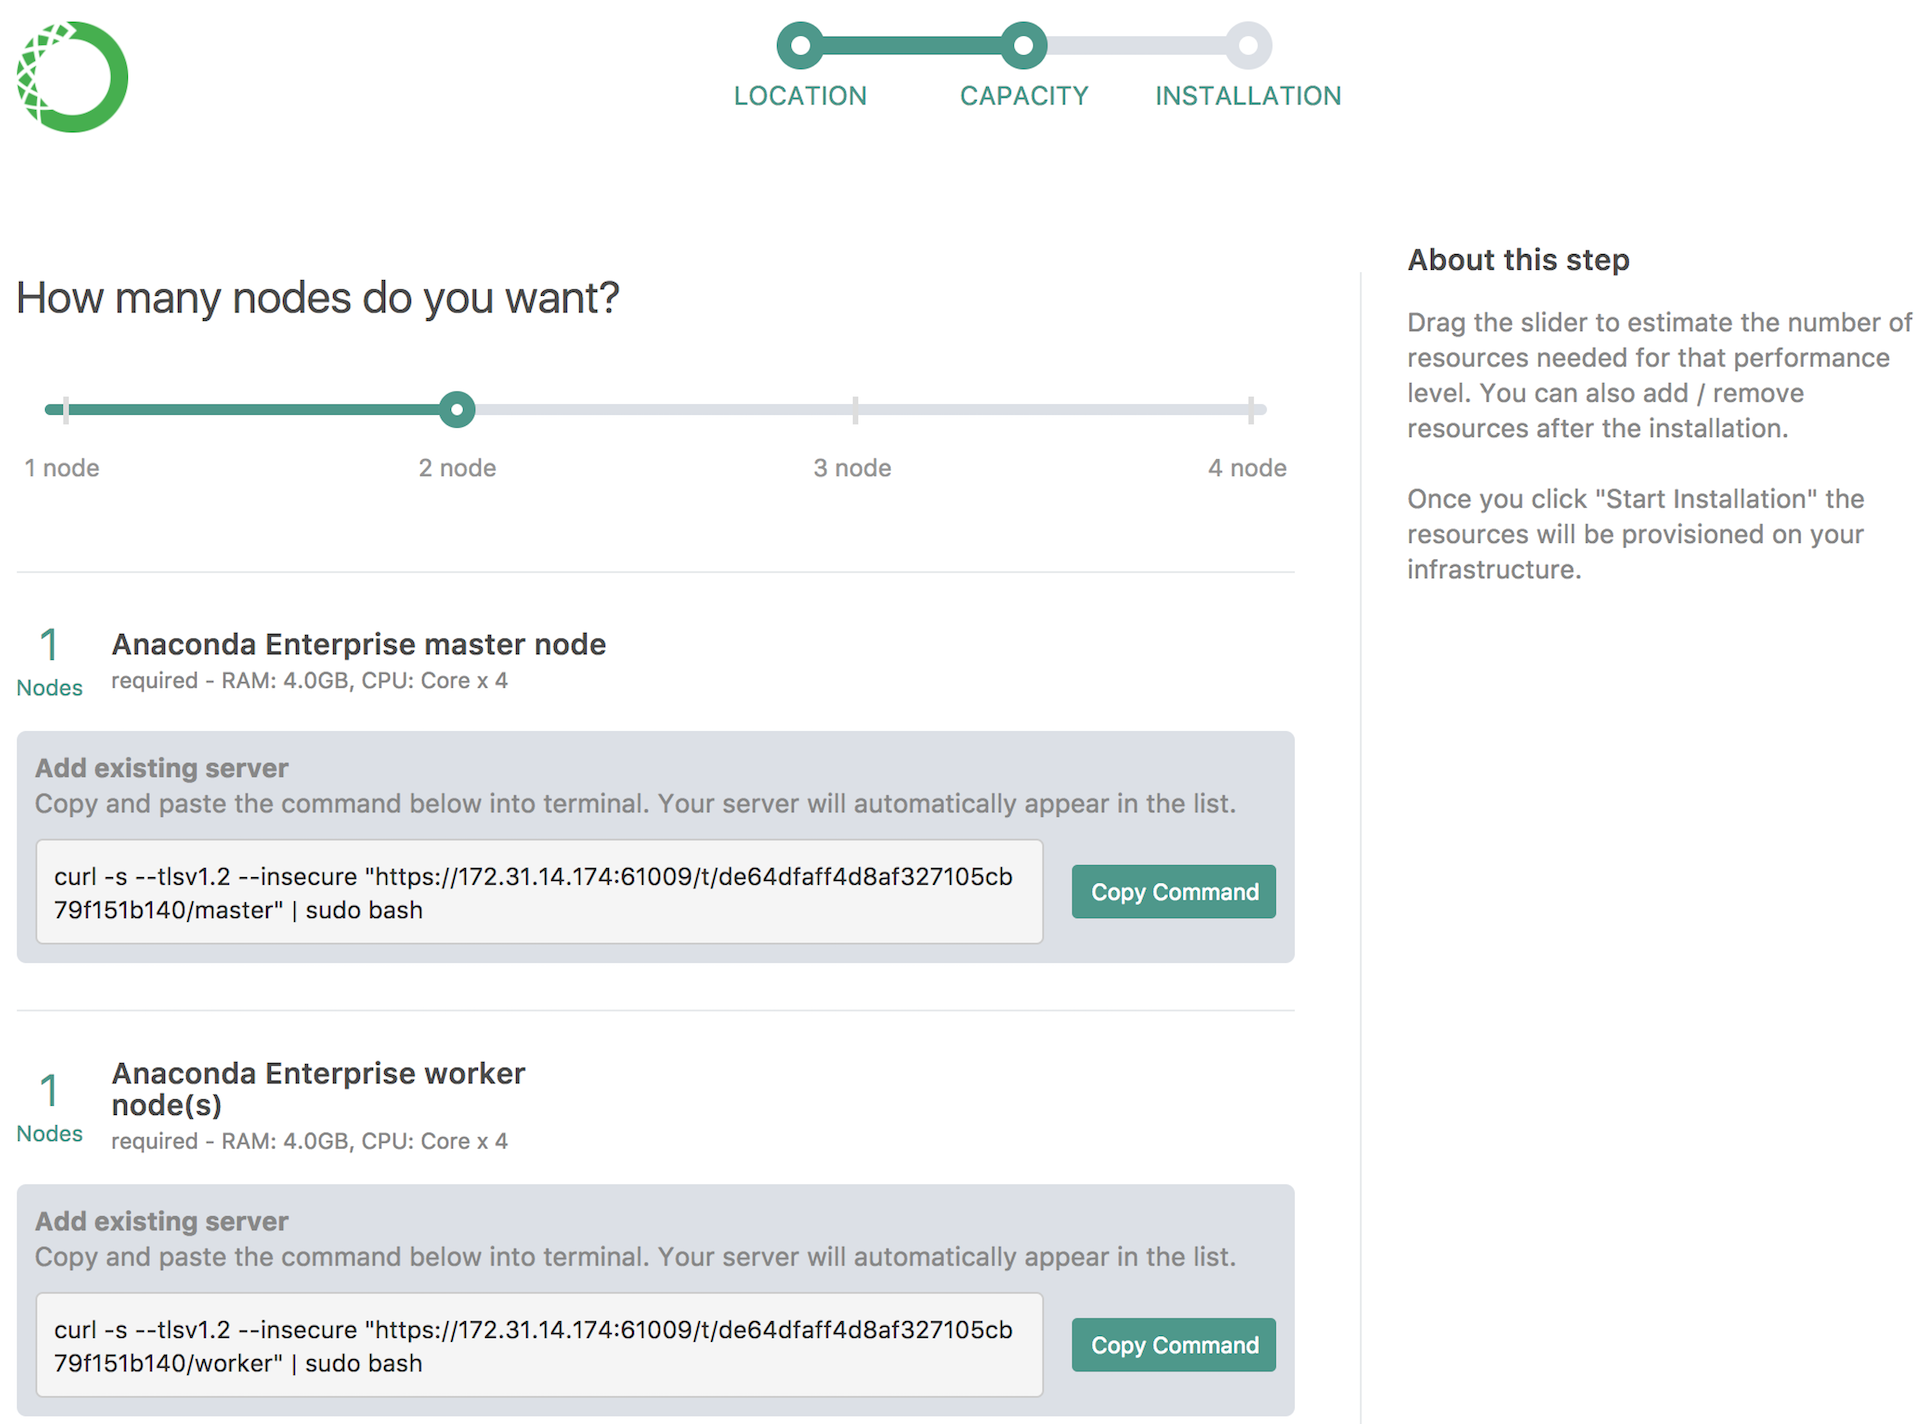
Run the following command on each node on which you want to install Anaconda Enterprise, copying the appropriate master node or worker node command:
curl -s --tlsv1.2 -k "https://1.1.1.1:61009/t/01eedaee7b9965c958336b5d31f334c3/worker" | sudo bash
As you run the command on each node, you’ll see each node listed in the installer.
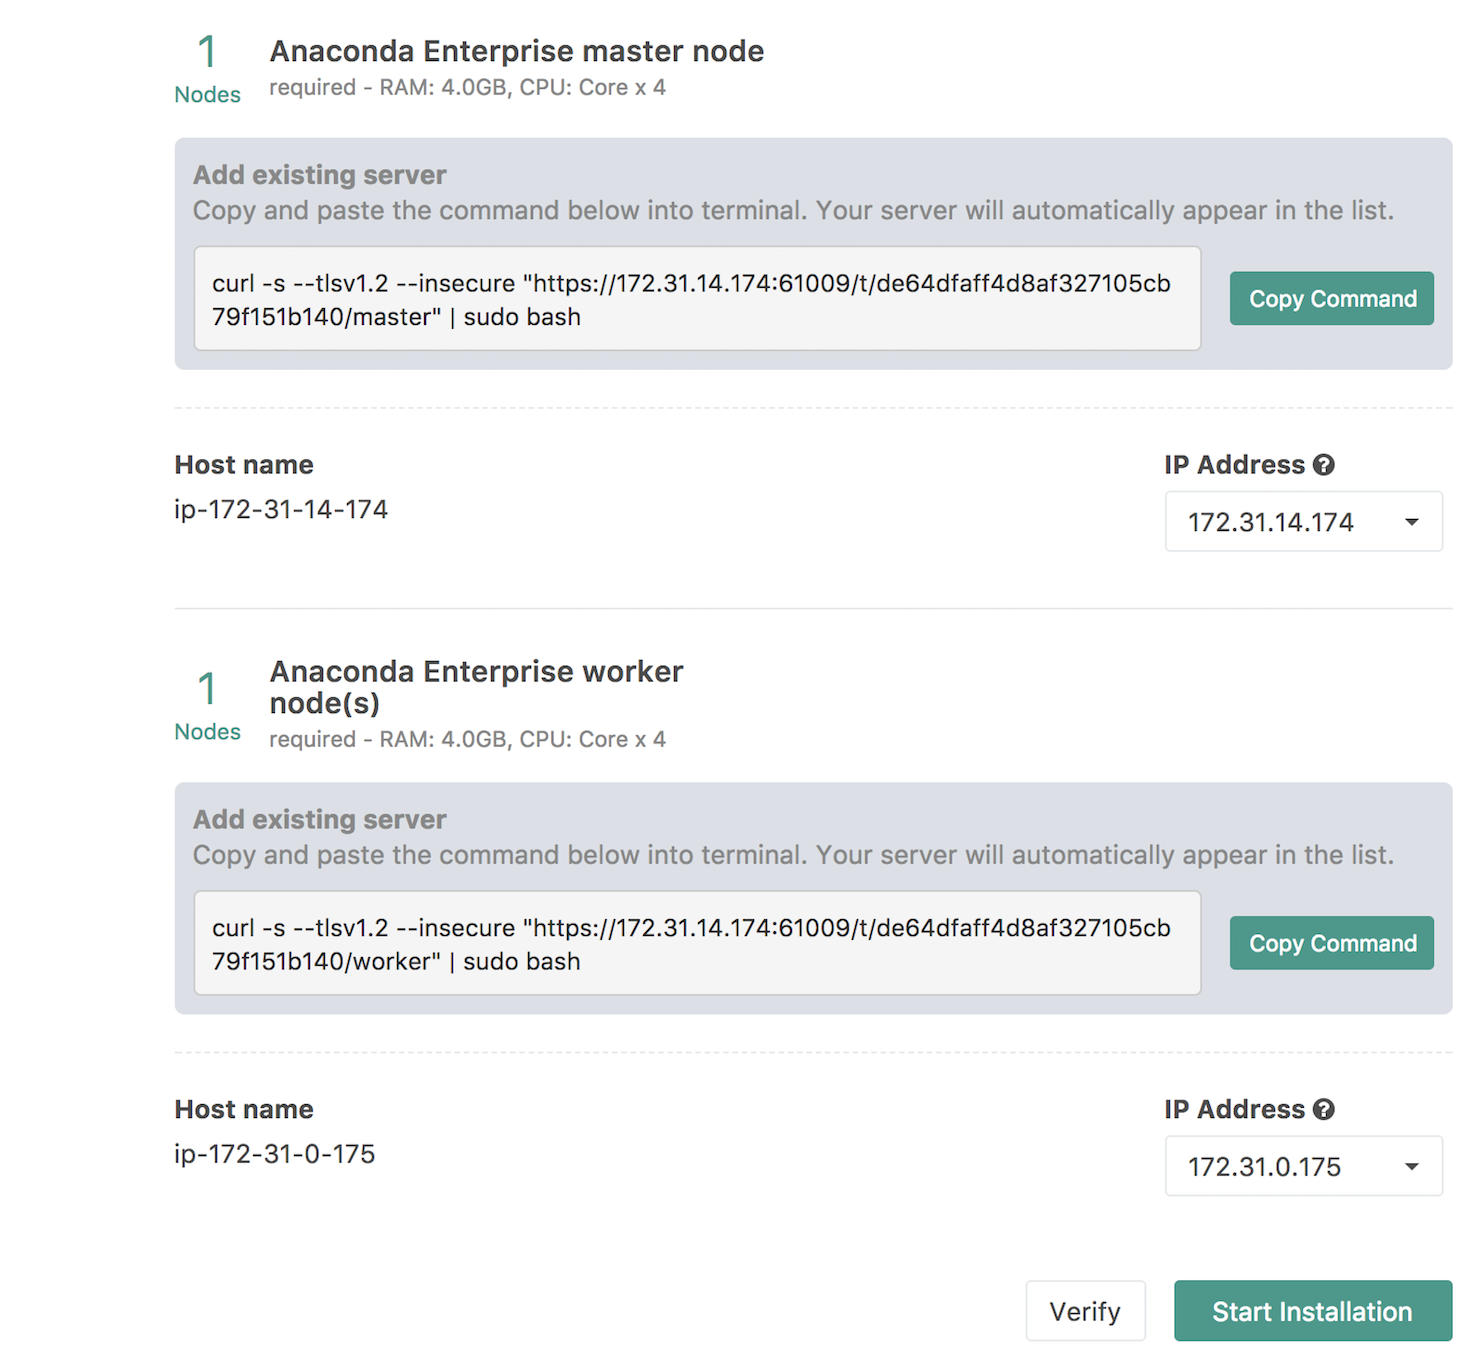
Click on Start Installation.
The installer will proceed through the installation stages. This process requires about 20 minutes.
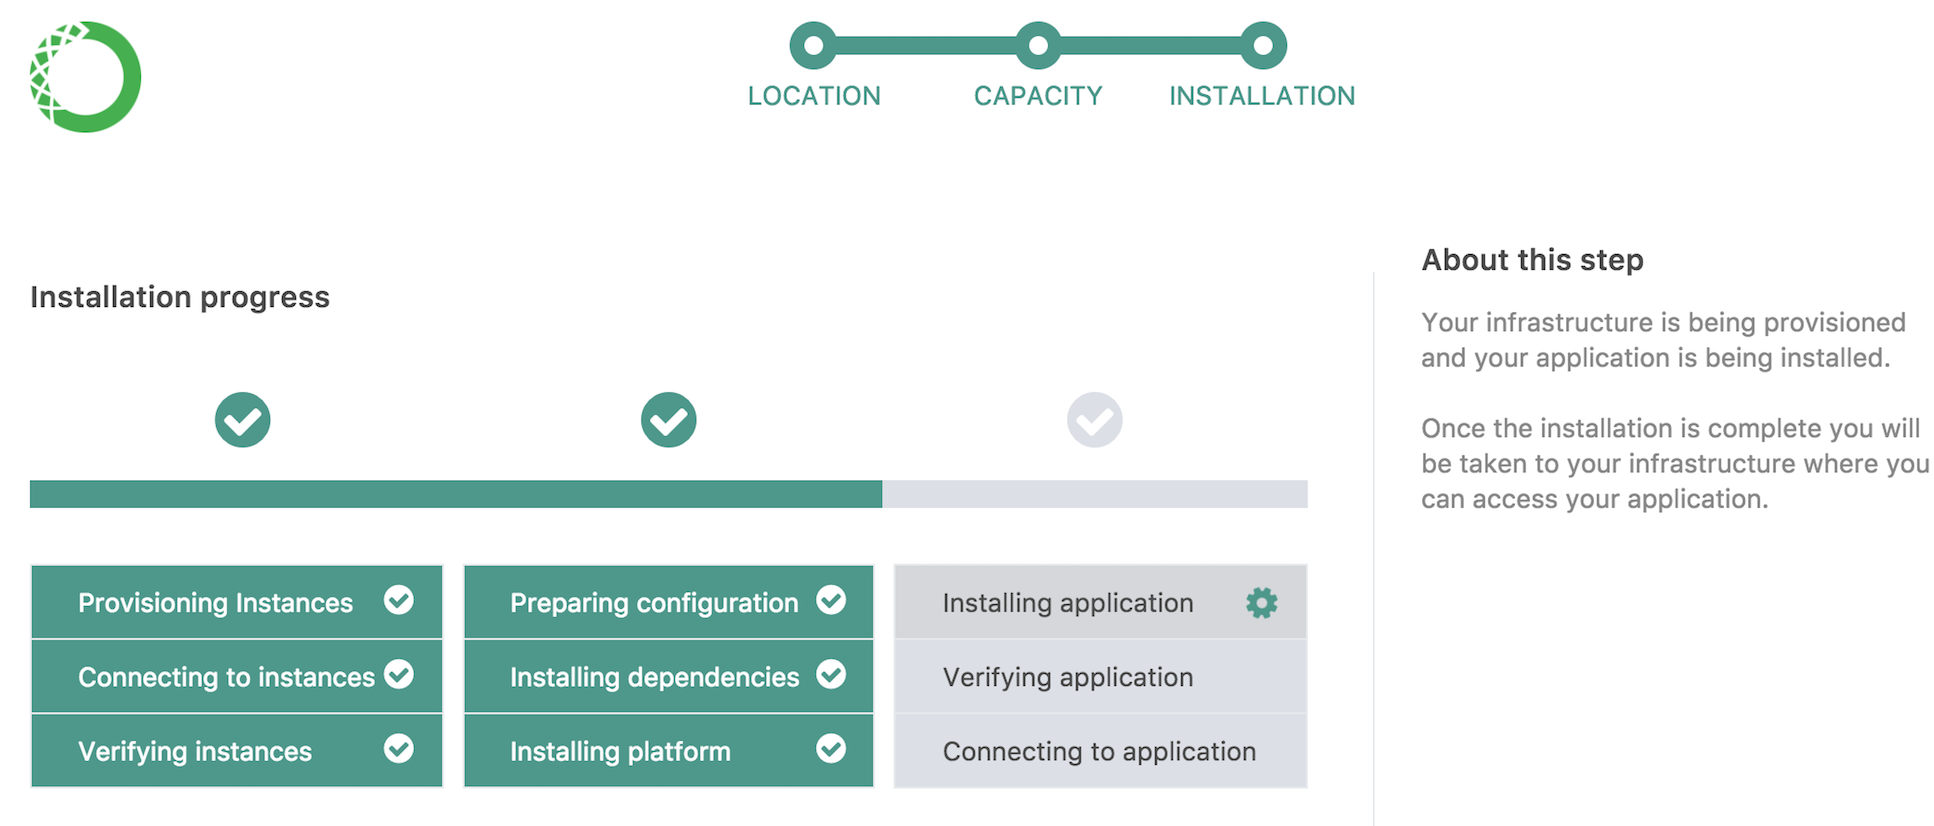
After the installation is complete, you will see the following screen.
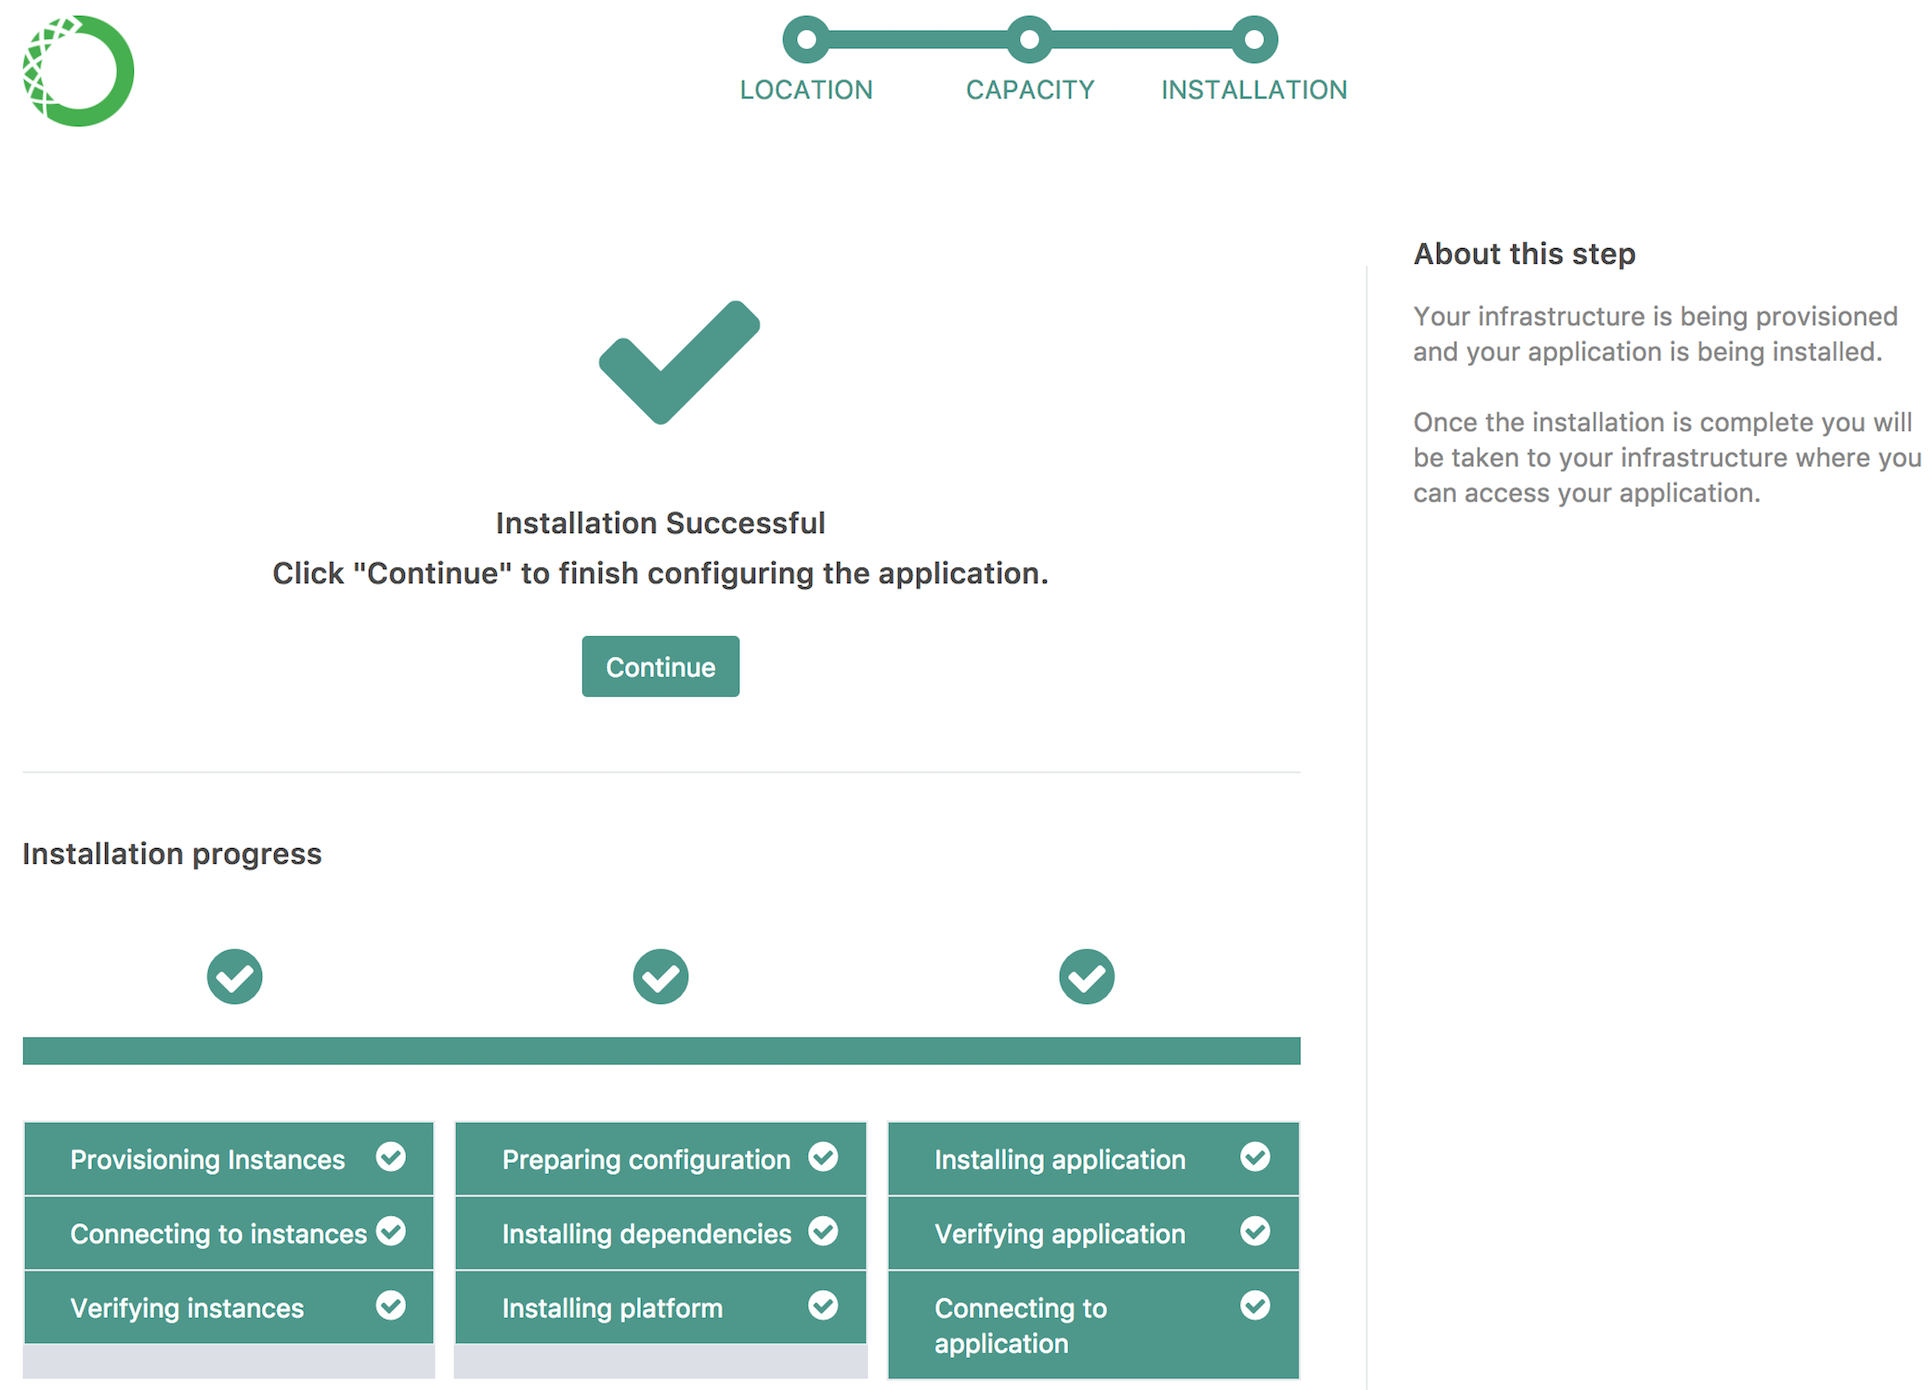
NOTE: once the screen above is visible, the installer script in the terminal will note that installation is complete and that you can stop the installer process. Please do not do so until you have completed the post-install configuration, as below.
Click on the Continue button to proceed to Post-Install Configuration
Option 2. Unattended Command-line (CLI) Installation
Unattended CLI installation is used if you cannot connect to the nodes with a browser. This includes installation from a separate network.
On each node in the cluster, create a new directory for the installer, navigate to the new directory, then download and decompress the installer:
mkdir anaconda-enterprise
cd anaconda-enterprise
curl -O <location_of_installer>.tar.gz
tar xvzf anaconda-enterprise-<installer_version>.tar.gz
cd anaconda-enterprise-<installer_version>
Master node
On the master node, run the following command as sudo or root user, referring to details below this code block:
sudo ./gravity install --advertise-addr=192.168.1.1 --token=anaconda-enterprise --flavor=small

* [0/100] starting installer
* [0/100] preparing for installation... please wait
* [0/100] application: AnacondaEnterprise:5.1.1
* [0/100] starting non-interactive install
* [0/100] still waiting for 1 nodes of role "worker" to join
* [0/100] still waiting for 1 nodes of role "worker" to join
* [0/100] still waiting for 1 nodes of role "worker" to join
* [0/100] initializing the operation
* [20/100] configuring packages
* [50/100] installing software
NOTE: For the above “Advertised Address” option advertise-addr, replace the
IP address with the address you want to be visible to the other nodes.
For the flavor option, choose one of:
- ‘tiny’: One node (one master node - DEFAULT)
- ‘small’: Two nodes (one master node and one worker node)
- ‘medium’: Three nodes (one master node and two worker nodes)
- ‘large’: Four nodes (one master node and three worker nodes)
NOTE:: By default, Anaconda Enterprise will install using a service account with
the user ID (UID) 1000. You can change the UID of the service account by using
the --service-uid option or the GRAVITY_SERVICE_USER environment
variable. For example, to use UID 1001, you can use the command
sudo ./gravity install --service-uid=1001 or
sudo GRAVITY_SERVICE_USER=1001 ./gravity install.
NOTE:: When installing to Amazon AWS, the installer autodetects EC2 and uses the
VPC-based flannel backend instead of VXLAN. To force the use of VXLAN, you can
use the --cloud-provider generic option in the above installation command.
Worker nodes
On each worker node, run the following command:
sudo ./gravity join 192.168.1.1 --advertise-addr=192.168.1.2 --token=anaconda-enterprise --role=worker
* [0/100] joining cluster
* [0/100] connecting to cluster
* [0/100] connected to installer at 192.168.1.1
* [0/100] initializing the operation
* [20/100] configuring packages
* [50/100] installing software
NOTE: For the above “Advertised Address” option advertise-addr, replace the
IP address with the address you want to be visible to the other nodes.
The installer will proceed through its stages. This process requires about 20 minutes.
After installing Anaconda Enterprise as part of an unattended installation, create a local user account and password to log into the Anaconda Enterprise Operations Center.
First, enter the Anaconda Enterprise environment on any of the master or worker nodes:
sudo gravity enter
Then, run the following command to create a local user account and password for the Anaconda Enterprise Operations Center:
gravity --insecure user create --type=admin --email=<email> --password=<yourpass> --ops-url=https://gravity-site.kube-system.svc.cluster.local:3009
NOTE: Replace <email> with the email address, and <yourpass> with the password you want to use.
Both Options: Post-Install Configuration and Anaconda Enterprise Operations Center
After completing either installation path, you must continue to the Post-Install Configuration.
Access Anaconda Enterprise Operations Center
You can access the Anaconda Enterprise Operations Center in your browser by entering the following URL:
https://anaconda.example.com:32009
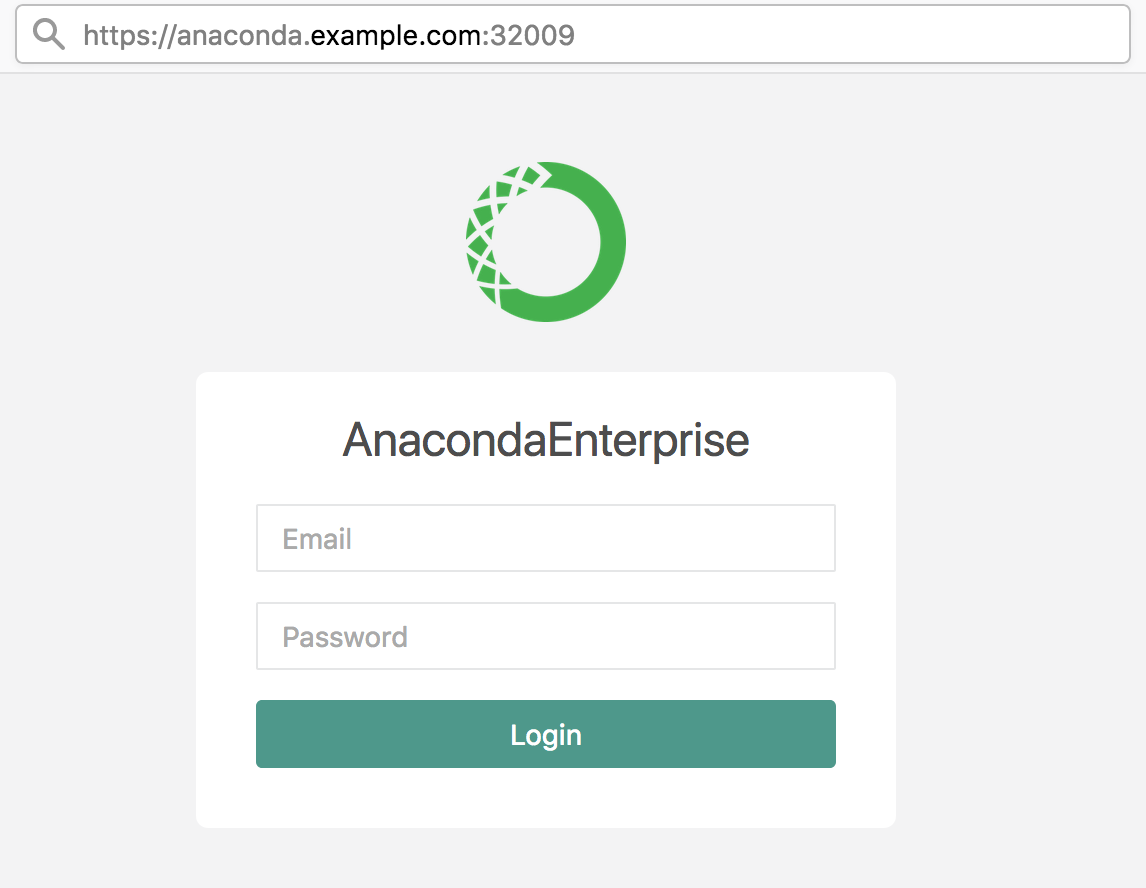
NOTE: Replace “anaconda.example.com” with your actual domain name.
After logging in, you will be viewing the Anaconda Enterprise Operations Center.
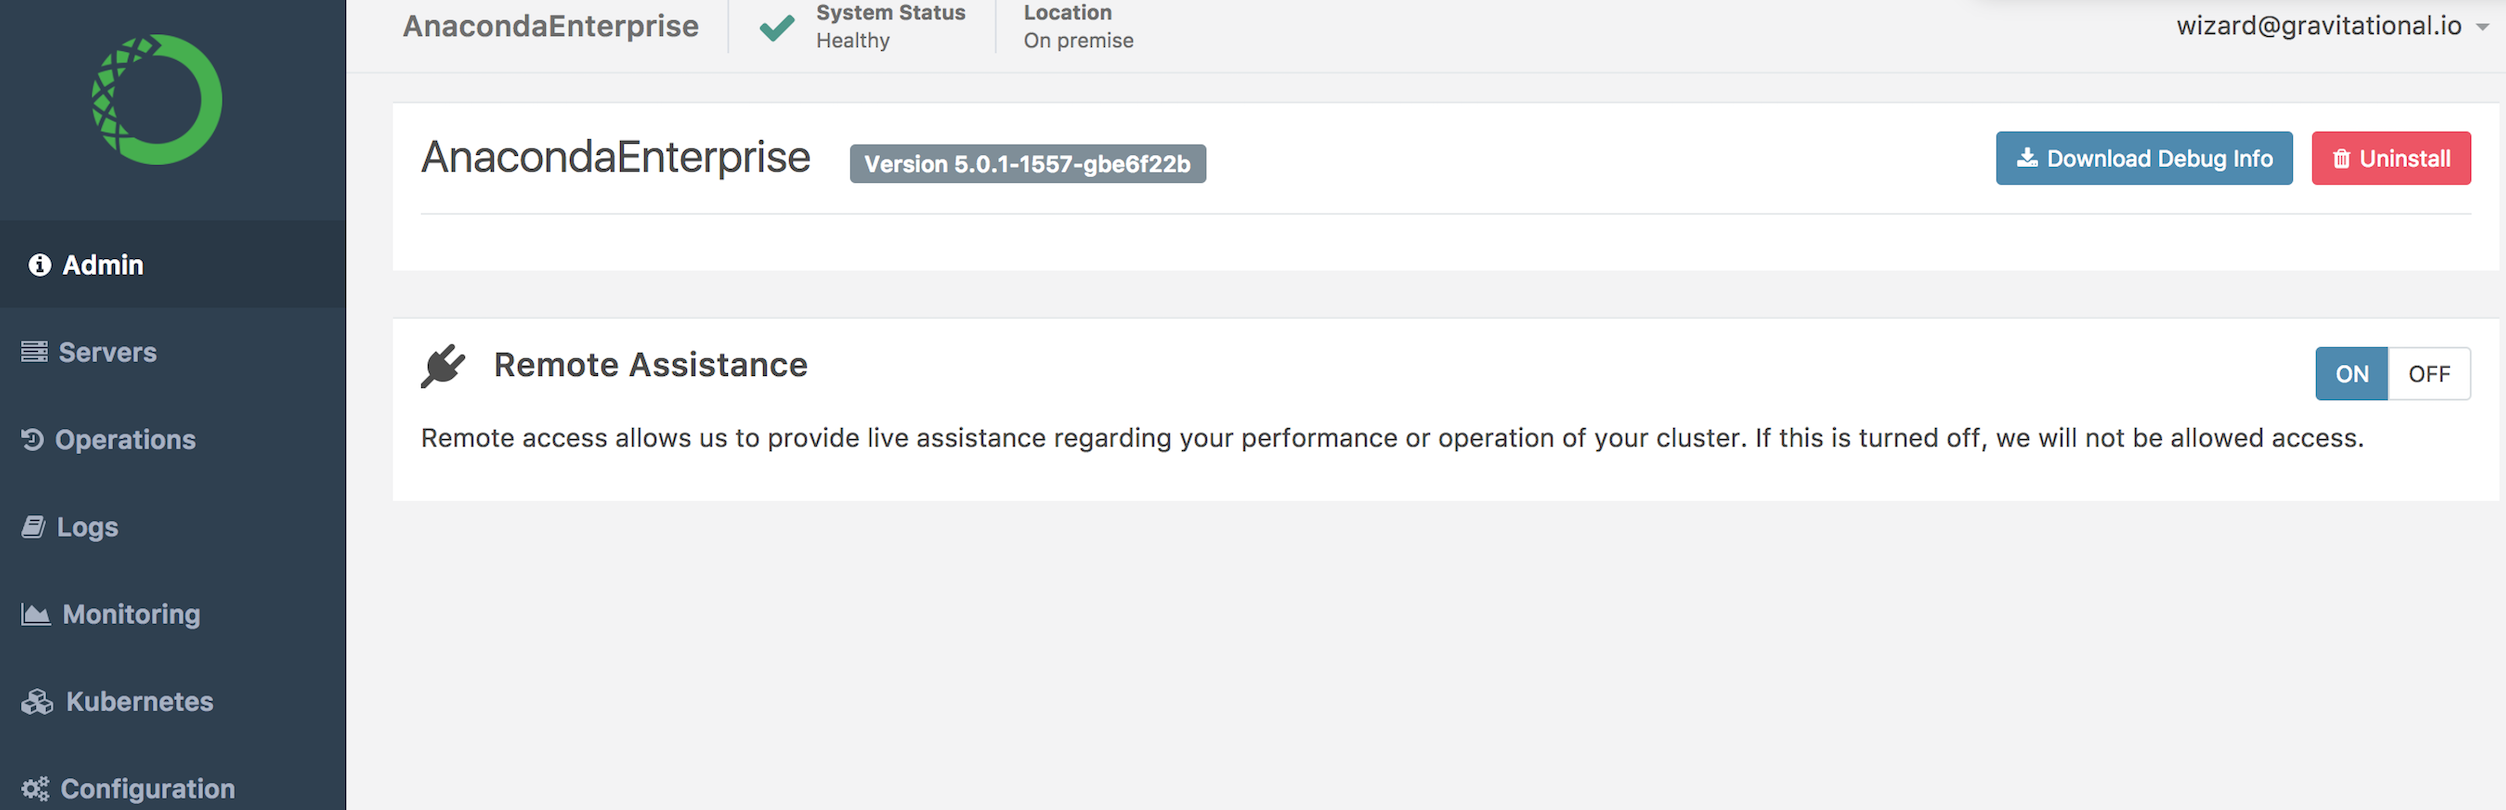
NOTE: Immediately after installation, the remote assistance feature may temporarily appear enabled. The connection is destroyed after a few minutes and will then stop appearing.