Deploying PredictionIO on Amazon Web Services is extremely easy thanks to AWS Marketplace. As long as you have access to AWS, you can launch a ready-to-use PredictionIO Amazon EC2 instance with a single click.
Prerequisites
- Amazon Web Services account
- Amazon EC2
Access AWS Marketplace
Visit PredictionIO product's page on AWS Marketplace and sign in with your AWS account.
Using 1-Click Launch
You should see the following screen after you have logged in.
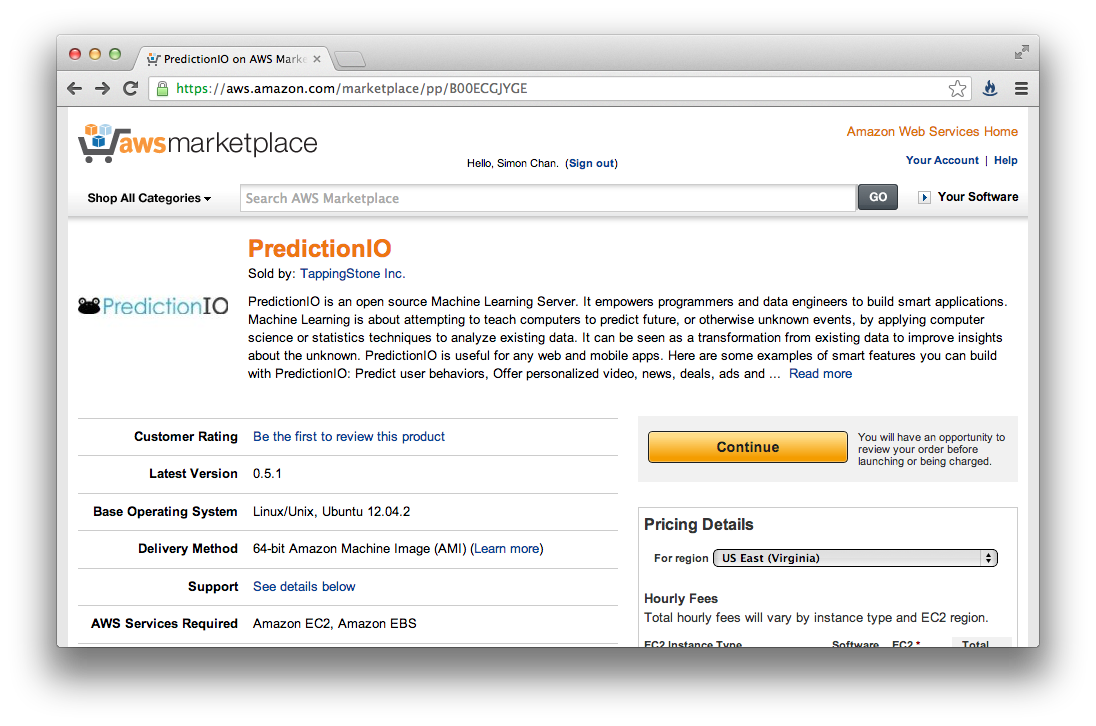
Under the big yellow "Continue" botton, select the region where you want to launch the PredictionIO EC2 instance, then click "Continue".
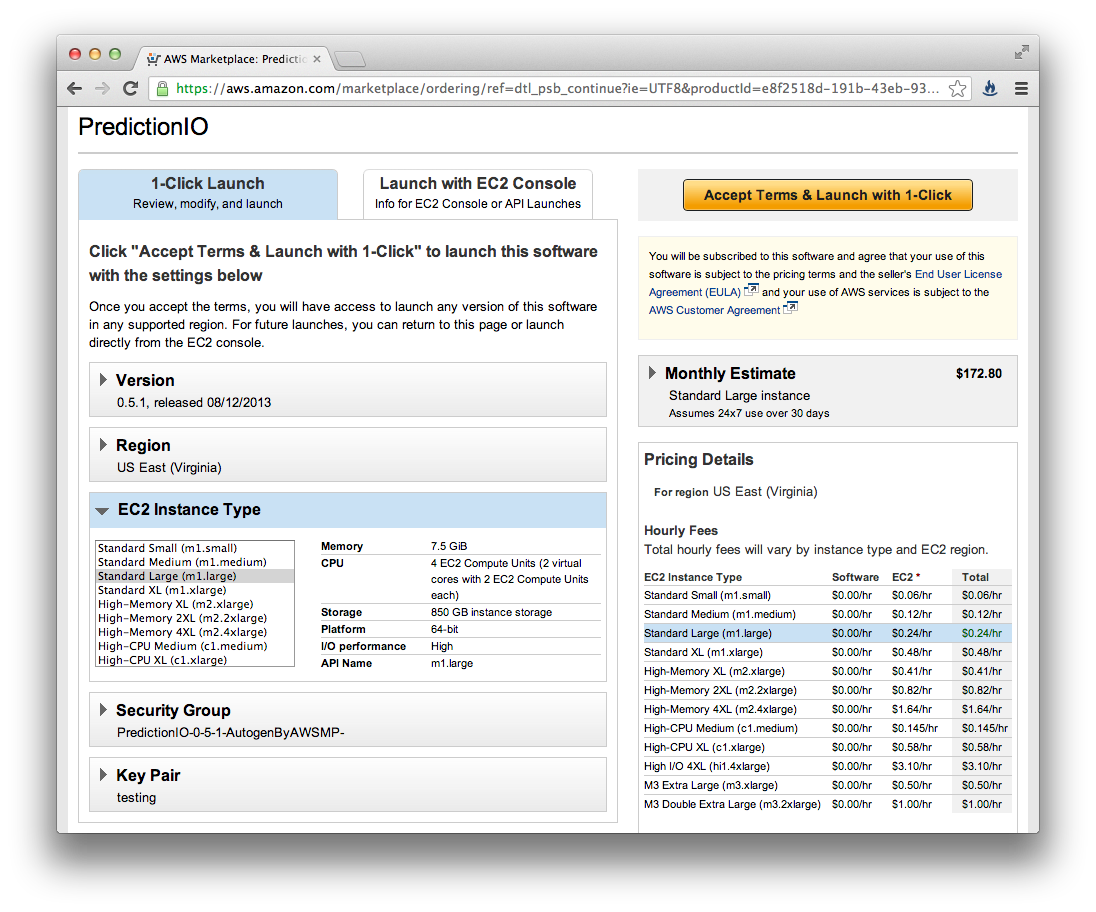
Review your instance's settings before launching. For quick prototyping work, we recommend using the "memory optimized" instances for the cheapest memory configurations at least the "Memory Optimized R3 (r3.large)" or for larger datasets the "(r3.xlarge)".
Setting Security Group
The default security group, marked by "AutogenByAWSMP", has the following ports opened to public:
- 22 (SSH)
- 7070 (PredictionIO Event Server)
- 8000 (PredictionIO Server)
- 8080 (Spark Master)
- 9200 (Elasticsearch)
Start Using PredictionIO
It may take a few minutes after the EC2 instance has launched for all PredictionIO components to become ready. When they are ready, you may connect to your instance, see AWS documentation for more details.
Once you connect to your instance, you can find PredictionIO at /opt/PredictionIO and the binary command path is /opt/PredictionIO/bin.
You can proceed to Choosing an Engine Template, or continue the QuickStart guide of the Engine template if you have already chosen one.