| Home · Editor · Code Navigation · Shortcuts · Wiki |
[Previous: A Quick Tour of Qt Creator] [Qt Creator Manual] [Next: Writing a Simple Program with Qt Creator]
 | Creating a new project To create a new project, select New Project from the File menu. You can create one of the following three projects:
In this example, we select a Qt4 Gui Application and click on OK. |
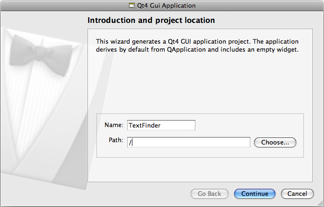 | Setting the project name and location Next, we set the project's name and its path. Click on the Choose... button to browse and select your path. Ideally, the path should not contain spaces or special characters. |
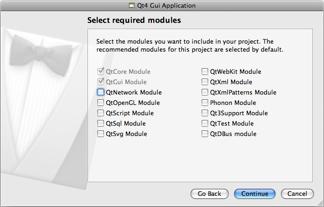 | Selecting the necessary Qt modules Check the check box for each Qt module you want to include into your project. Since we started a Qt4 Gui Application, the QtCore and QtGui modules are set by default, but you are free to add more. |
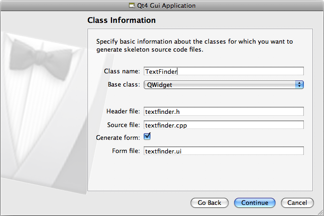 | Specifying class information Specify the name of the class you want to create. The Header file, Source file and Form file fields update automatically according to the class name you choose. Remember to select the base class for your class, either a QWidget, QDialog or QMainWindow, from the drop-down list. |
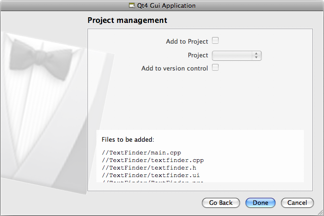 | Creating the project Finally, review the files that will be created for you. To generate your project, click on Done. |
[Previous: A Quick Tour of Qt Creator] [Qt Creator Manual] [Next: Writing a Simple Program with Qt Creator]
| Copyright © 2009 Nokia Corporation and/or its subsidiary(-ies) | Trademarks | Qt Creator 1.3.0 |