Audacity Setup and Configuration
From Audacity Manual
Setting Your Audacity Preferences
The main place to set up Audacity and customize it to work the way that you require is to use Audacity's Preferences dialog screens.
Preferences let you change most of the default behaviors of Audacity. The Preferences dialog can be accessed using the (or by using the shortcut CTRL + P). On a Mac, Preferences can be found under the (shortcut CMND + ,). The Preferences dialog is split into a number of sections each with its own dialog page. There are many settings that can be made in your Preferences; do take some time to explore and understand these.
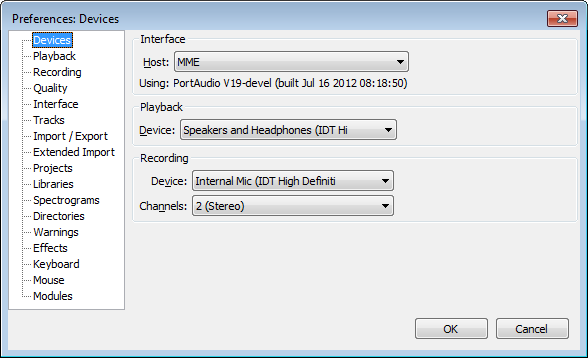
The image below shows an example of the Devices section of the Preferences dialog:
Some of the more commonly used settings can be changed and reset from the main Audacity Window:
- The Device Toolbar can be used to change the input & output devices, the recording host and the number of channels
- The Selection Toolbar can be used to change the Project Rate
- The Transport Menu can be used to control Software Playthrough and Sound Activated Recording
Using these can be quicker than accessing the preferences dialog to change these settings
Connecting your equipment
For help with connecting your equipment to your computer for recording please see the following tutorials:
- Copying tapes, LPs or MiniDiscs to CD or your computer for help connecting turntables, tape-decks and MiniDisc players.
- Tutorial - Your First Recording for microphones, keyboards and guitars.
