PE 2.0 » Puppet » Assigning a Class to a Node
← Puppet: Your First Module — Index — Puppet: Next Steps →
Puppet For New Users: Assigning a Class to a Node
In Puppet Enterprise, you assign classes to nodes using the console.
Adding a Class to the Console
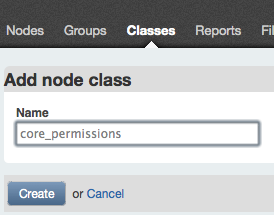
The console doesn’t automatically load classes from the puppet master’s modules, so you must tell the console about a new class before you can use it. Use the “Add class” button in the console’s sidebar.
The “Add class” button:

Typing a class name:
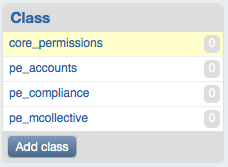
Done:
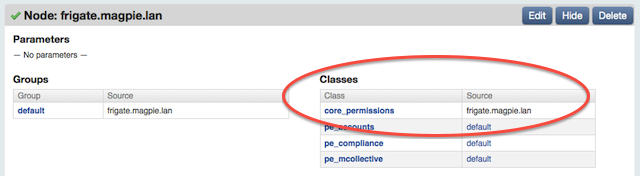
Assigning a Class to a Single Node
To assign the new class to one node at a time:
- Go to that node’s page (by finding and clicking its name in one of the console’s lists of nodes)
- Click “Edit”
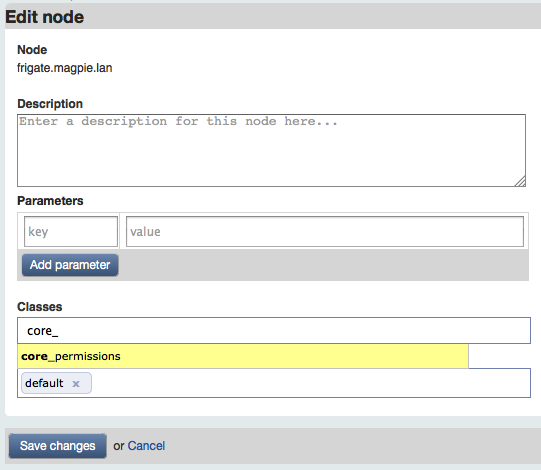
- Start typing the name of the class in its “Classes” field, then select the class you want from the auto-completion list
- Save your changes
The edit button:

Typing a class name:
A confirmed class name:
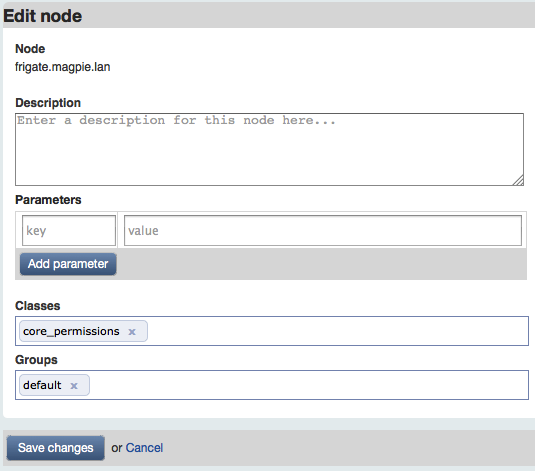
Done:
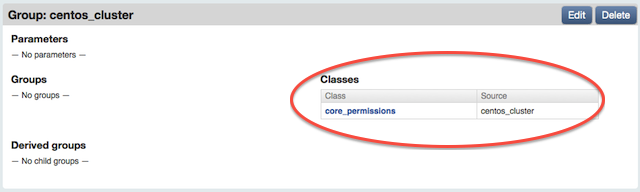
Assigning a Class to a Group
Assigning a class to a group of nodes is nearly identical: go to that group’s page, and use the edit button and classes field as described above.
After adding a class to a group:
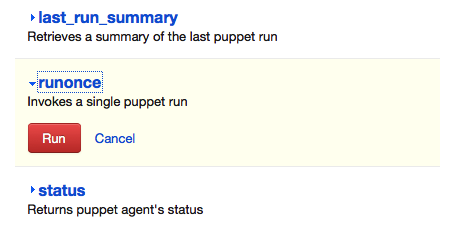
Making a Node Pull its Configuration
Nodes with your class will pull and apply their configurations within the next half hour. But if you want to make them run immediately, you can use the console’s live management page to control puppet agent.
- Navigate to the live management page, then navigate to the “Control Puppet” section
- In the sidebar, click “select none” and then re-select the handful of nodes that need to run
- Click the “runonce” action, then confirm with the red “Run” button.
Preparing to trigger three runs:

Confirming the runonce action:
Viewing the Results of a Run
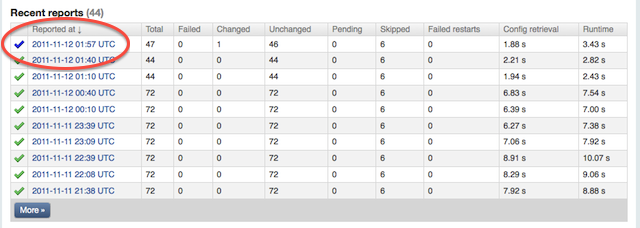
A few minutes after triggering a run, the selected nodes should be the most recent nodes appearing in the node list. In our case, we can see that this run made changes to one node, which has a blue checkmark by its name:
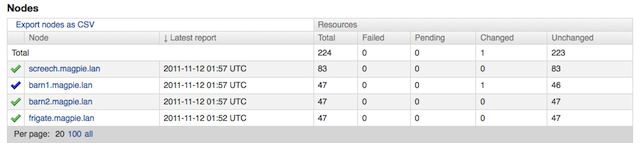
If we go to that node’s page, we can go to the most recent report and view what happened in the “log” tab:
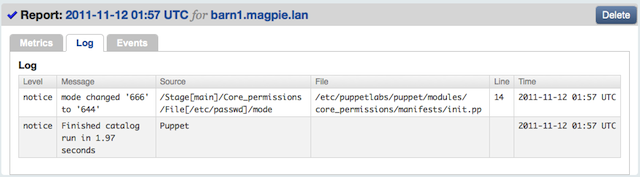
For some reason, /etc/passwd had a permissions mode of 0666, which meant anyone could write to it! Puppet corrected that, and it now has the proper mode of 0644.
← Puppet: Your First Module — Index — Puppet: Next Steps →