Create a Visualizer

Prerequisites
Steps
-
Go to .
➊
➋
-
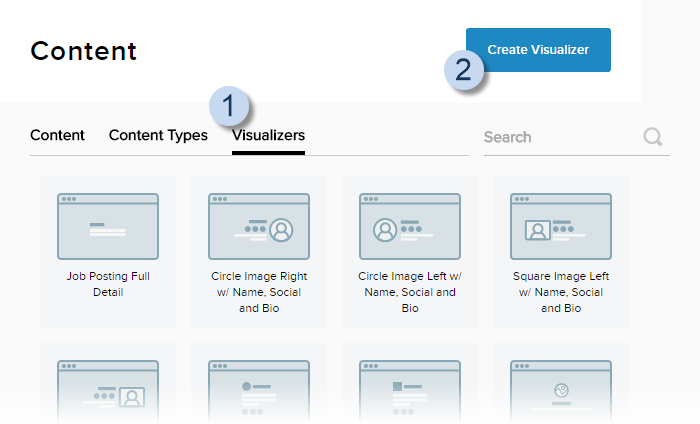
In the Visualizers tab, click/tap Create Visualizer.
-
Configure the properties of the visualizer.
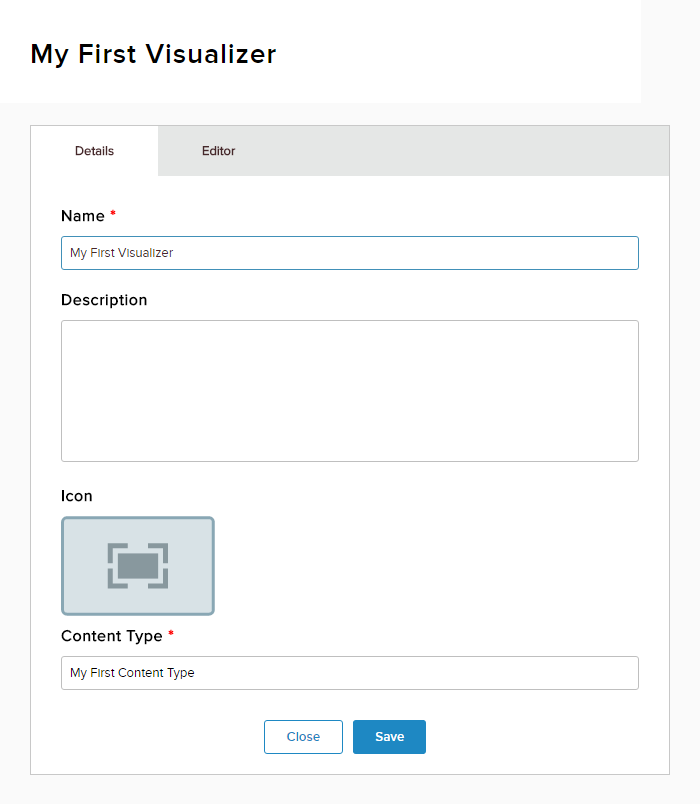
Field Description Name The name of the visualizer. Tip: Include the name of the content type in the visualizer's name to make it easy to find all visualizers associated with the content type. If you plan to have multiple visualizers for the same content type, add a short phrase that briefly describes its function to distinguish it from other visualizers.Description A short description of the visualizer. Icon The icon for the visualizer. Content Type The content type to associate with this visualizer. Warning: Changing the content type will replace any existing HTML code in the editor. -
In the Editor tab, design the visualizer.
-
In the Template editor, enter the HTML code to format each content item (Template), as well as the Header and Footer of the list of content items.
The header and the footer enclose the list of content items in a page. Example: If you want the content items to be displayed as bullets in an unordered list, the Header can contain the opening
<ul>tag and the Footer can contain the closing</ul>tag.Tip: Choose the content type in the Details tab before editing the visualizer HTML code. The fields of the selected content type are added to the Template editor as placeholders for the field value(s). They are also displayed in a dropdown that appears when you press Ctrl+Space.Each placeholder is the reformatted name of the content field enclosed in double curly brackets. Example: The placeholder for a field called Recipe Name is
{{recipeName}}.If the field has multiple values (e.g., multiple choice fields), the values are comma-separated.
Tip: Because the placeholders hide the inner tags, such as<img/>or<p/>, you can wrap the placeholders with<div/>tags withclassnames oridnames that you can refer to in the CSS code. Example:<div class="myimgdiv">{{ myImg }}</div> -
In the Style editor, enter CSS code for the visualizer.
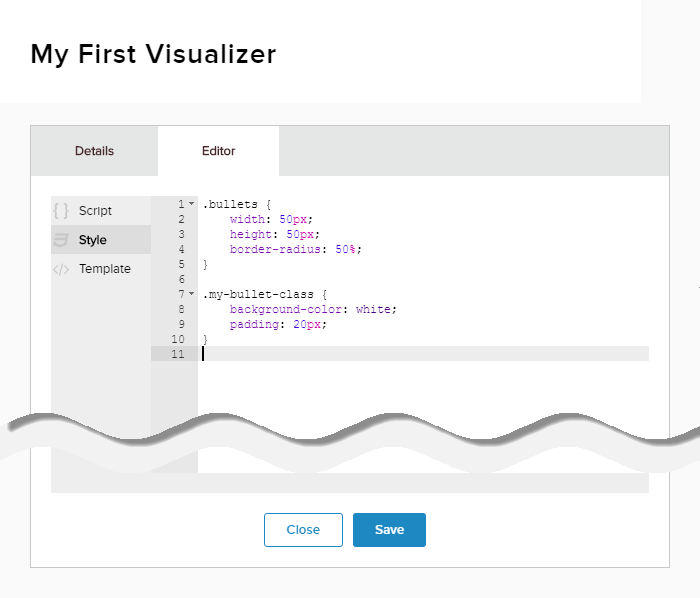
Tip: If you wrapped a placeholder, you can access the inner tag if you wrapped them in a named<div/>tag. Example:.myimgdiv img { width: 50px } -
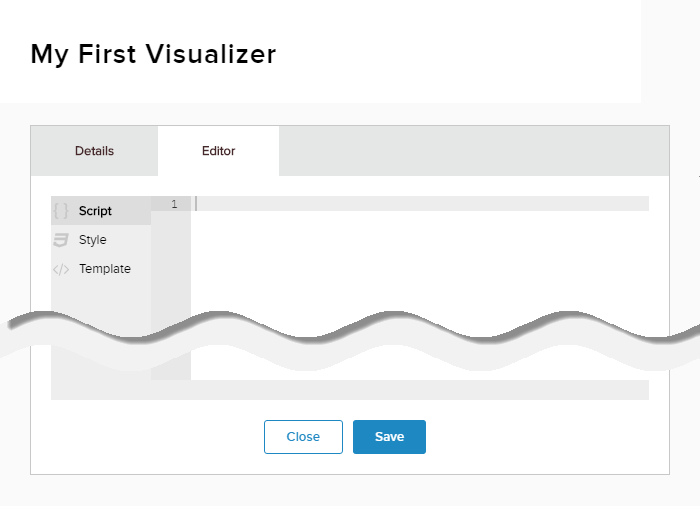
In the Script editor, enter JavaScript code for the visualizer, if needed.
-
In the Template editor, enter the HTML code to format each content item (Template), as well as the Header and Footer of the list of content items.