This guide will walk you through the minimum steps to setup your Github or Bitbucket repository to automatically build, test and deploy you code using drone.io.
This guide assumes the following pre-requisites:
- You have Bitbucket or Github account
- You created a Drone account
- You own or administer at least one public Github or Bitbucket repository
Setup your Project
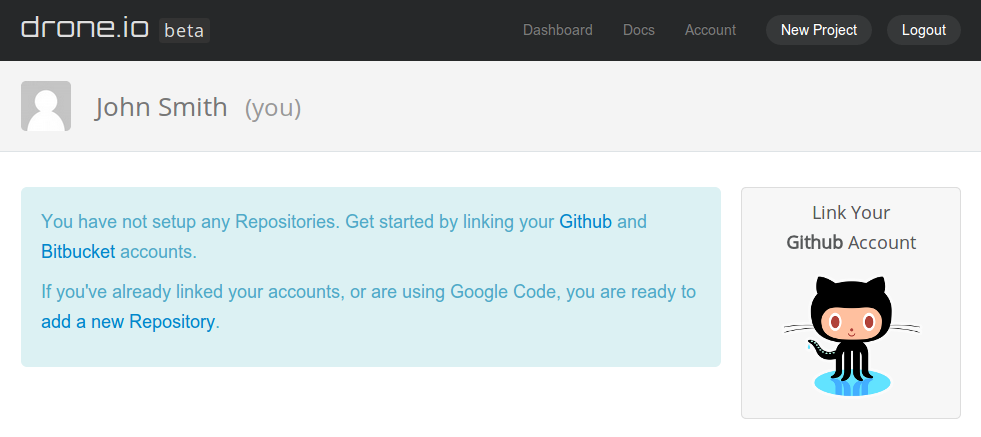
Login to Drone and click on the New Project button in the upper-right
corner of your screen:
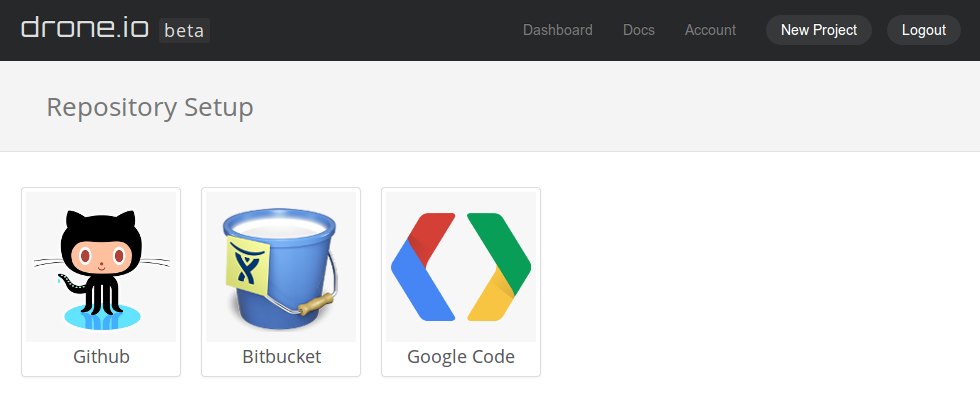
Pick where your source code is hosted:
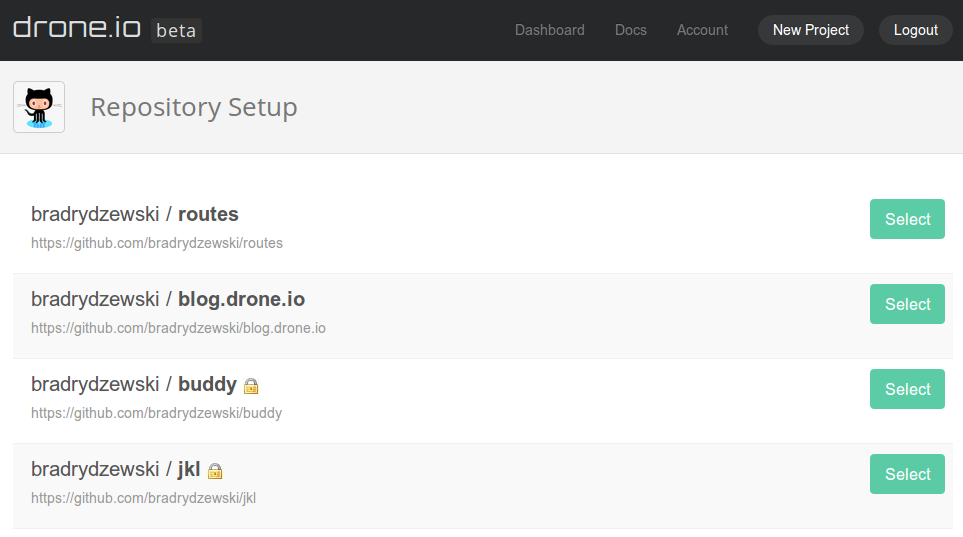
Select your repository from the list:
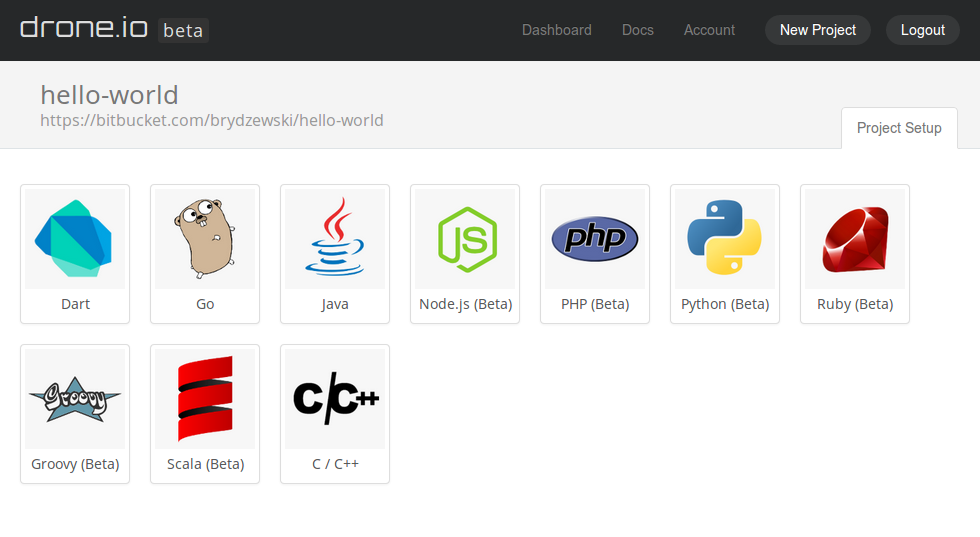
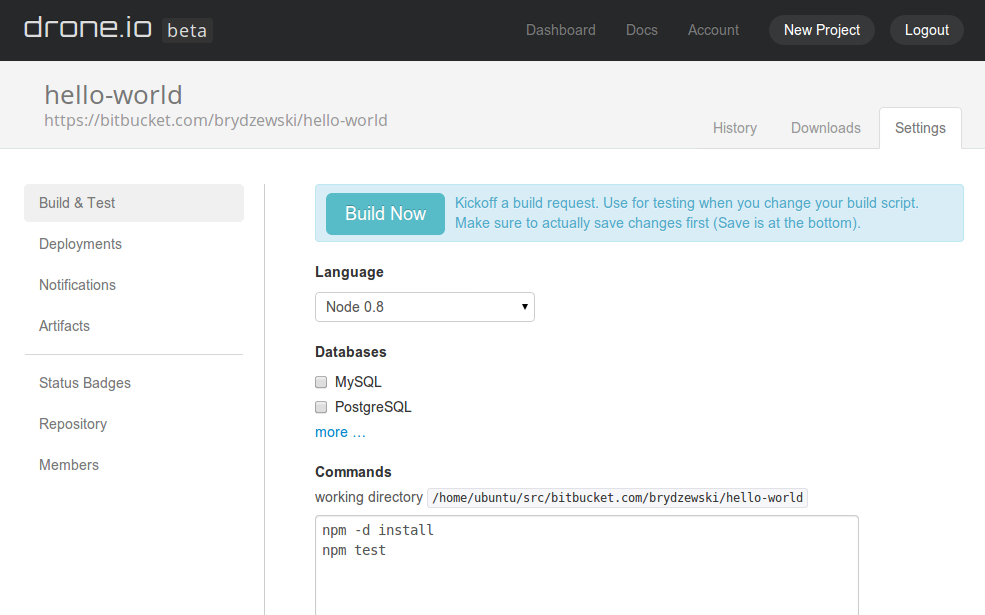
Select the main programming language for your project:
The last step is to double check the build commands. You will see a list of common build and test commands based on the language you choose. If they look correct for your project, hit “Save” and you’re done.

These build commands can be anything you enter on the command line. Once you are done making changes, hit “Save.”
Build your Project
To manually trigger a build, click the Build Now button:
Your build’s console output is streamed real-time to the browser. You can use this output to troubleshoot your build when you have compiler issues or test failures.
Finished
Congrats! Your project is setup, and a build hook was automatically added to your Github or Bitbucket repository. Any new changes to your source code will trigger a build.