To create instance snapshots
Log in to the OpenStack dashboard.
If you are a member of multiple projects, select a project from the drop-down list at the top of the Project tab.
Click the Instances category.
The dashboard lists the instances that are available for this project.
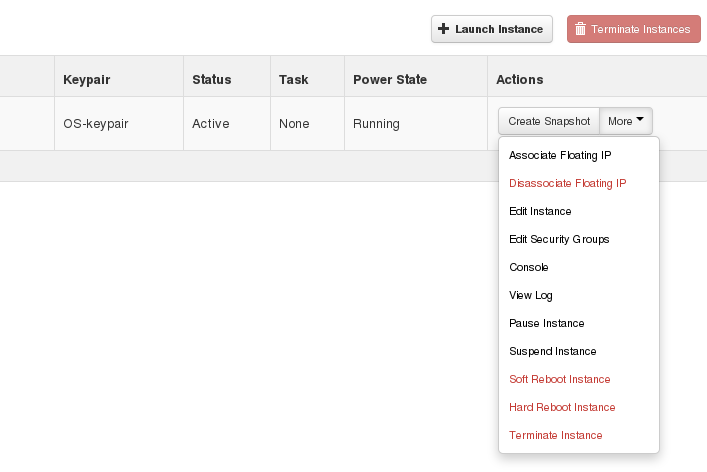
Select the instance of which to create a snapshot. From the Actions drop-down list, select Create Snapshot.
In the Create Snapshot window, enter a name for the snapshot. Click . The dashboard shows the instance snapshot in the Images & Snapshots category.
To launch an instance from the snapshot, select the snapshot and click . Proceed with the section called “Launch an instance from an image”.
To control the state of an instance
Log in to the OpenStack dashboard.
If you are a member of multiple projects, select a project from the drop-down list at the top of the Project tab.
Click the Instances category.
The dashboard lists the instances that are available for this project.
Select the instance for which you want to change the state.
In the More drop-down list in the Actions column, select the state.
Depending on the current state of the instance, you can choose to pause, un-pause, suspend, resume, soft or hard reboot, or terminate an instance.
Use the dashboard's Overview category to track usage of instances for each project.

You can track costs per month by showing metrics like number of VCPUs, disks, RAM, and uptime of all your instances.


