Control Center Quick Start
With this quick start you will set up and configure, ZooKeeper, Kafka, Kafka Connect, and Control Center. You will then read and write data to and from Kafka.
Contents
Prerequisite
- Confluent Platform Enterprise Edition is installed. You can get up and running with the full Confluent platform quickly on a single server or you can Deploy using Docker.
Configure Kafka and Kafka Connect
Before starting Control Center, you must update the Kafka and Kafka Connect configuration files.
Uncomment these lines in the Kafka server configuration file (
<path-to-confluent>/etc/kafka/server.properties). This enables Confluent Metrics Reporter.Tip: Before making these changes, make a backup copy of the default Kafka server configuration file.
##################### Confluent Metrics Reporter #######################
# Confluent Control Center and Confluent Auto Data Balancer integration
#
# Uncomment the following lines to publish monitoring data for
# Confluent Control Center and Confluent Auto Data Balancer
# If you are using a dedicated metrics cluster, also adjust the settings
# to point to your metrics kakfa cluster.
metric.reporters=io.confluent.metrics.reporter.ConfluentMetricsReporter
confluent.metrics.reporter.bootstrap.servers=localhost:9092
#
# Uncomment the following line if the metrics cluster has a single broker
confluent.metrics.reporter.topic.replicas=1
Add these lines to the Kafka Connect properties file (
<path-to-confluent>/etc/kafka/connect-distributed.properties). This will add support for the interceptors.# Interceptor setup consumer.interceptor.classes=io.confluent.monitoring.clients.interceptor.MonitoringConsumerInterceptor producer.interceptor.classes=io.confluent.monitoring.clients.interceptor.MonitoringProducerInterceptor
For more information, see Installing Control Center Interceptors.
Start Confluent Platform.
$ confluent start
Your output should resemble this:
Starting zookeeper
zookeeper is [UP]
Starting kafka
kafka is [UP]
Starting schema-registry
schema-registry is [UP]
Starting kafka-rest
kafka-rest is [UP]
Starting connect
connect is [UP]
Configure and start Control Center
Tip: Start Control Center in its own terminal since this is a long running process.
Define the number of partitions (
<num-partitions>) and replication (<num-replication>) settings for Control Center by adding these lines to your properties file (<path-to-confluent>/etc/confluent-control-center/control-center.properties).Start Control Center with your properties file specified.
$ <path-to-confluent>/bin/control-center-start <path-to-confluent>/etc/confluent-control-center/control-center.properties

You can navigate to the |c3-short| web interface at http://localhost:9021/.
To use Control Center, users must have access the host that runs the application. (You can configure the network port that Confluent Control Center uses to serve data.) Because Confluent Control Center is a web application, you may use a proxy to control and secure access to it.
Setup stream monitoring
Now that you have all of the services running, you can start building a data pipeline. As an example, you can create a small job to create data.
Open an editor and enter the following text (our apologies to William Carlos Williams), and save this as
totail.sh.cat <<EOF > totail.sh #!/usr/bin/env bash file=/tmp/totail.txt while true; do echo This is just to say >> \${file} echo >> \${file} echo I have eaten >> \${file} echo the plums >> \${file} echo that were in >> \${file} echo the icebox >> \${file} echo >> \${file} echo and which >> \${file} echo you were probably >> \${file} echo saving >> \${file} echo for breakfast >> \${file} echo >> \${file} echo Forgive me >> \${file} echo they were delicious >> \${file} echo so sweet >> \${file} echo and so cold >> \${file} sleep 1 done EOF
Start this script. It writes the poem to
/tmp/totail.txtonce per second. Kafka Connect is used to load that into a Kafka topic.Run
chmodto grant user execution permissions.$ chmod u+x totail.sh
Run the script.
$ ./totail.sh
Use the Kafka Topics tool to create a new topic:
$ <path-to-confluent>/bin/kafka-topics --zookeeper localhost:2181 --create --topic poem \
   --partitions 1 --replication-factor 1
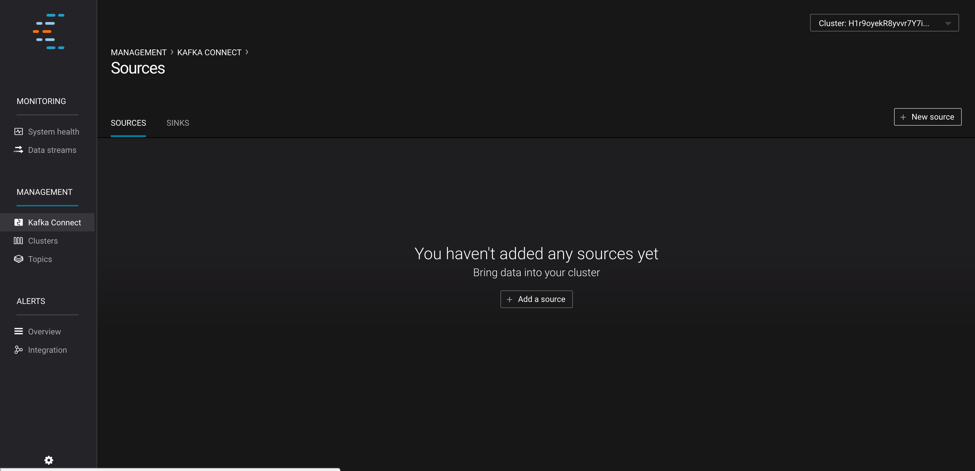
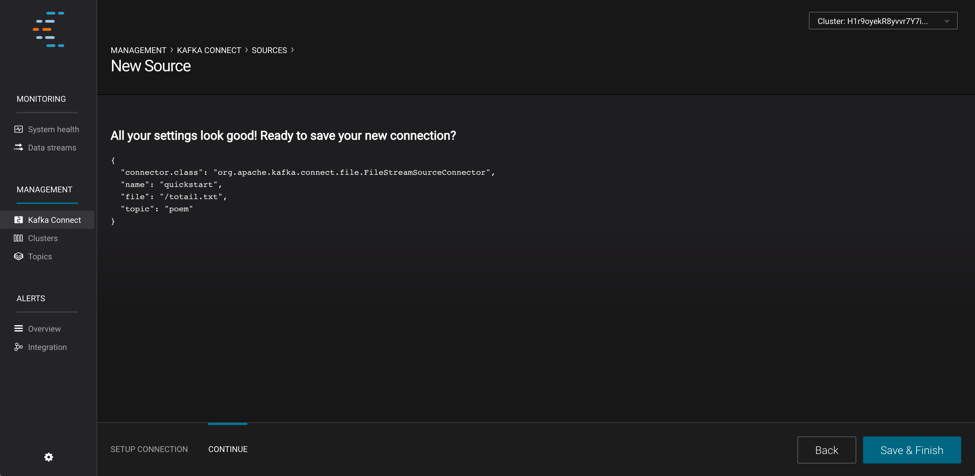
From the Control Center web interface http://localhost:9021/, click on the Kafka Connect button on the left side of the web interface. On this page you can see a list of sources that have been configured - by default it will be empty. Click the New source button.
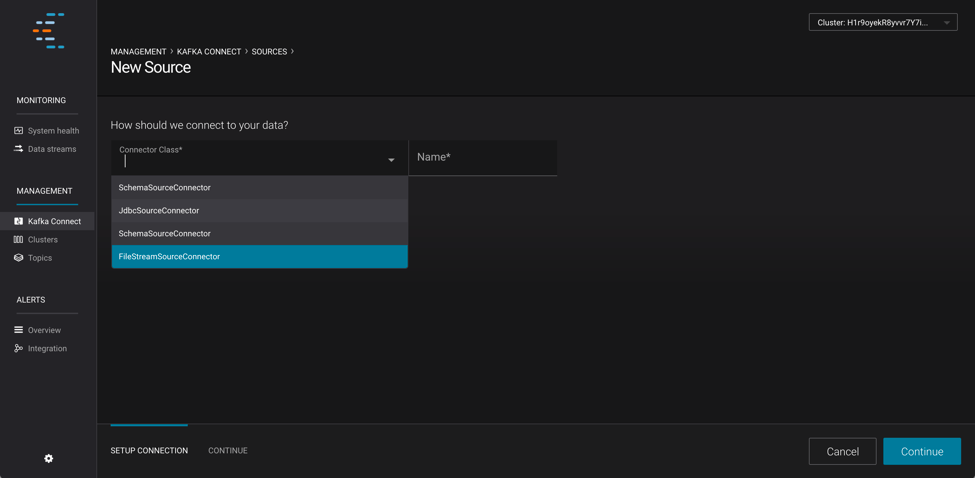
From the Connector Class drop-down menu select FileStreamSourceConnector. Specify the Connection Name as Poem-File-Source. Once you have specified a name for the connection a set of other configuration options will appear.
In the General section specify the file as
/tmp/totail.txtand the topic as poem.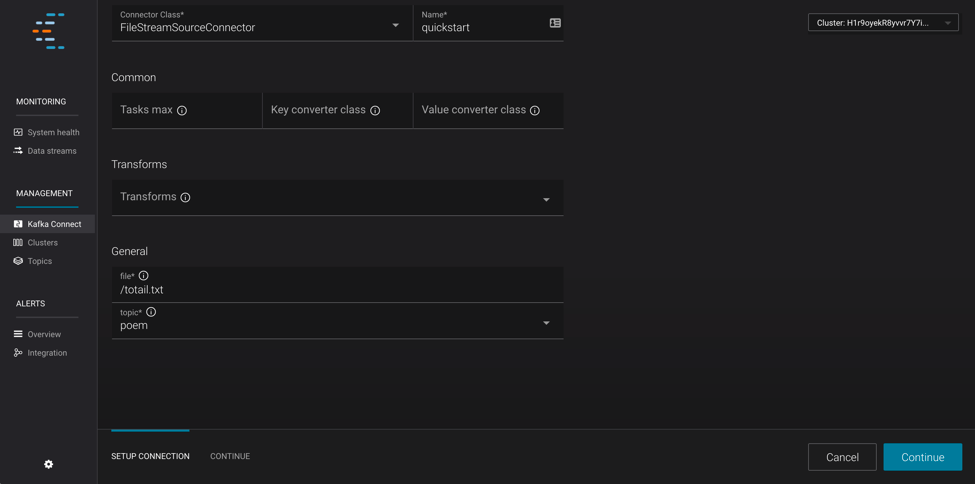
Click Continue, verify your settings, and then Save & Finish to apply the new configuration.
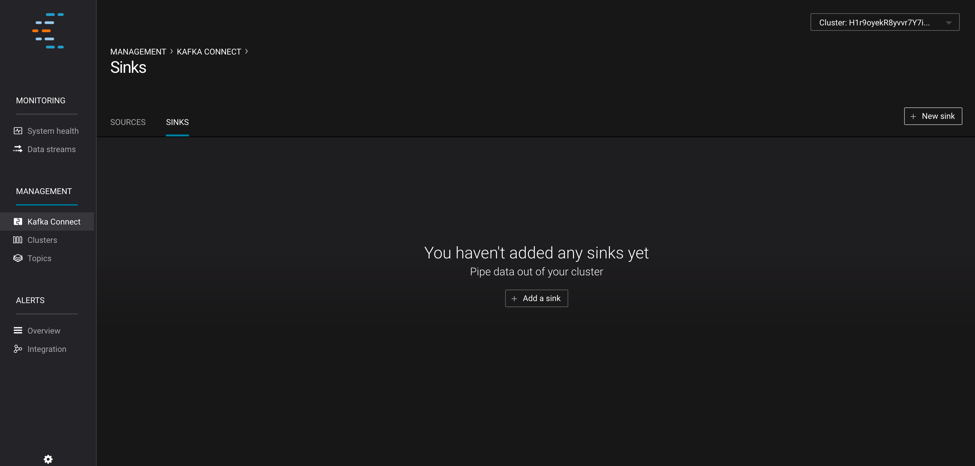
Create a new sink.
From the Kafka Connect tab, click the Sinks tab and then New sink.
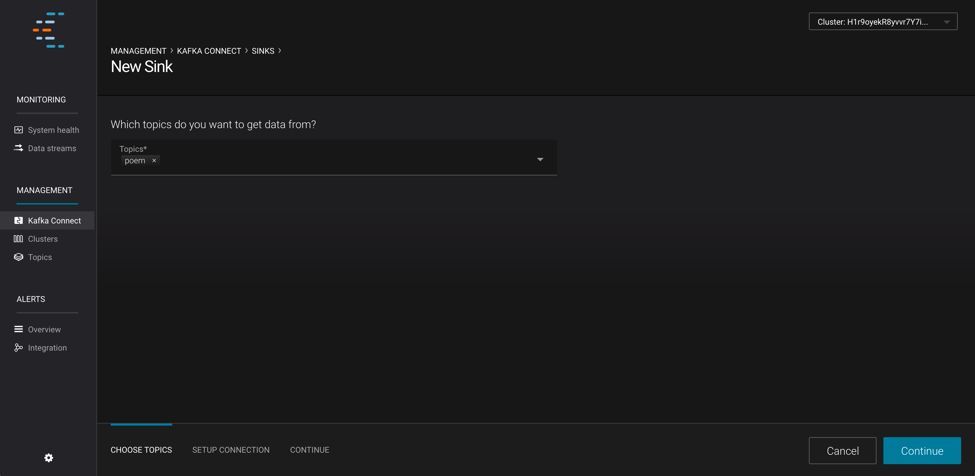
From the Topics drop-down list, choose poem and click Continue.
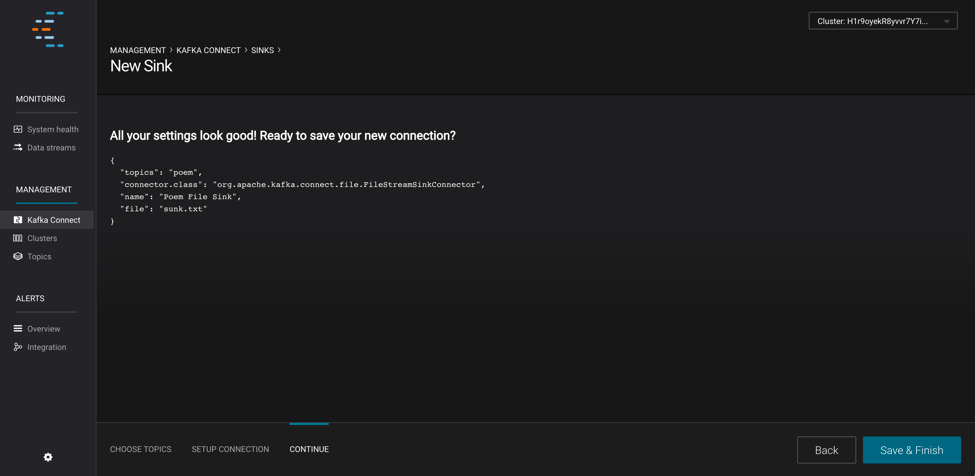
In the Sinks tab, set the Connection Class to
FileStreamSinkConnector, specify the Connection Name as Poem-File-Sink, and in the General section specify the file as/tmp/sunk.txt.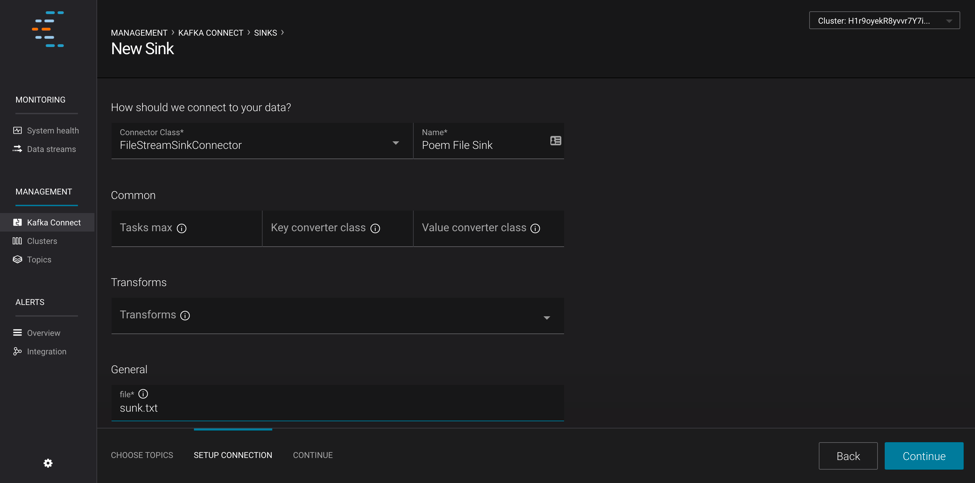
Click Continue, verify your settings, and then Save & Finish to apply the new configuration.
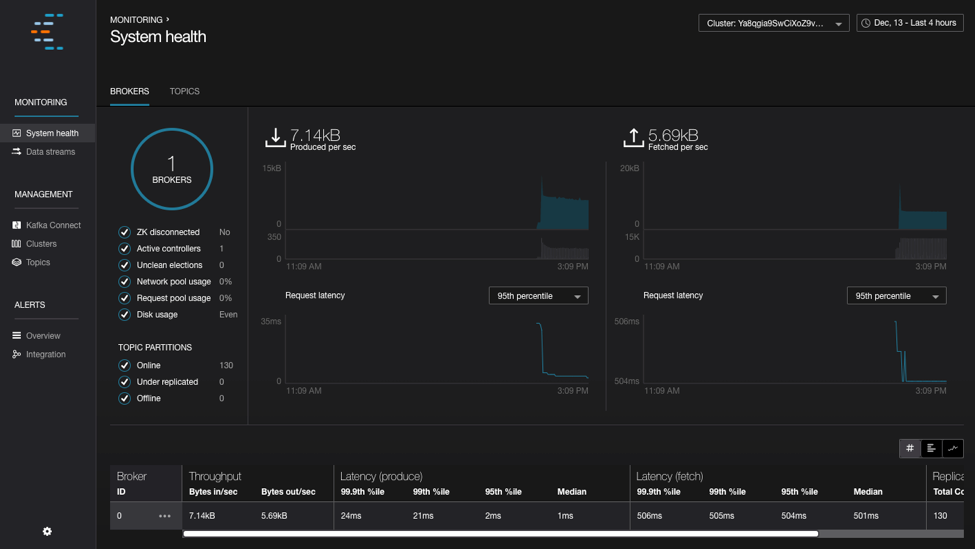
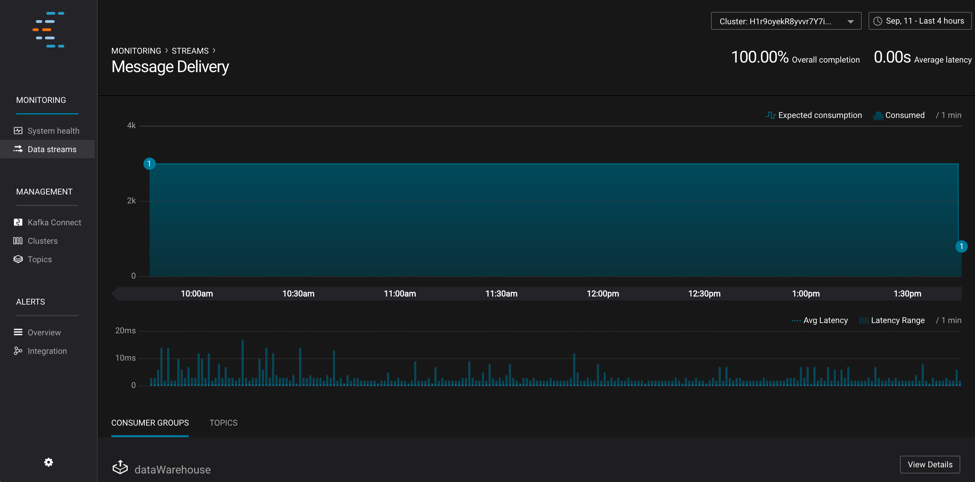
Now that you have data flowing into and out of Kafka, let’s monitor what’s going on!
Click the Data Streams tab and you will see a chart that shows the total number of messages produced and consumed on the cluster. If you scroll down, you will see more details on the consumer group for your sink. Depending on your machine, this chart may take a few minutes to populate.
This quick start described Kafka, Kafka Connect, and Control Center. For component-specific quick start guides, see the documentation: