You need two pages for social groups.
| Purpose |
Module View Mode |
Group View Page |
| to list the groups |
List |
the other page |
| to view a selected group's details |
View |
(not applicable) |
Important: Both pages must grant the same permissions to users. Otherwise, users might not be able to join the group, for example.
Steps
-
Go to the page containing the module to configure. Edit the page.
-
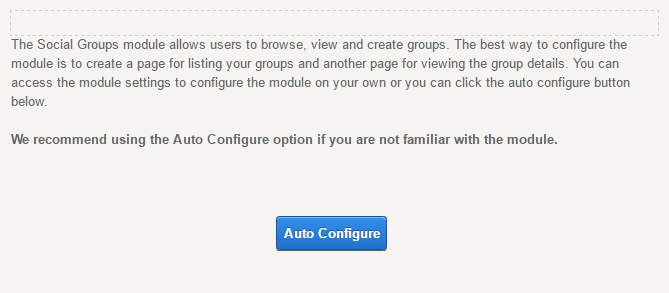
(Recommended) Click/Tap the Autoconfigure button.
Tip: Even if you plan to customize the settings, run the autoconfiguration first to initialize the settings.
-
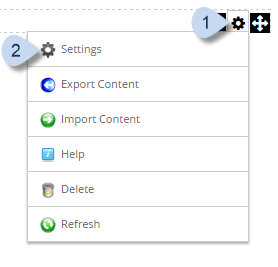
In the module's action menu bar, go to .
-
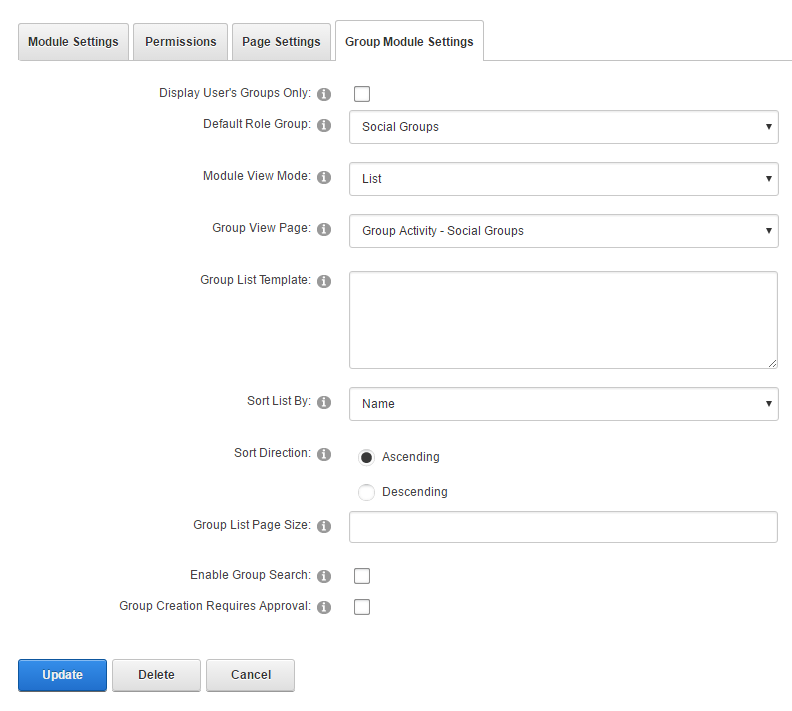
Go to the Group Module Settings tab.

| Field |
Description |
| Display User's Groups Only |
If checked, displays only the groups that the current user belongs to. |
| Default Role Group |
The role group that is displayed by default. |
| Module View Mode |
The mode for the current module instance.
- List. Choose this setting for the page that lists the groups.
- View. Choose this setting for the page that displays the details of the selected group.
|
| Group View Page |
The page that displays the details of the selected group.
Important: In the target page, the Social Groups module instance must be configured with Module View Mode set to View.
|
|
Group List Template
Group View Template
|
The custom HTML template used to display the group list or details. You can use the following tokens in the template:
- [groupitem:GroupName]
- [groupitem:GroupDescription]
- [groupitem:PhotoURL]
- [groupviewurl]
|
|
Sort Field
Sort List By
|
Sorts the list based on the selected field. |
|
Sort Order
Sort Direction
|
Sorts the list in ascending or descending order. |
| Group List Page Size |
The number of items to initially display, and the number of additional items to display when the Get More button is clicked/tapped. |
| Enable Group Search |
If checked, provides case-insensitive search by group name. |
| Group Creation Requires Approval |
If checked, a user with Moderators permissions or an administrator must approve new groups. |


