Installing OPNsense AWS image

To apply for access to the OPNsense Amazon AWS EC2 cloud image, you need:
- An active support subscription
- see: https://opnsense.org/support-overview/commercial-support/)
- Supply your Amazon Account Number
- to share the Amazon Machine Image with.
Step 1 - New Instance
Start a new instance and then go to “instances”, followed by “launch instance” and then “My AMIs”, don’t forget to select “Shared with me”

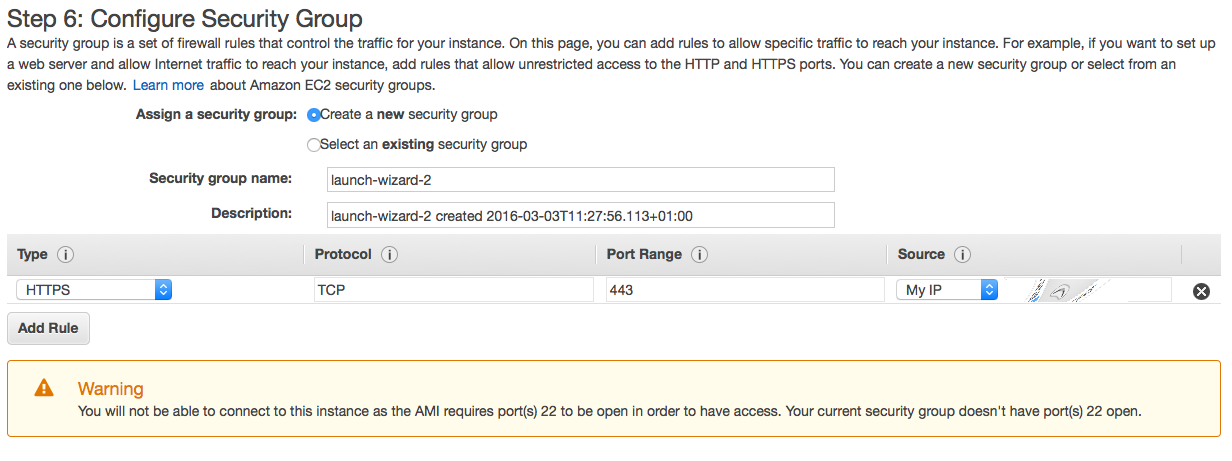
Step 3 - Configure security group
To configure security group, make sure you allow https access from your own network.
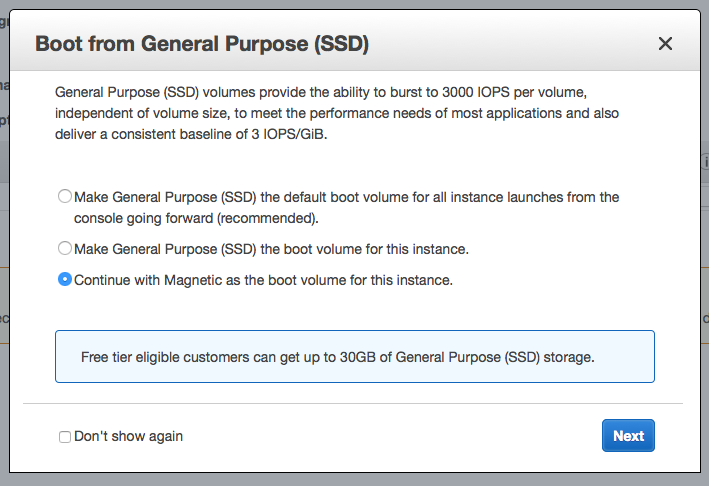
Step 4 - Configure a disk
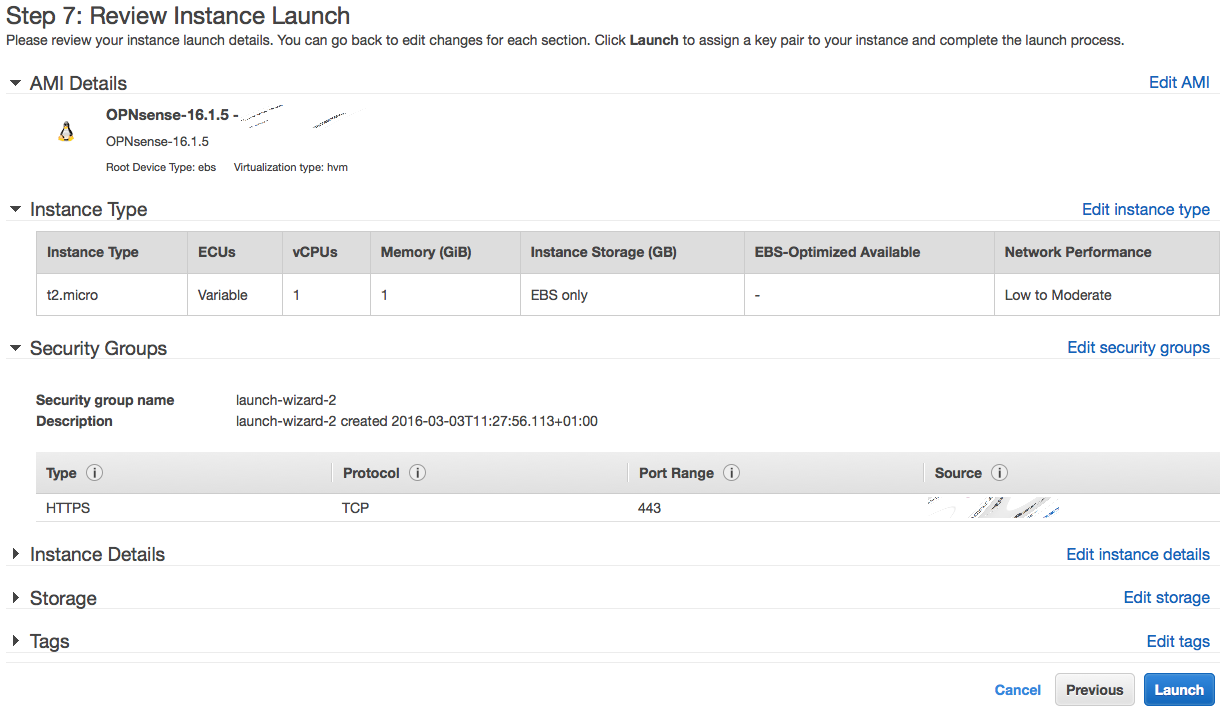
Step 5 - Review your settings
Step 6 - SSH keypair
Select ssh keypair or skip, the ssh key isn’t used for OPNsense, ssh is disabled by default.

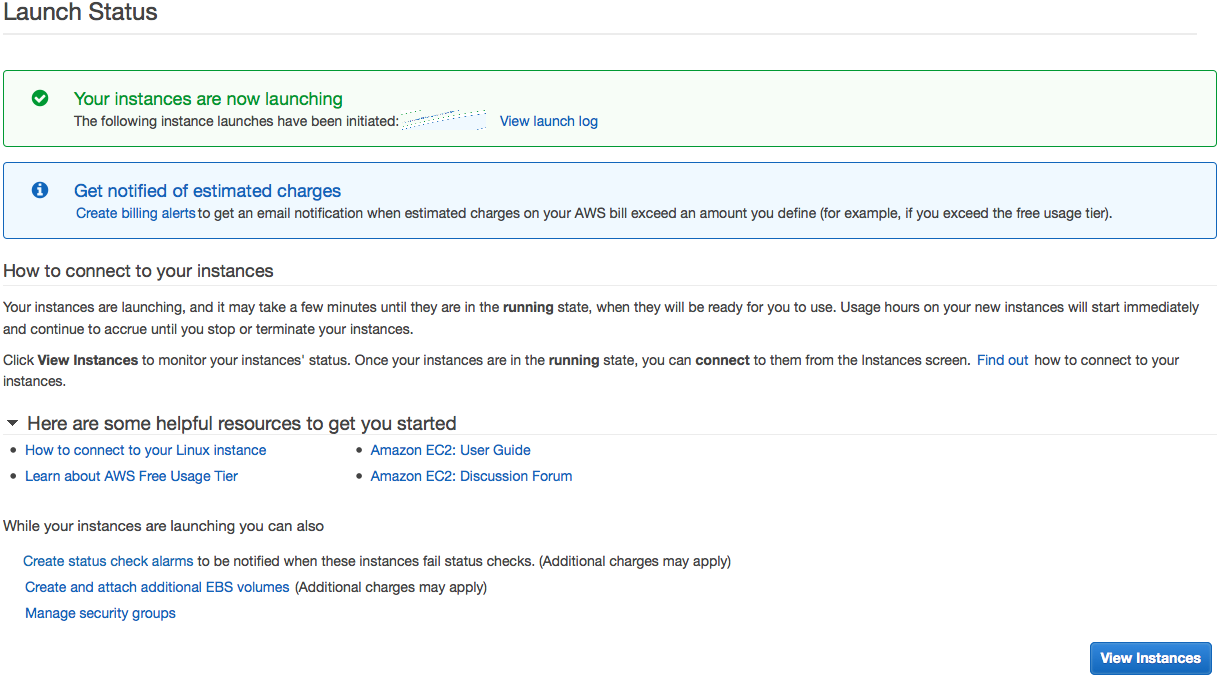
Step 7 - Review status page
Step 8 - AWS instances
Go to your AWS instances
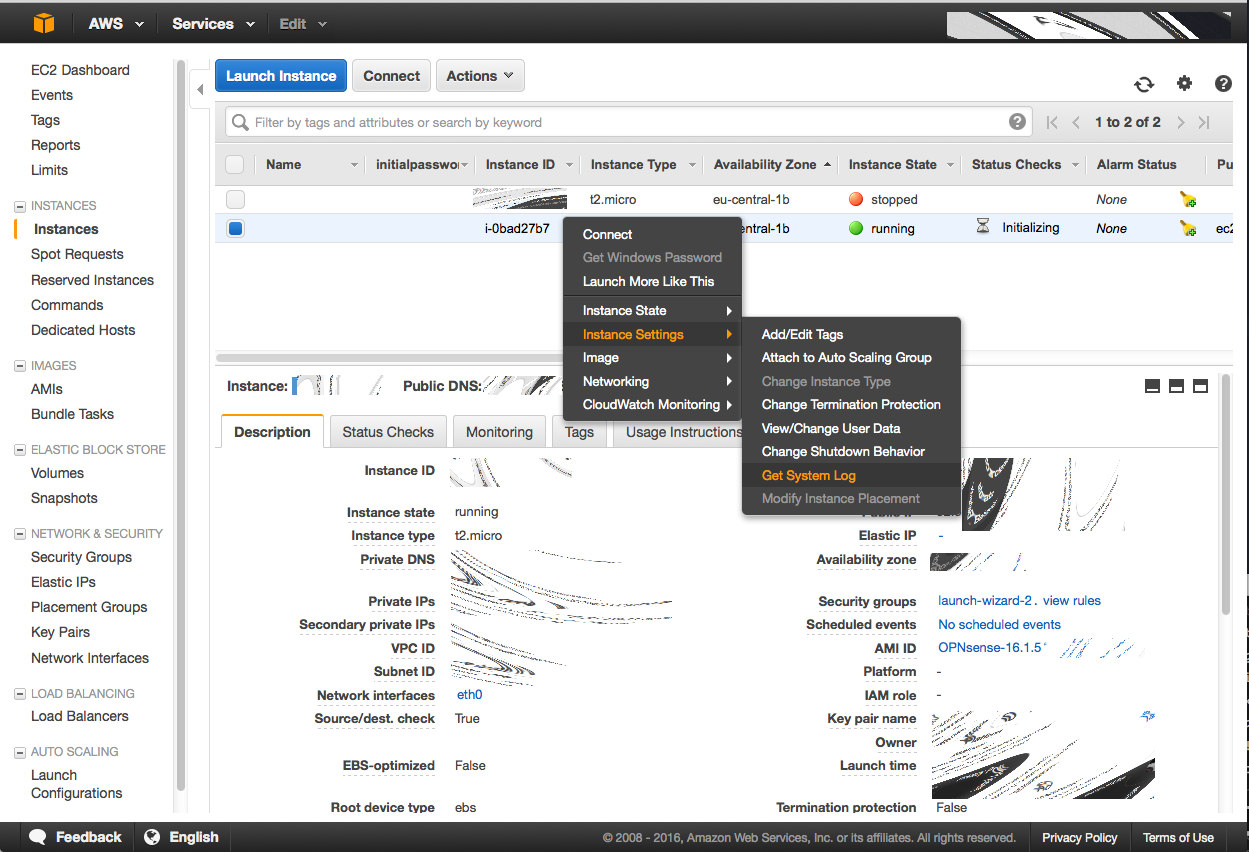
Select the image, go to “image settings” then “get system log” to obtain the initial password

