Configure 2FA TOTP & Google Authenticator
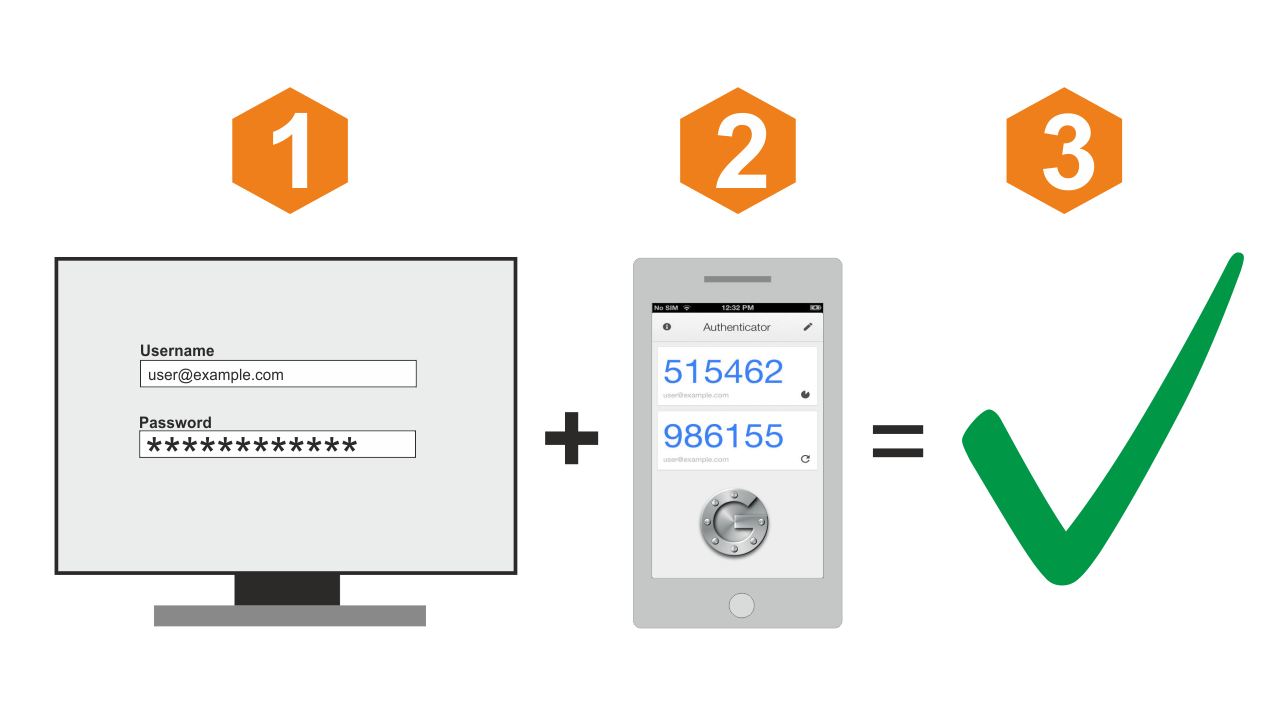
This how-to will show you how to setup a One-time Password 2 Factor Authentication using OPNsense and Google’s Authenticator. All services of OPNsense can be used with this 2FA solution, with the exception of console/ssh access.
Note
To use the same feature with any time based one-time password token just enter the seed into the field in step 3 instead of creating a new seed. The seed needs to be in base32 format.
Step 1 - Add New Authentication Server
To add a TOTP server go to System->Access-Servers and press Add server in the top right corner. Then fill in the form as follows:
| Descriptive name | TOTP Server | Choose a server name |
| Type | Local+Timebased One Time Password | Select the TOTP server Type |
| Token length | 6 | 6 for Google Authenticator |
| Time window | Leave Empty for Google Authenticator | |
| Grace period | Leave Empty for Google Authenticator |
Step 2 - Install Google Authenticator
Go to the App Store of your platform and search for Google Authenticator. Install using the normal procedure for your device.
Step 3 - Add or modify user
For this example we will create a new user, go to System->Access-Users and click on the plus sign in the lower right corner.
Enter a Username and Password and fill in the other fields just as you would do for any other user. Then select the Generate new (160bit) secret under OTP seed.
When done press Save.
Step 4 - Activate Authenticator for this OTP seed
To activate your new OTP seed on the Google Authenticator, first reopen the user you just created by clicking on the pencil icon. Now at the OTP seed click on the help icon en then click on the link that is shown:

In case you get an error like below, just select the link in your open browser and hit enter to reload it.
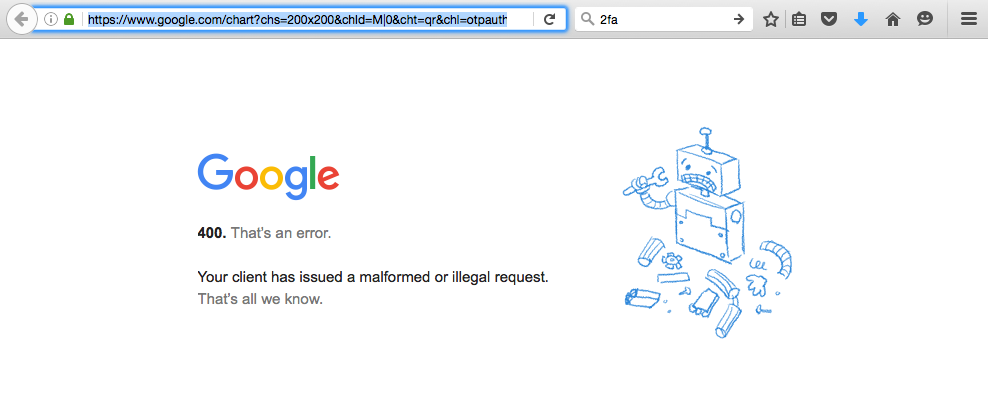
When the screen is opened correctly it will show a QR code:

Warning
Be very careful with the seed or QR code as this is the only thing you need to calculate the token. KEEP YOUR SEED/QR CODE SAFE !
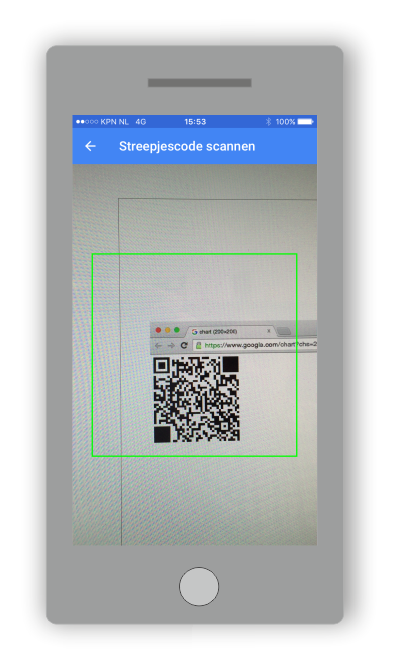
Now open your Google Authenticator application and select the option to start the configuration and then scan the QR code or alternatively enter the seed directly.
Step 5 - Test the token
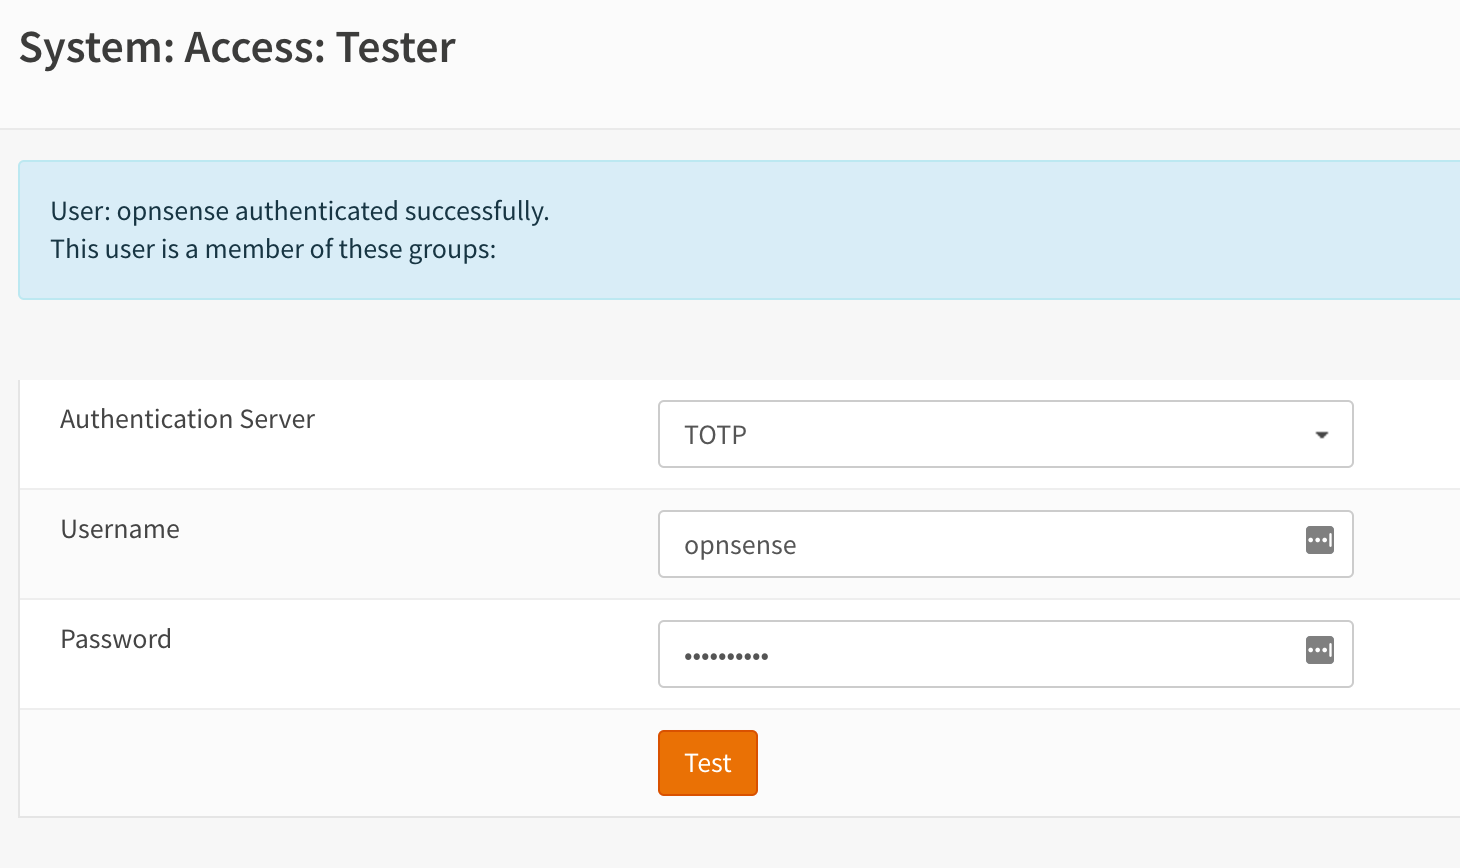
For testing the user authentication, OPNsense offers a simple tester. Go to System->Access->Tester
Select the Authentication server you have configured, and enter the user name. Then enter the *token + password, remember the order is token and then password in the same field.
Note
Password field should be used to enter both token and your password, like: Password: 123456PASSWORD
Hit the test button and if all goes well you should see successfully authenticated.
Step 6 - Using the token
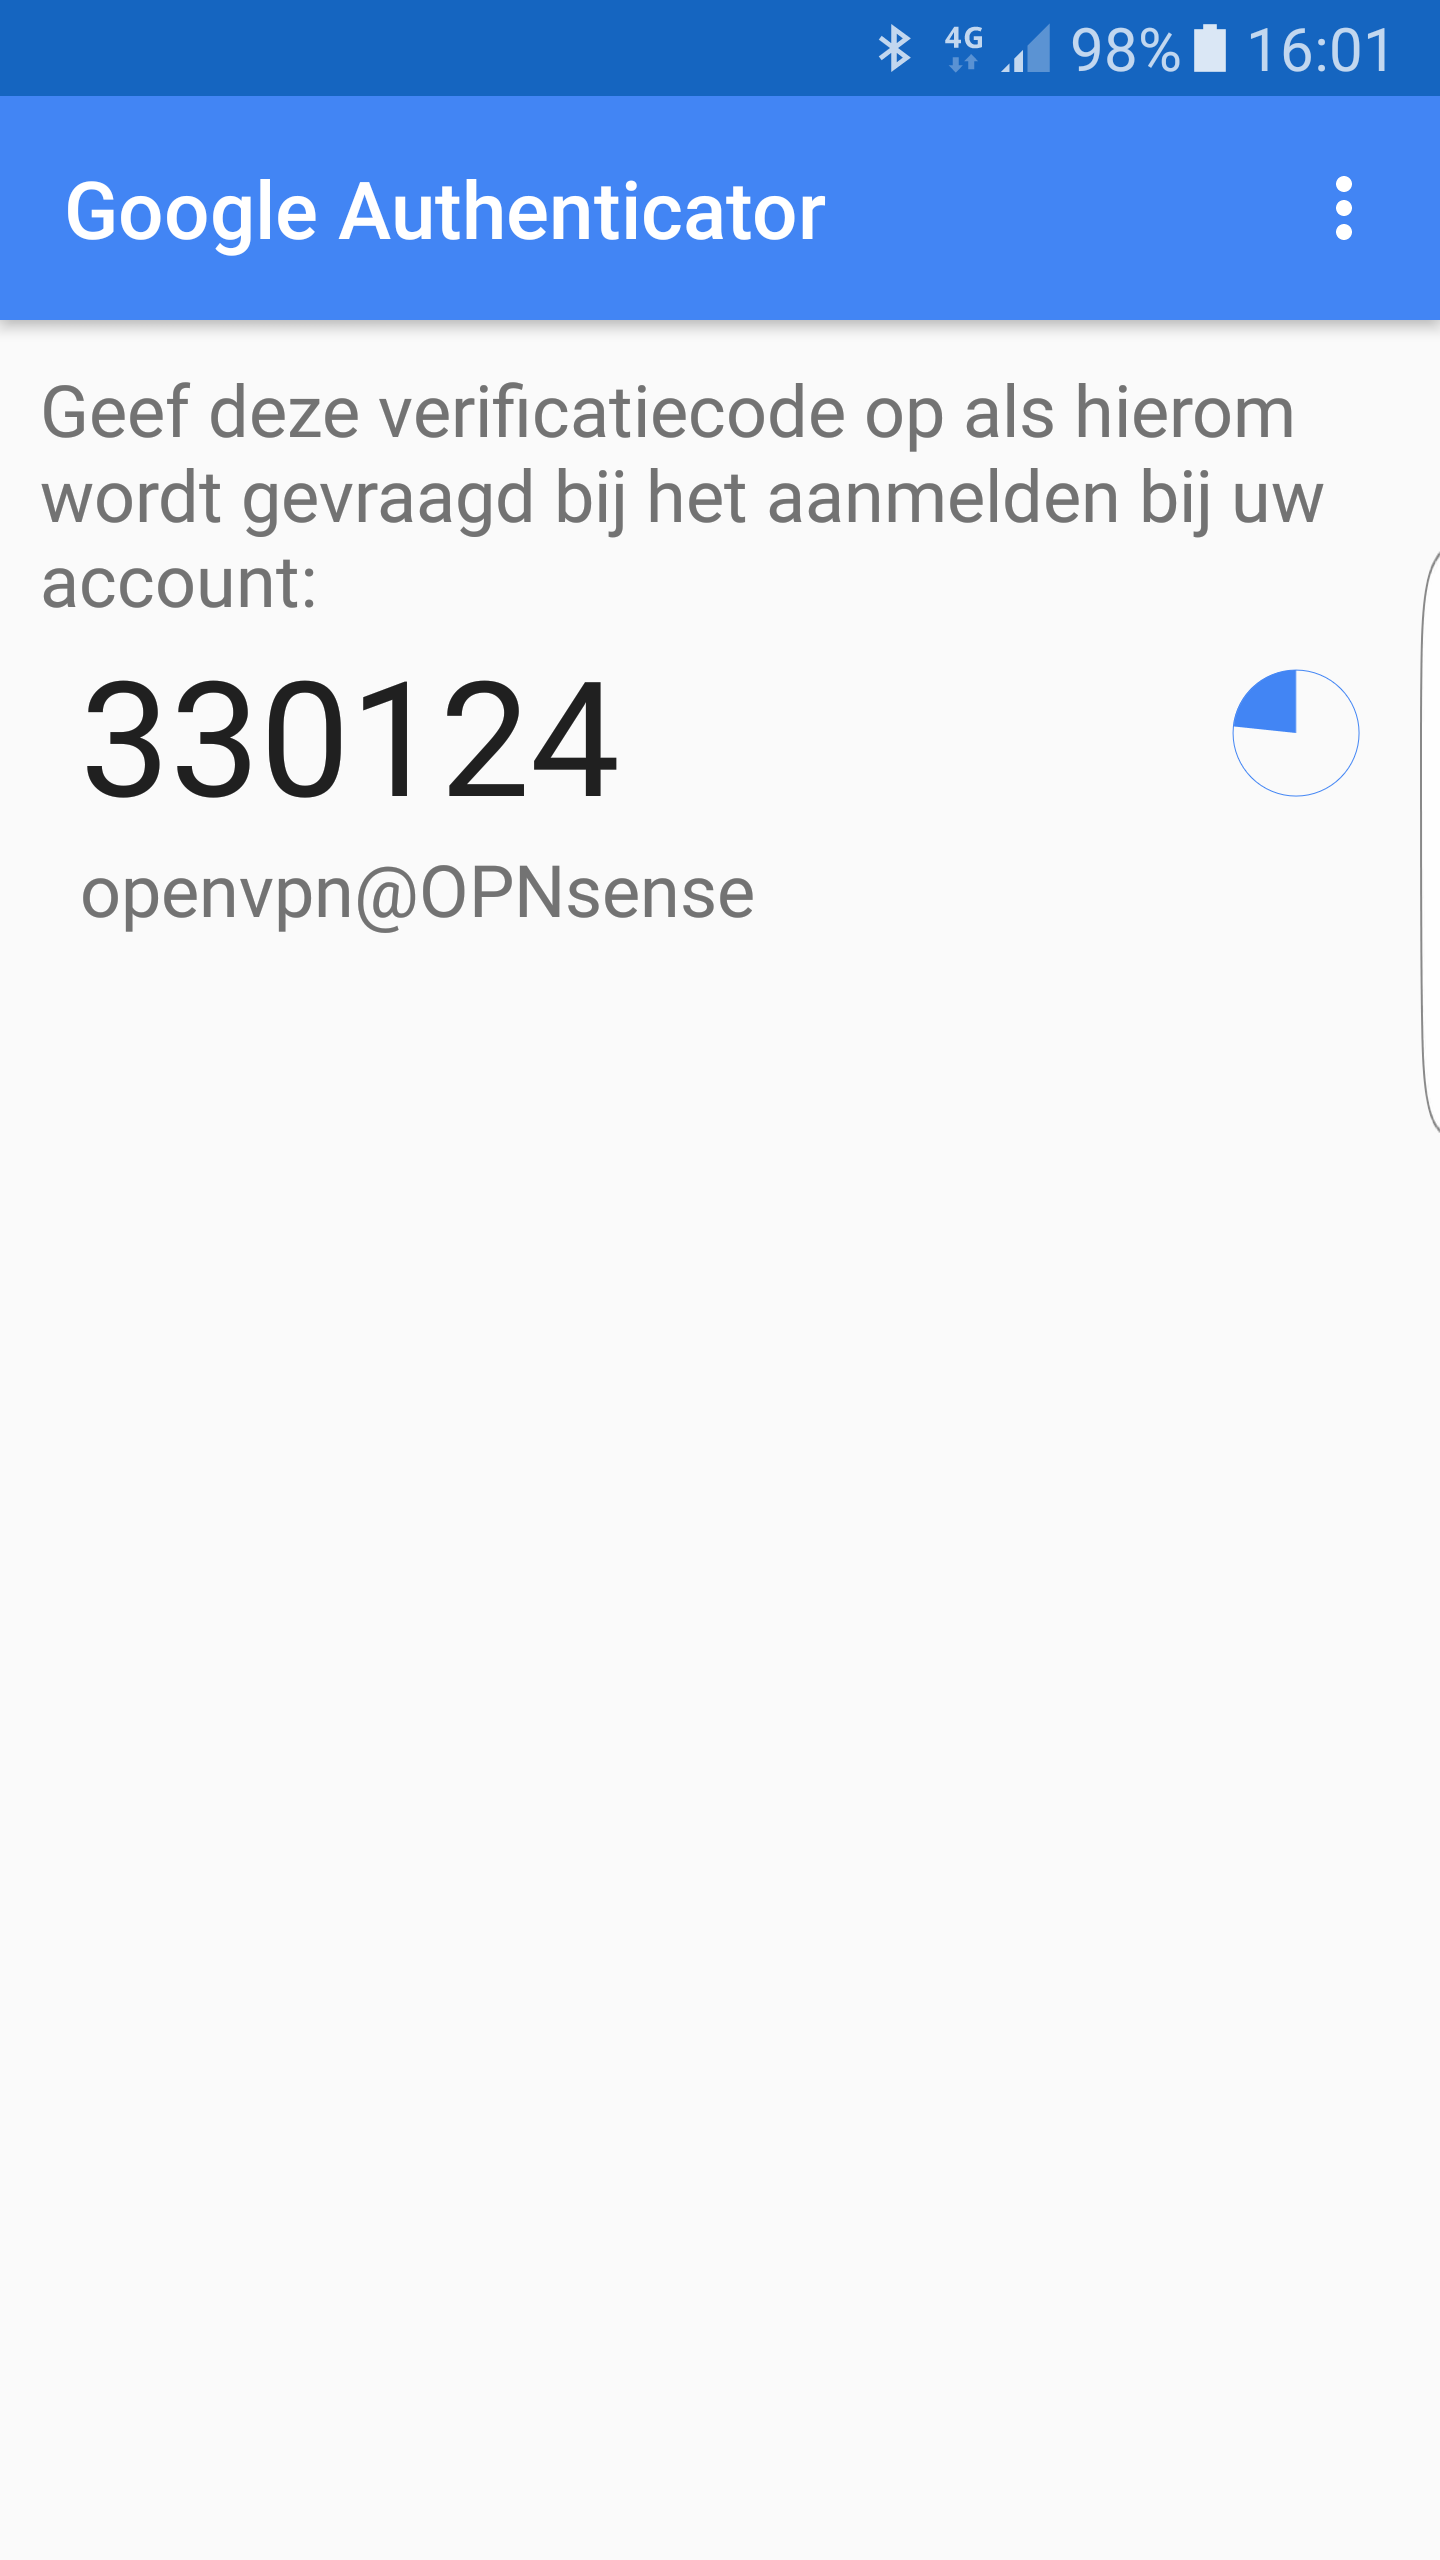
To use the token in any application/service that you have configured, just open the Google Authenticator and add the created token/key before your regular password.
Warning
Remember, you need to enter the token before you password! And the password field should be used to enter both token and your password, like: Password: 123456PASSWORD
The code will change every 30 seconds. Sample code: