Creating Users & Groups
With the local user manager of OPNsense one can add users and groups and define the privileges for granting access to certain parts of the GUI (Web Configurator).
Adding Users
To add a new user go to System->Access->Users and click on the + sign at the bottom right corner of the form.
| Disabled | Unchecked | Can be used to (temporarily) disable an account |
| Username | John | A unique username |
| Password | secret | A strong password |
| Full name | John Doe | Optional, Full username |
| Expiration date | Optional, if account should expire enter as mm/dd/yyy | |
| Group Membership | Optional, select one or more groups | |
| Certificate | Optional, check if a user certificate should be created | |
| OTP seed | Optional, enter or generate a OTP seed (base32) | |
| Authorized keys | Optional, paste ssh key for ssh console access | |
| IPsec Pre-Shared Key | Optional, IPsec PSK |
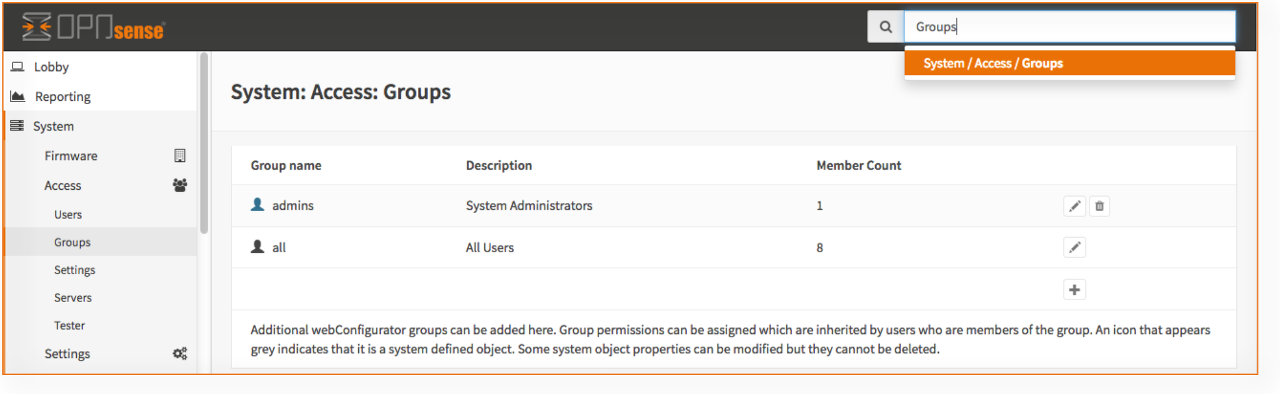
Creating Groups
Go to System->Access->Groups and click on the + sign in the lower right corner of the form.
Enter a Group name* and a Description and add users to the group.
Add privileges to a group
After creating a group the privileges can be added by editing the group. Go to System->Access-Groups and click on the edit symbol (pencil) right next to the group you like to change.
To assign privileges, just click on the pencil icon on the right of Assigned Privileges a form will be shown where each page can be either selected or deselected; here it’s also possible to allow a user shell account access (console).
The search bottom at the top of this form can be used to quickly find the right page.
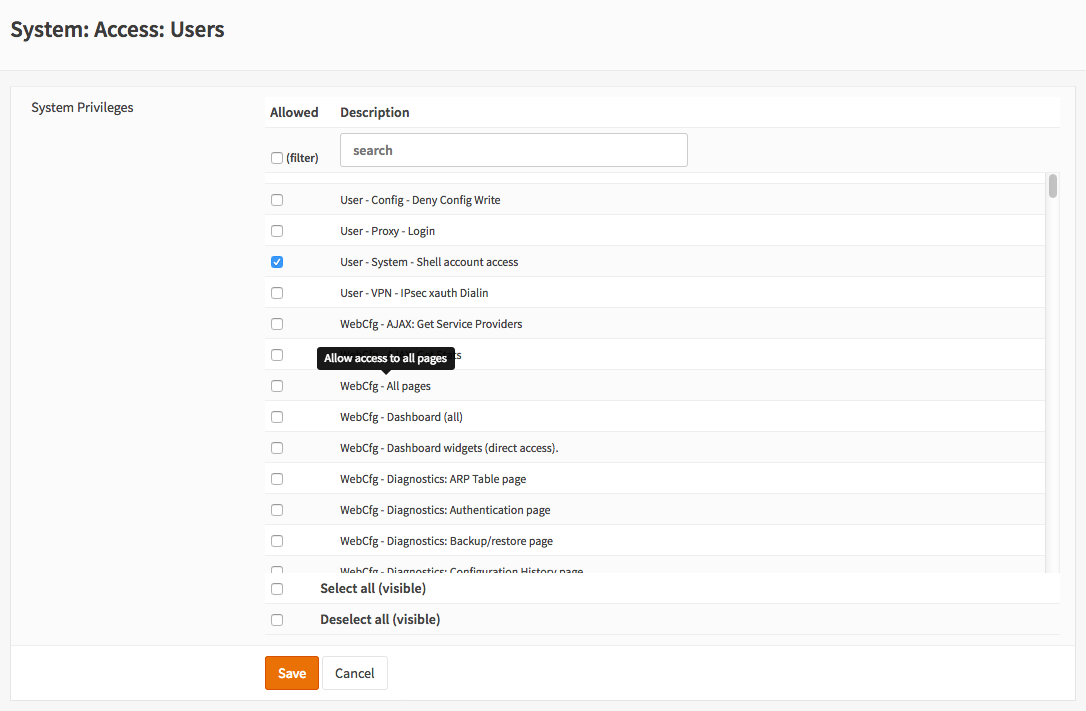
After making the right selection click on Save to store the new settings.