Setting up Unity Collaborate
To get started with Unity Collaborate, you must first link your game to a Unity Services Project ID. A Unity Services Project ID is an online identifier which is used across all Unity Services (Analytics, Collaborate, Cloud Build, etc). These can be created within the services window itself or, online at the Unity Services website.
Step 1. Link your project with a Unity Services Project ID.
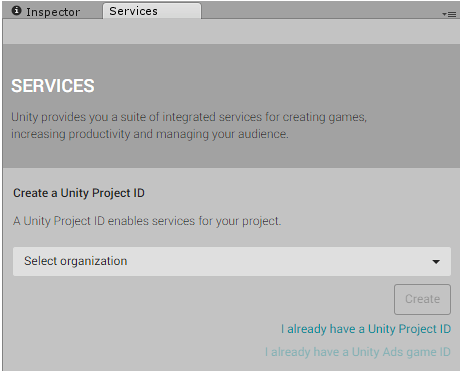
Open the Services Window: In the Menu bar (Mac) or Task bar (Windows): select Window > Unity Services, or click the cloud button in the toolbar.

You will be given the option to create a new Project ID or select an existing one.
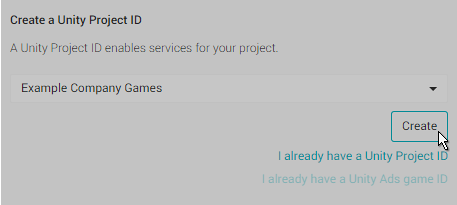
If this is the first time you are connecting your project to Unity Services, you’ll need to create a new project ID. The organization name is typically the same name as your company. The project name for the new Services ID will automatically be the name of the Unity Project you’re currently working on.
If you want, you can change the name of the Services Project ID in the Settings section of the services window.
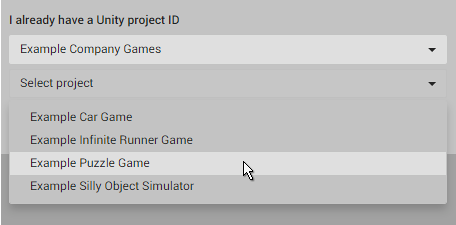
Alternatively, if you have already set up a Unity Services Project ID for this project you can select the organization and project name from your list of existing projects (see example below).
Note: You will have an existing Unity Services Project ID if you have used one of the other Unity services with this project already, such as Unity Analytics, Ads, Cloud Build, or Multiplayer.
Step 2. Turn On Collaborate
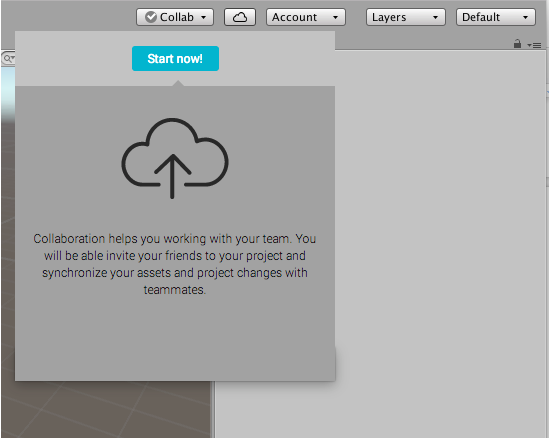
Select Collab in the toolbar and click “Start Now”.
Step 3: Submit your first change
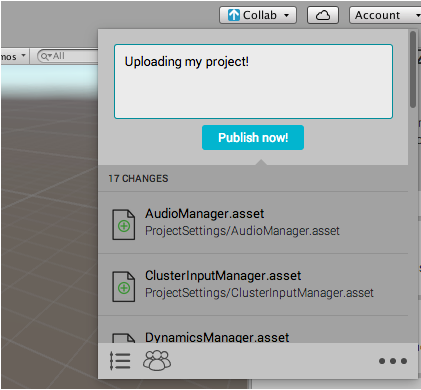
With Collaborate now turned on, write your first message and publish your files. These files will be saved to the cloud and shared with your teammates (see below).
