Adding packages to a project
Add packages to your existing project from inside a JupyterLab editing session.
On the left tabs, click the Project tab, find the Packages field, and click the Edit pencil icon.
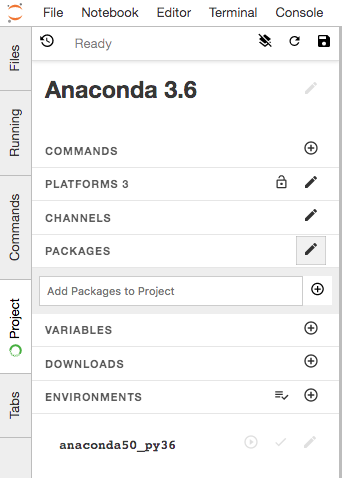
Enter the name of the package you want to add and select from the list of options.
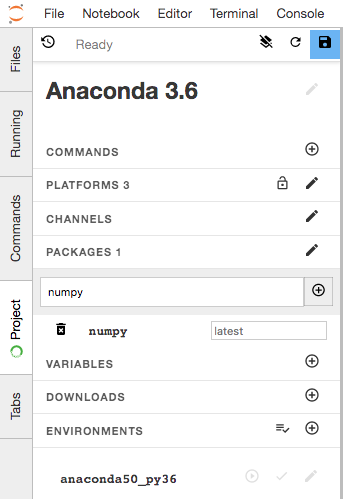
When you are done, click the Save button at the bottom of the Packages section.
Confirm that the package has been added to your
anaconda-project.yml.TIP: If
anaconda-project.ymlis already open, close and reopen it to see changes.
In Jupyter Classic or using the CLI
If you are working in Jupyter Classic notebook or prefer to add packages using
the command line interface (CLI),
open a terminal and run anaconda-project add-packages followed by the
package name and optionally the version.
EXAMPLE: To add the packages Bokeh and pandas:
anaconda-project add-packages bokeh=0.12 pandas
The command will take a moment to run as it collects the dependencies and downloads the package.
You can confirm that the package has been added by opening your anaconda-project.yml.
TIP: If anaconda-project.yml is already open, close and reopen it to see changes.