Editing a project
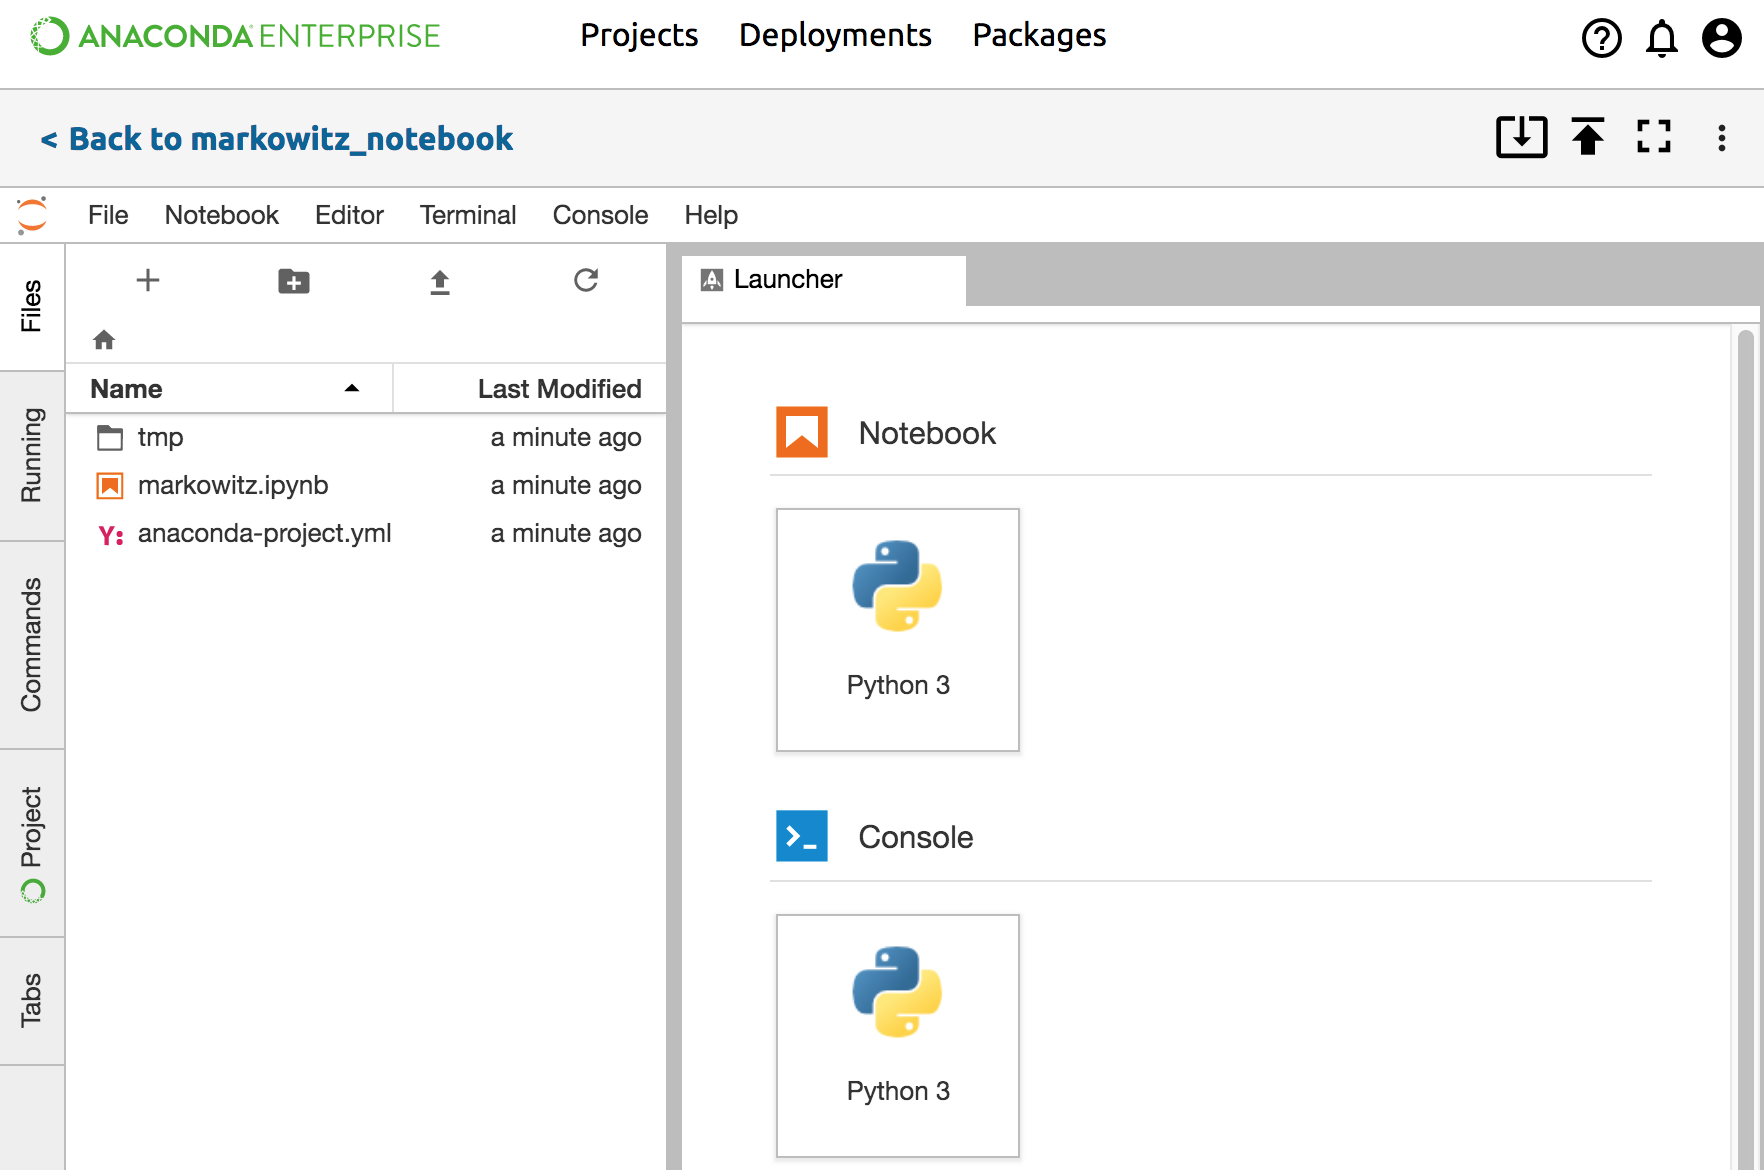
Open a new notebook in JupyterLab: in Launcher, select the top left Python icon.
TIP: If Launcher is not visible, click the left Files tab, then click the Add (+) button to open Launcher.
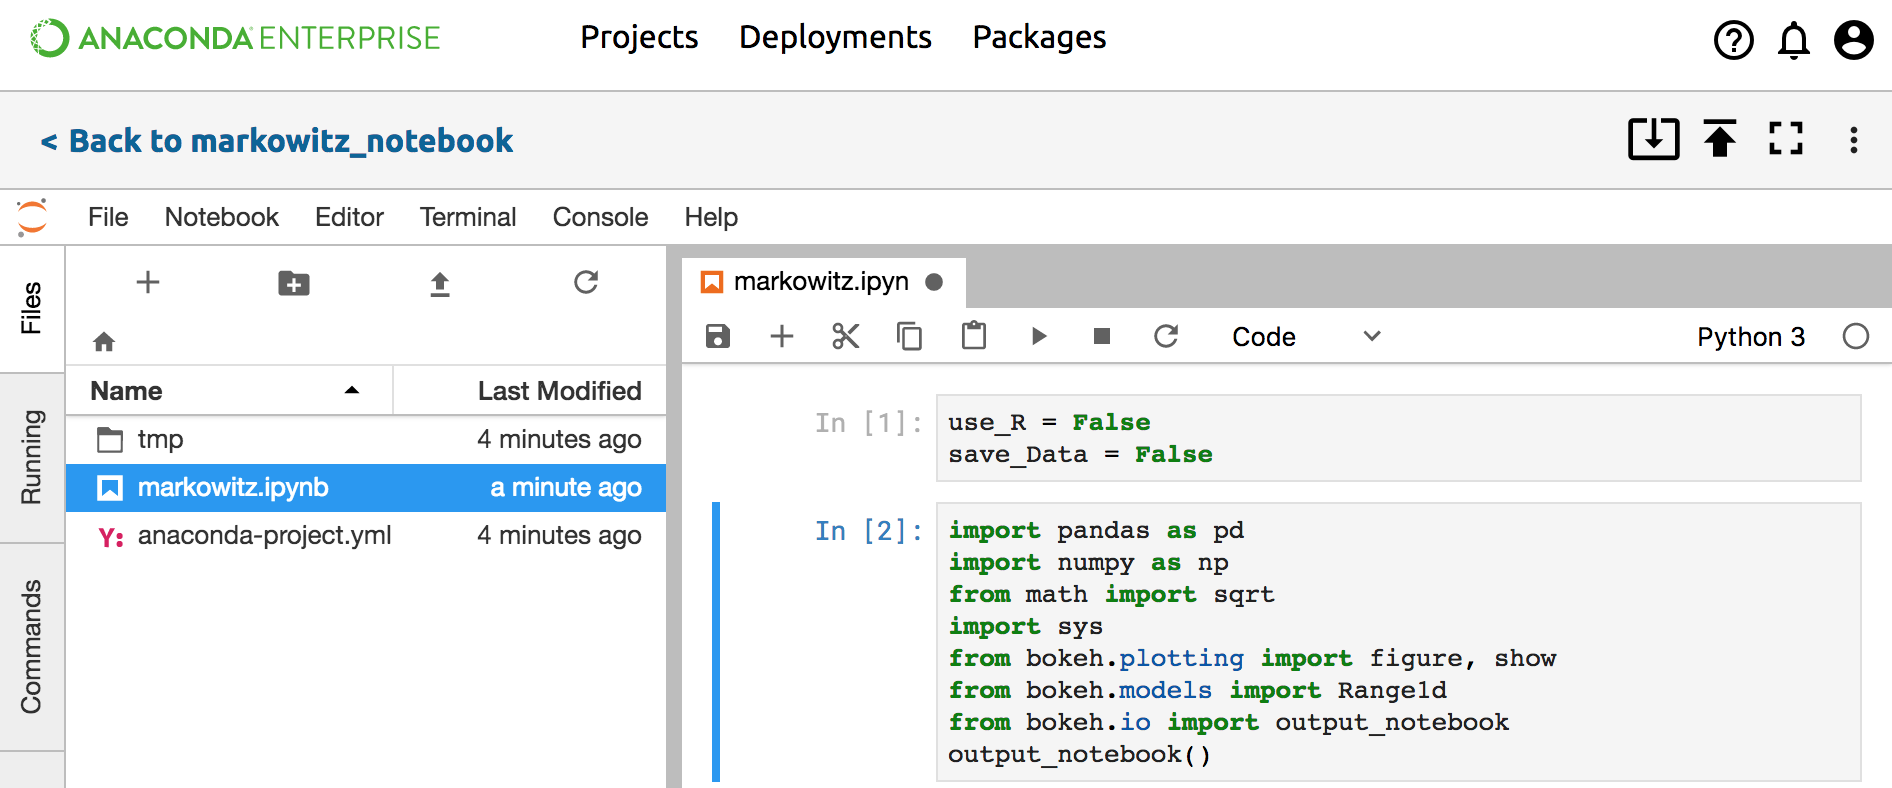
Control your editing session using the icons in the top right. Use these icons to:
- Switch to full screen
- Commit changes to the project
- Stop the editing session
- Switch to Jupyter Classic: click the More icon and select “Switch to Classic Notebook”.
Write your code and save the notebook.
Manage project files, running sessions, JupyterLab commands, Anaconda Project tools, and open tabs from the left side vertical tabs:
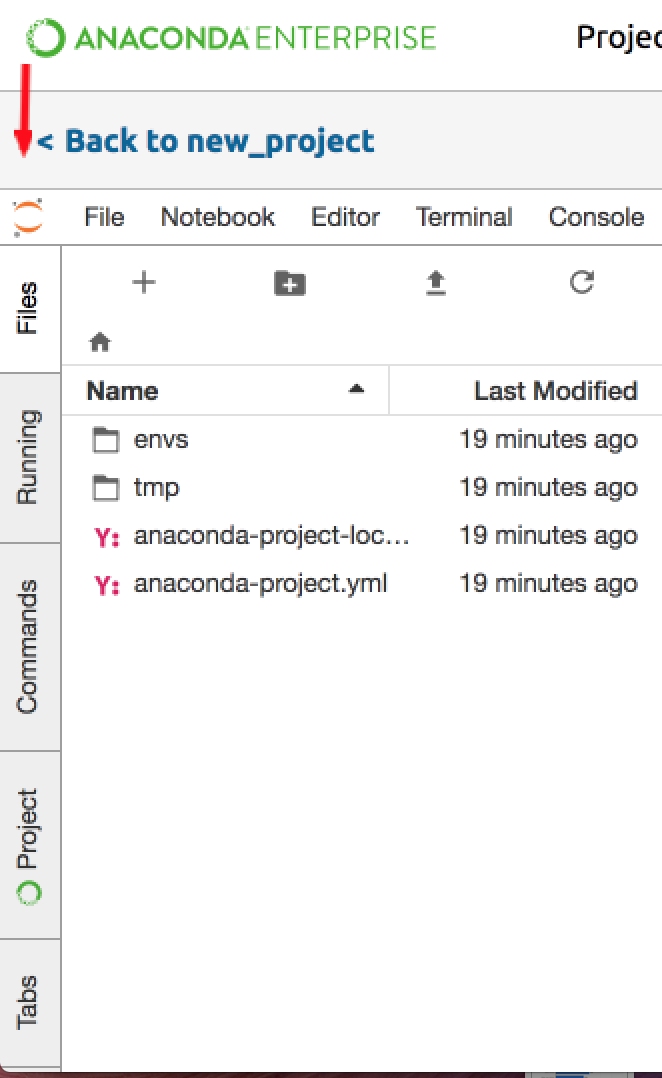
Edit and add project files from the Files tab.
View and manage running notebook and terminal sessions in the Running tab.
Search for standard JupyterLab commands in the Commands tab
View open file and terminal windows tabs from the Tabs tab.
Use the Project tab in the left side panel to view and manage your: * deployment commands * platforms * conda channels * packages * variables * downloads * environments
In Jupyter Classic or using the CLI
If you are working in Jupyter Classic or prefer to work with the command line interface, you can also manage these elements of your project from a terminal window in the editing session. More information on command line project editing is available in the documentation for Anaconda Project.
When you are done editing, commit changes to your project and Stop Editing Session.