The Fast Archiver plugin is automatically installed and enabled if you have downloaded Jenkins Enterprise. This plugin takes over the built-in artifact archiving functionality in Jenkins. If you are already using that feature, no configuration change is needed to take advantages of this feature. This plugin also does not touch the persisted form of job configurations, so you can just uninstall this plugin and all your jobs will fall back to the plain vanilla artifact archiving.
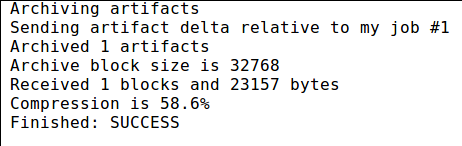
Simply use the regular Archive artifacts option in the Post-build Action section for a build. You can see the result in Figure 7.1, “Fast archiver running”.
Note
Note that fast archiving only occurs on builds run on a slave, not those run on the Jenkins master. Also there must have been previous builds which produced artifacts for the new artifacts to be compared to. Otherwise, Jenkins will perform a regular complete artifact transfer. It will do the same if the fast archiver detects that data is corrupted due to an internal bug.
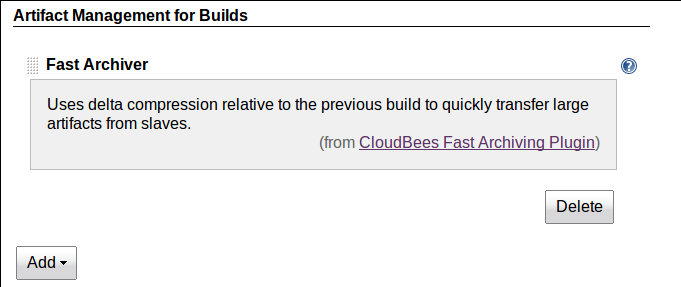
Normally you need do nothing to configure fast archiving. As can be seen in Figure 7.2, “Fast archiving configuration”, this “artifact manager” is enabled by default when the plugin is first loaded. However you can remove this strategy and later readd it in the main Jenkins configuration screen.