To start up the consolidated build view, select the most upstream job of your set: typically the one which is directly triggered by hand or on a schedule. Click Configure on this job and check Show Consolidated Build View.
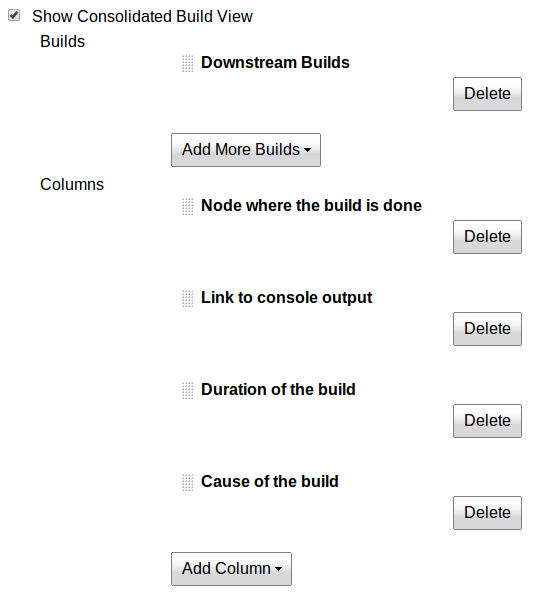
Under Builds you can select how Jenkins will locate related builds of interest. Initially only Downstream Builds is supported. This mode tracks builds considered by Jenkins core to be “downstream” of another build. Those might be from jobs configured to be triggered with the option Build after other projects are built, equivalently configured upstream as the post-build action Build other projects. Also included are builds from arbitrary other projects which fingerprint a workspace file (e.g. from the Copy Artifact plugin) that is identical to a fingerprinted artifact of an upstream build. The consolidated view will recursively show downstream builds of downstream builds as well.
Under Columns you can pick what bits of information should be displayed for each matching build, in addition to the basic build information (job name, number, and status). You can choose to why the build was started, such as having been triggered by an upstream build; how long the build took (or has taken, if ongoing); and which node (master or slave) ran that build. Link to console output lets you jump to the build log.

To see the consolidated build view, just click the Consolidated Build View link for one of the upstream builds, or choose the corresponding item from its context menu.