
Adapted from a blog post by Preston Lee.
When deploying OpenStack
on Ubuntu Server 12.04, you can have the
openstack-dashboard package installed to provide the web-based “Horizon”
GUI component. Canonical also provides an
openstack-dashboard-ubuntu-theme package that brands the Python-based Django GUI.
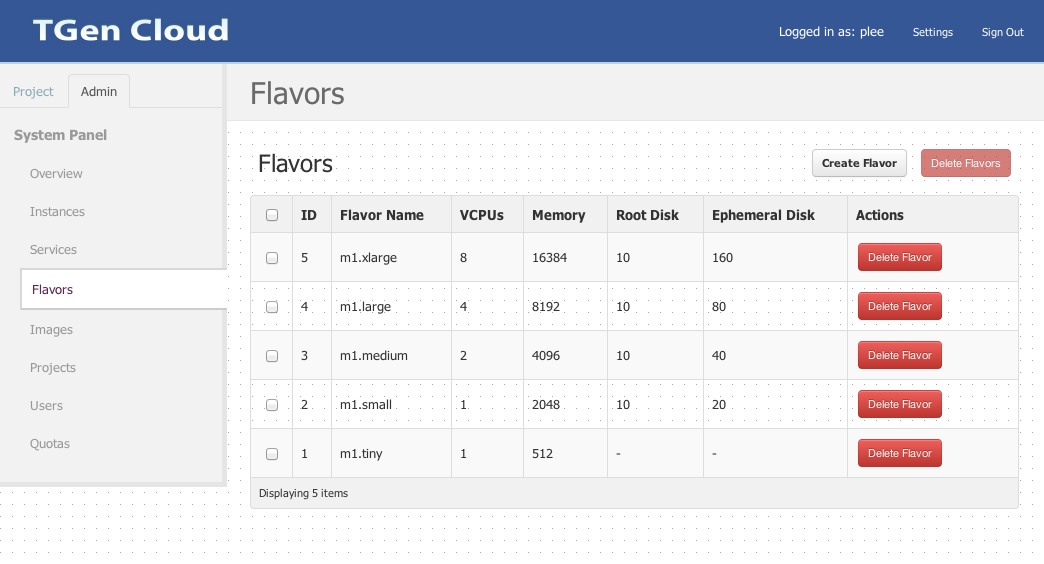
The Horizon documents briefly mention branding customization to give you a head start, but here are more specific steps. Here’s a custom-branded Horizon dashboard with custom colors, logo, and site title:

Once you know where to make the appropriate changes, it’s super simple. Step-by-step:
Create a graphical logo with a transparent background. The text “TGen Cloud” in this example is actually rendered via .png files of multiple sizes created with a graphics program. Use a 200×27 for the logged-in banner graphic, and 365×50 for the login screen graphic.
Set the HTML title (shown at the top of the browser window) by adding the following line to
/etc/openstack-dashboard/local_settings.py:SITE_BRANDING = "Example, Inc. Cloud"Upload your new graphic files to:
/usr/share/openstack-dashboard/openstack_dashboard/static/dashboard/img/
Create a new CSS stylesheet — we’ll call ours custom.css — in the directory:
/usr/share/openstack-dashboard/openstack_dashboard/static/dashboard/css/
Edit your CSS file using the following as a starting point for customization, which simply overrides the Ubuntu customizations made in the ubuntu.css file.
Change the colors and image file names as appropriate, though the relative directory paths should be the same.
/*
* New theme colors for dashboard that override the defaults:
*  dark blue: #355796 / rgb(53, 87, 150)
*  light blue: #BAD3E1 / rgb(186, 211, 225)
*
* By Preston Lee <[email protected]>
*/
h1.brand {
background: #355796 repeat-x top left;
border-bottom: 2px solid #BAD3E1;
}
h1.brand a {
background: url(../img/my_cloud_logo_small.png) top left no-repeat;
}
#splash .login {
background: #355796 url(../img/my_cloud_logo_medium.png) no-repeat center 35px;
}
#splash .login .modal-header {
border-top: 1px solid #BAD3E1;
}
.btn-primary {
background-image: none !important;
background-color: #355796 !important;
border: none !important;
box-shadow: none;
}
.btn-primary:hover,
.btn-primary:active {
border: none;
box-shadow: none;
background-color: #BAD3E1 !important;
text-decoration: none;
}
Open the following HTML template in an editor:
/usr/share/openstack-dashboard/openstack_dashboard/templates/_stylesheets.html
Add a line to include your new stylesheet pointing to custom.css: (I’ve highlighted the new line in bold.)
...
 <link href='{{ STATIC_URL }}bootstrap/css/bootstrap.min.css' media='screen' rel='stylesheet' />
 <link href='{{ STATIC_URL }}dashboard/css/{% choose_css %}' media='screen' rel='stylesheet' />
 <link href='{{ STATIC_URL }}dashboard/css/custom.css' media='screen' rel='stylesheet' />
 ...
Restart apache just for good measure:
sudo service apache2 restartsudo service httpd restartReload the dashboard in your browser and fine tune your CSS appropriate.
You’re done!
